
As a designer, I always encourage my clients to buy art when they fall in love with something and use that as their jumping off point when designing a room. Realistically, there is a small handful of the population that can afford to splurge on art as the masterpieces in their home. Not to mention, kiddies jump on sofas and touch art with their greasy little fingers. Stylish Mummy’s all over the world are hailing for affordable art in their home. Let’s get practical with a little DIY, framed art project shall we?
It starts with wrapping paper, oh yes you heard me correctly; wrapping paper! But the nice stuff, none of this shiny, tacky stuff leftover from the little one's birthday party.
You can find high end wrapping paper at card and stationery type stores or local gift shops in your neighborhood. Look for the paper that is specially hung on dowels - this is the good stuff! The quality of the paper is beeeeautiful!
I chose three different papers as I planned to hang three frames on the wall. The paper sizes are quite large but not to worry, you will be trimming them to fit in your frame. Oh, which means a little leftover for a sweet gift to someone. The key here is to select three paper designs that work well with each other. You know, colours, tone, patterns. Just line them up side by side and make sure they look pretty together, like this!

Cut the paper to the dimensions of the frame within the matting area. In my case this was 11.5 inches square based on the dimensions for this Ribba IKEA frame in a walnut finish.
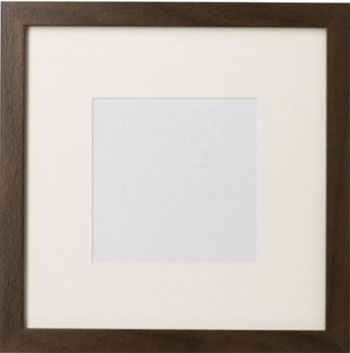
This frame is 20 ¾ square and is available in three different colours. I chose this one for the over sized matting which gives the illusion of higher quality framing and art!
Then, just like placing a photo of your gorgeous munchkin in a frame, place the three square cut pieces of wrapping paper in to the frames and VOILA! We have a little gallery wall of fun, inexpensive art.

Make sure you get out that trusty level, or encourage that handy man in your life to give you a helping hand. It’s pretty important to get these frames straight, measure, measure measure!

Decorate with some little accessories and bring colours from your new art in to your room. I kept things pretty simple since this was a bathroom. The total cost of the project was about 75 dollars!!! Three pretty, modern frames all done up in no time and did I mention some left over paper when you are scrounging to wrap a gift for someone special.


