
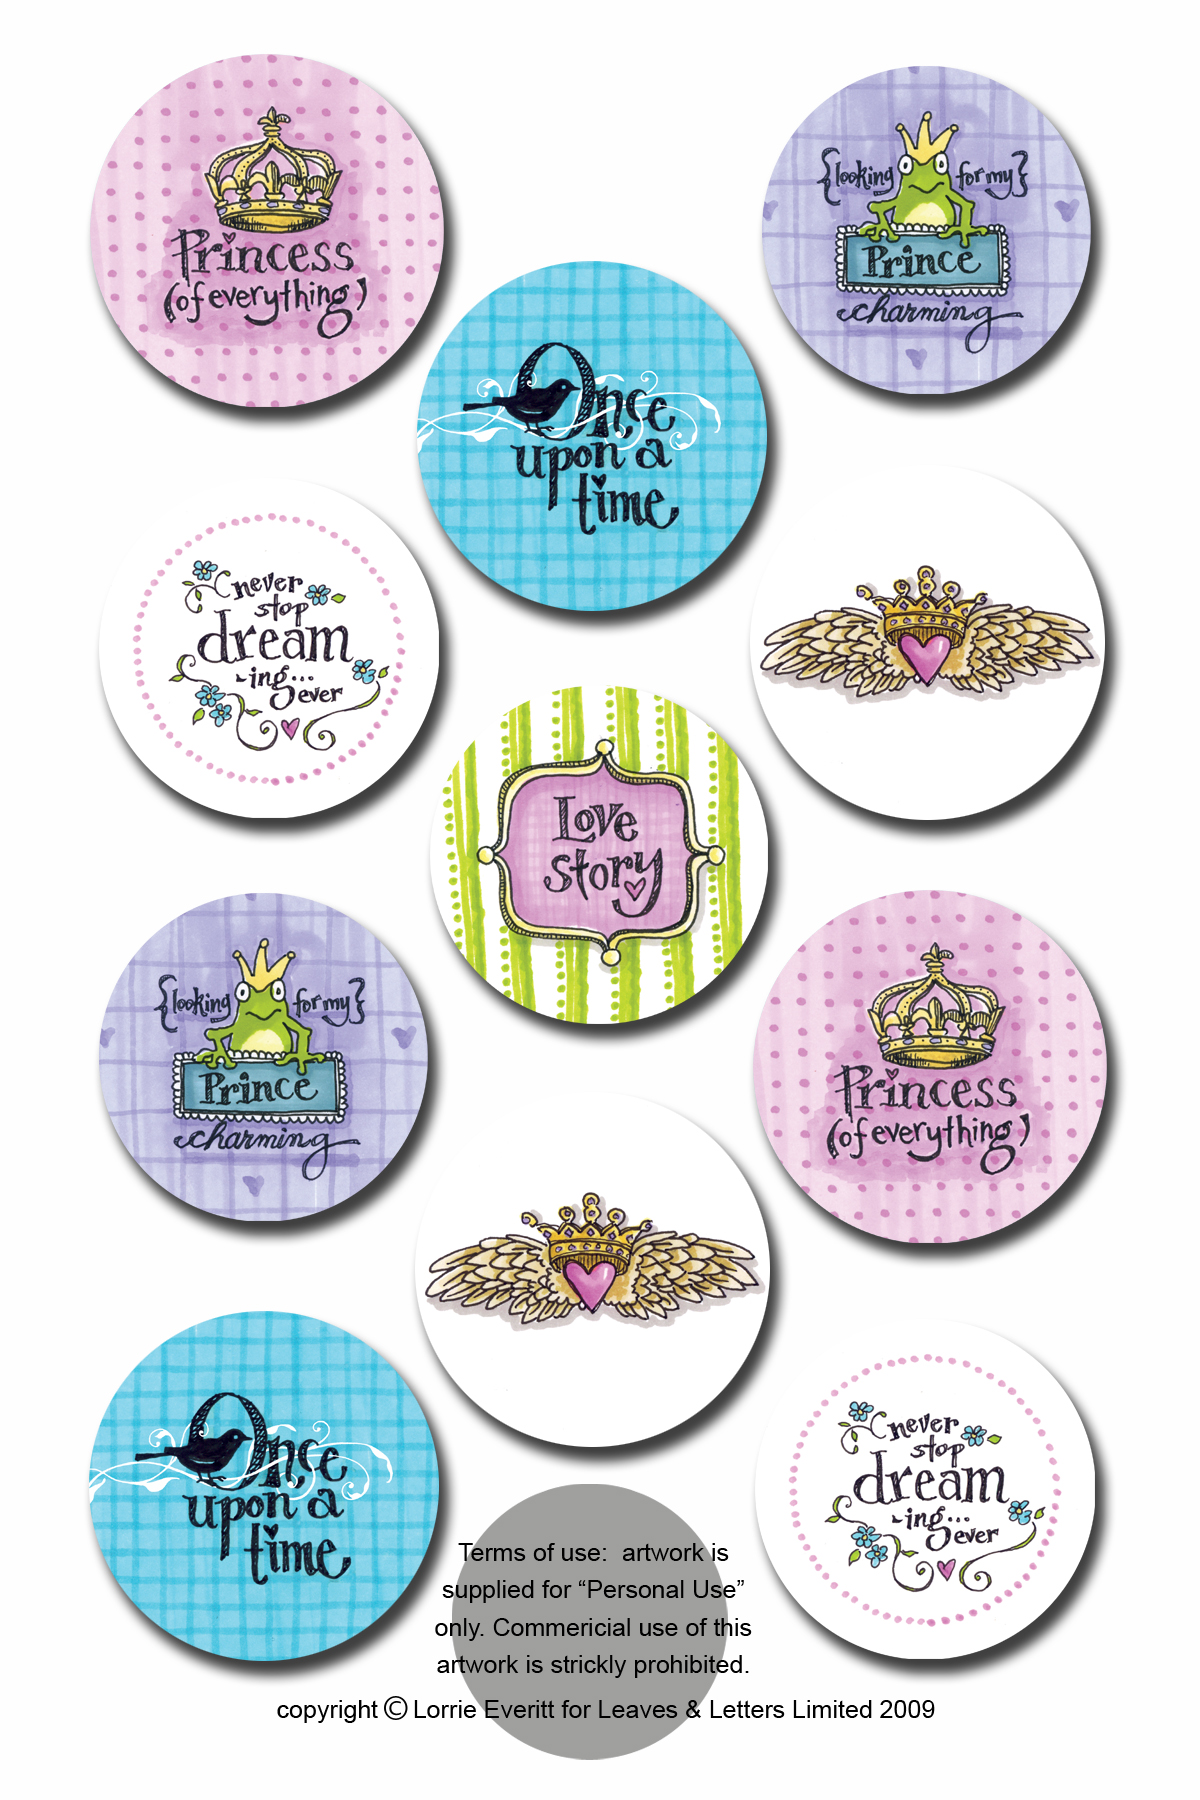
It's easy to recycle bottle caps into funky little magnets. This simple project can be done with children in the afternoon ... but allow the glue to dry for 24 hours. Download our exclusive (and free!) "it's a true love story" artwork or use your own art, magazine clippings or photographs to decorate the bottle caps. Adapt the project by adding a pin back instead of a magnet to create some unique pins to decorate your favourite cloth bag or backpack.![]() Gather your supplies
Gather your supplies
![]() 4x6" print out of "it's a love story" artwork (or whatever "paper art" you want to use)
4x6" print out of "it's a love story" artwork (or whatever "paper art" you want to use)![]() 1" circle punch (available in craft and scrapbooking stores)
1" circle punch (available in craft and scrapbooking stores)![]() scissors
scissors![]() clear drying paper glue
clear drying paper glue![]() toothpicks
toothpicks![]() magnets
magnets![]() bottle caps
bottle caps![]() Let's get started:
Let's get started:
1. Download the artwork. The artwork was created as a 4x6" jpeg file (just like a photograph) so that it could be printed at home on a colour printer or it can be printed like a photograph at your favourite digital print location. You can also use your own photos, artwork, magazine, or any other paper images that you may have.
2. Each bottle cap will need a 1" paper circle cut out. You'll need the 1" circle punch for this step. Use the punch upside down and position the punch so that you can see what the design is going to look like before you punch it out...If the paper is too big around the image you want to punch out, use your scissors to trim away the excess paper so that you can position the paper into the punch properly.
3. Squeeze a few drops of glue into the bottom of the bottle cap and place one of the 1" paper circles on top of the glue. Press down so that the paper is flat on the bottom and let it dry. Work in a well ventilated area (read the directions on the glue bottle for other safety hints).
4. This is where it is important to use the right kind of glue...this step will seal the paper and make it look shiny...so you want to make sure that your glue looks like "glaze". Squeeze glue on top of the 1" paper circle. You want to cover the whole piece of paper but don't pour in so much that you fill up the whole cap and it spills over teh edge. You can gently (but quickly) move the glue around with a toothpick if you have any holes or air bubbles.
5. Leave the glue to dry for at least 24 hours before you add the magnet to the back. Peel and stick magnets work fine for this project but if you want to use super strong magnets without a peel and stick backing you will have to bond the magnets to the bottle caps with a super strong glue.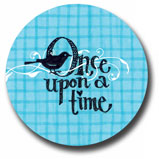
![]() Tips and Tricks
Tips and Tricks![]() You should use a glue that will dry clear and will not yellow...it should look more like a clear glaze than a white glue. Be sure to read the directions on the glue bottle and use it in a well ventilated area.
You should use a glue that will dry clear and will not yellow...it should look more like a clear glaze than a white glue. Be sure to read the directions on the glue bottle and use it in a well ventilated area.![]() Using a paper punch is the easiest way to do this project but not the only way. If you don't have one or don't want to buy one, you can always use a circle template and a pencil to draw out 1" circles and cut them out with scissors.
Using a paper punch is the easiest way to do this project but not the only way. If you don't have one or don't want to buy one, you can always use a circle template and a pencil to draw out 1" circles and cut them out with scissors.![]() There are so many things that you can cut out and use in the bottle caps - anything on paper will work - but don't stop there. You can add little sticker letters to spell out a word or add a rhinestone for sparkle.
There are so many things that you can cut out and use in the bottle caps - anything on paper will work - but don't stop there. You can add little sticker letters to spell out a word or add a rhinestone for sparkle.
Spring into March Break with even more articles, tips, and tricks to help you survive the week!


