This job is difficult, you know. Sometimes I have to find the most amazing, decadent treats and then make them for you. Then I have to fend off two hovering, demanding people as I try to snap photos that will make you drool at your keyboards.
I also have to refrain from eating entire pans of brownies that beckon me in the late of night as I type posts and scroll through pictures. It's cruel, really.
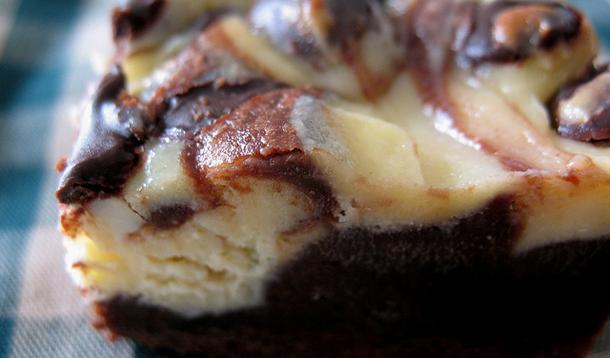
Cheesecake is my favourite dessert. Drizzled with chocolate sauce and topped with raspberries, it's a once a year decadent treat that I allow myself to indulge in. When I saw the recipe for this and happened to have a bar of cream cheese sitting in the fridge, it was as if the heavens opened and the angels sang, serenading me with the very idea of brownies and cheesecake married together in the same pan.
These brownies are good. Really good. So amazingly good that even John, the man with the willpower of steel, broke down and had one. Be warned. They are powerful little things; and you likely won't have the will power to resist their call.
Ingredients:
Brownie layer
1/2 cup (4 oz) butter, cubed
3 oz unsweetened chocolate, chopped
1 cup sugar
2 large eggs
1/2 tsp vanilla
2/3 cup flour
Cheesecake layer
8 oz cream cheese, well softened
1/3 cup sugar
1 egg yolk
1/4 tsp vanilla
 Pre-heat oven to 350 F and line a 8x8 inch square baking pan with parchment paper.
In a double boiler, melt the butter and sugar over hot (not boiling) water until smooth. Remove from heat. Whisk in the sugar, and then the eggs one at a time until thick and glossy. Stir in the vanilla, and then fold in the flour until incorporated. Spread batter into the bottom of the pan, smoothing to make it even. Set aside.
Using a bowl with an electric mixer, whip the cream cheese until fluffy. Add the sugar, egg yolk, and vanilla, continuing to beat until smooth. Drop spoonfuls of the cream cheese mixture all over the top of the brownie batter, smoothing and swirling with a knife to get a marbled effect. Sprinkle with chocolate chips.
Bake in the center of your oven for about 35 minutes, until puffed and the center is just set. I let them cool on the counter for about 20 minutes, and then I put them in the fridge. They are best kept in the fridge in a sealed container-and slice best cold, I think.
Makes 16
Adapted from Gourmet June 2007 and Smitten Kitchen


