DIY Silhouette Maternity Photos

If you have your own camera, it's easy to take these dramatic photos for birth announcements and the baby book!

Silhouette photos are incredibly powerful and eye catching images. They add drama, mystery and interest to an image, emphasizing the shape of the subject (haha). Perfect for maternity photos. Here's how you can take easy silhouette maternity photos at home.

Steve and I have been together for over 10 years, and in that decade, we've taken hundreds of photos commemorating special moments and preserving memories. However, when taking photos, I am usually the one behind the camera.  Sometimes I need to remember that it is important to also be the one in front of the lens, like when you are about to have a baby and want to remember your days with ‘the bump’ and your last days as a duo. So, I decided to take my own maternity photos at home, and realized it is a lot easier than you would think. 

Here's how you can take easy silhouette maternity photos at home.

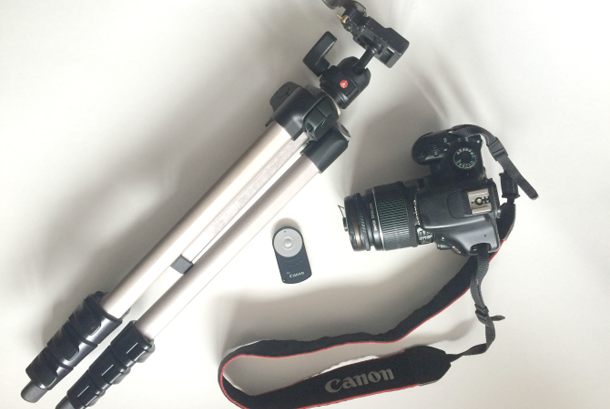
Equipment you’ll need:

What to wear:

  • black tight fitting top (sports bra or tank top)
  • black leggings
  • hair with texture or shape (i.e. curled, in pony tail or messy bun)

You want your silhouette to be as simple and clean as possible. Try to wear clothes that eliminate lines and bunching. Show off those pregnancy curves!

Steps: 

  • To create a silhouette, place your subject (that's you!) in front of a light source, such as a window with sheer curtains. Remember, you always need to shoot into the light for silhouettes. 
  • If using a second model, aka your partner, have him/her stand in front of the window to frame your shot. Keep the frame simple, you are the focus of the photograph. 
  • Set your camera to the appropriate remote control or timer setting. If using the camera timer, make sure to give yourself plenty of time. 
  • If using the camera’s automatic setting, make sure it is operating without flash. 
  • Focus on the lightest part of the photo (i.e. just above his or her shoulder) to set the exposure for the brightest part of the scenes. By exposing the bright sky behind, the areas that are not so bright in the foreground will appear under exposed or darker than normal, giving you a more dramatic silhouette.
  • Step into the frame and strike your pose. When posing, make sure there is space between you and your partner, otherwise the silhouette will end up looking unrecognizable. Try turning sideways and facing each other. It looks best when you can make out the outline of limbs, faces, etc. Shooting a silhouette straight on will lack detail. (Do some research beforehand and create a pose list. Pinterest has a lot of great options.)
  • With the help of the remote control, snap your shot. Make sure the remote is hidden when the camera goes off! (I used a remote shutter instead of the camera timer. I found it gave me more time to set up, and I was not rushed to 'get into position’, but it is personal preference.)
  • Check your shot and adjust if needed.
  • Most of the time, silhouette photos are beautiful without any heavy editing. Usually a simple adjustment of brightness and contrast in your favourite editing software are all that are needed to finish the photo. 

There is no right or wrong way to create a silhouette. It really comes down to personal preference. Have fun and experiment!

I am in love with how these photos turned out. They were exactly what I was looking for - something simple to remember the days leading up to Baby Wardo's arrival. 

Sometimes it is the simplest pictures that work best.

Previously published at To and Fro Blog.


IMAGES SOURCE: COURTESY OF MARLA WARD


RELATED: Mom Trashed for Intimate Postpartum Photo Shoot

I’m Mar, a 30-something mom living in Toronto, ON, Canada with my husband and one year old daughter. To & Fro is my little corner of the world where I combine the two things that I love most - my family and the outdoors!