
In a perfect world, we'd all be gathered around the kitchen table with our kids, holding hands, singing songs and making Valentine's Day crafts involving a minimum of ten or twenty steps. Glue would be distributed neatly in trays, a glitter station would be set up in the corner and paint pens would be lined up nicely in a row, organized by colour.
![]() Make Your Own Candy Conversation Hearts: It's Easier Than You Think
Make Your Own Candy Conversation Hearts: It's Easier Than You Think
Yeah, I don't know about you, but that is NOT my reality.
For most parents, this time of year involves a last-minute trip to pick up a package of ready-made Valentines. So, since you're already heading to the dollar or craft store, you might as well go ahead and grab some packages of doilies while you're there, because (trust me) they'll come in handy when your kids ask to make homemade Valentines - for fun - the day after the night you spent writing out the names of twenty-two first graders.
Trust me, these are the easiest Valentines you will NEVER make. Mostly because your kids can make them their own, without any assistance from you.
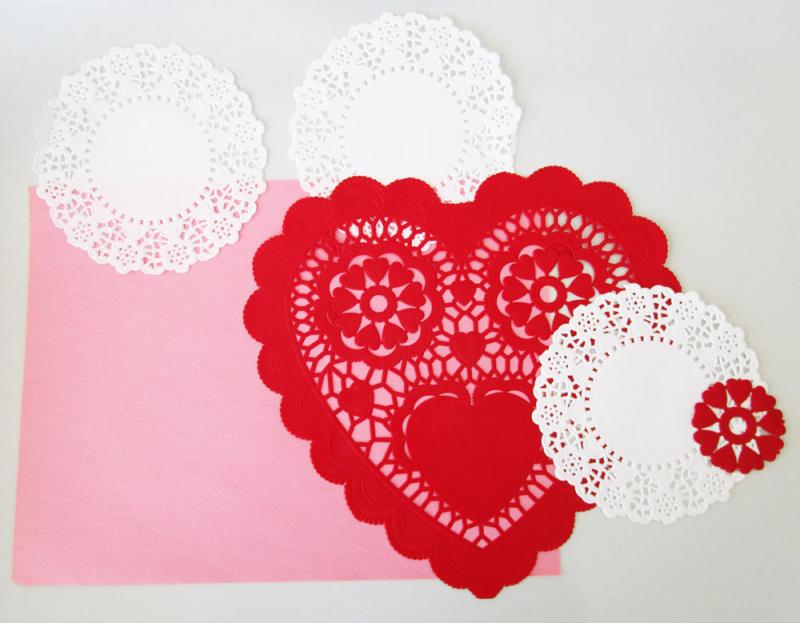
All you need are doilies.

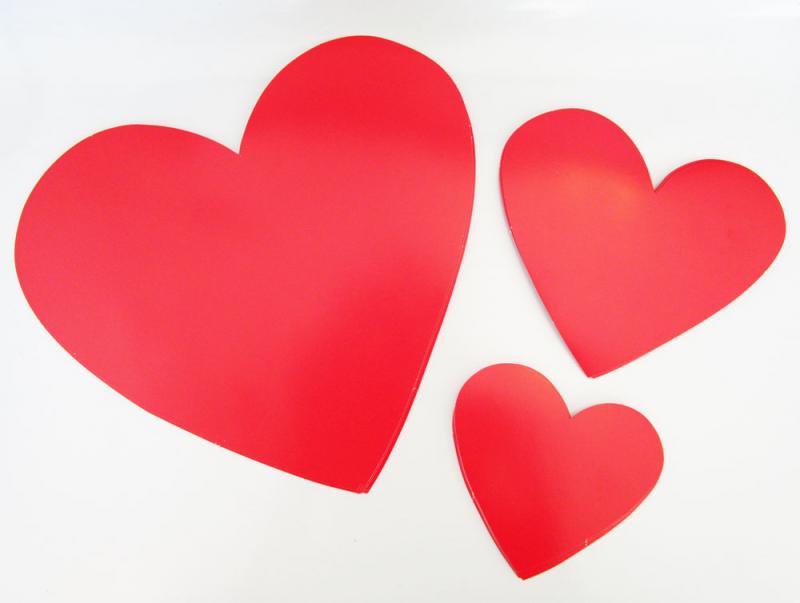
And - if you can find them - some heart-shaped cut-outs. Otherwise, your kids will have to draw and cut out their own.
In addition, you'll need a glue stick (or tape), some scissors, a few sheets of construction paper and a hot cup of coffee, because once you set these materials out for the kids, they'll busy themselves for many, many minutes. Maybe even longer. Really. I've tested my theory with a wide range (and age) of kids and without fail, they dive in and begin layering and gluing.

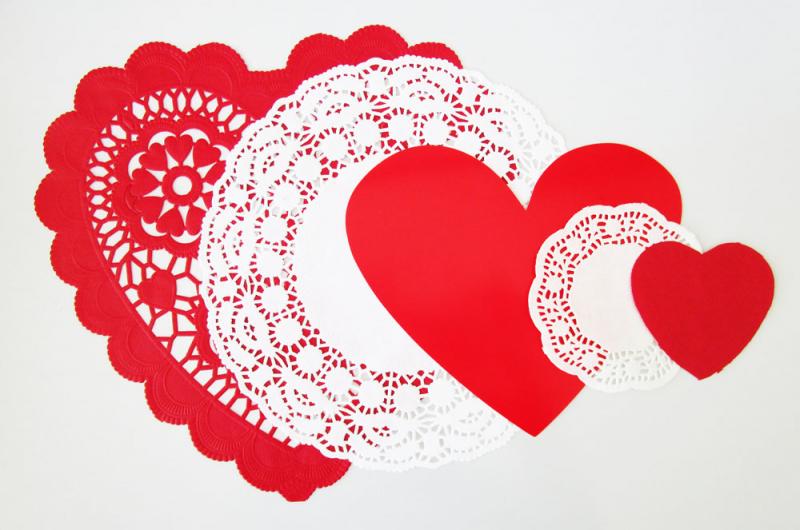
By gluing doilies and hearts (and cutting some of the doilies apart), your kids can make some really terrific vintage-looking Valentines.
Here are just a few examples of what can be accomplished.
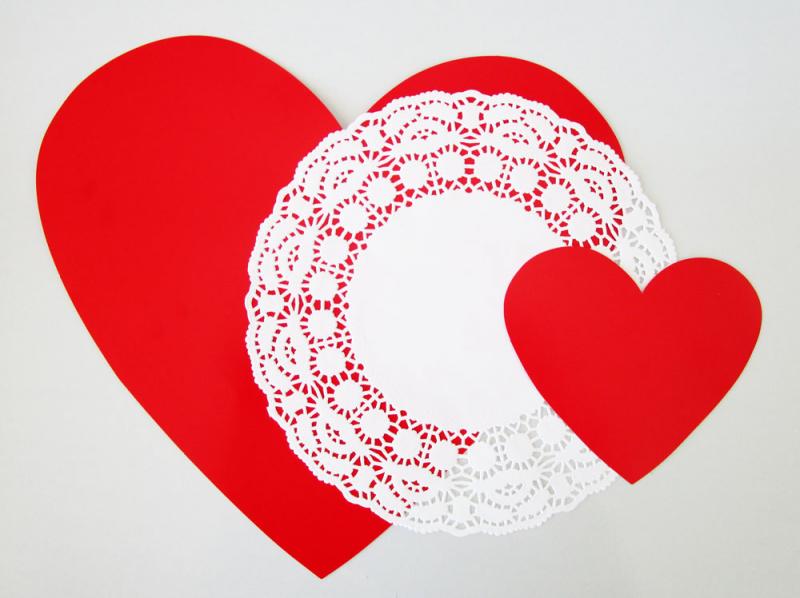
This...

Becomes this...
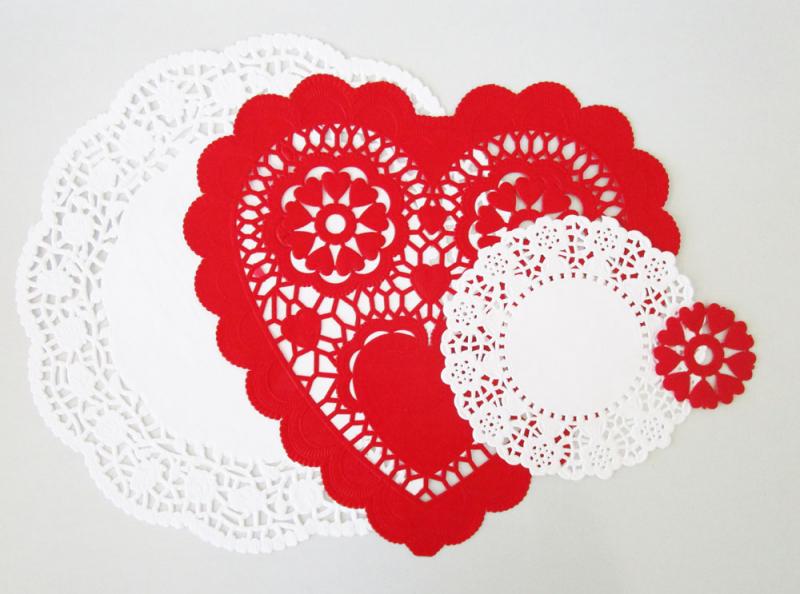
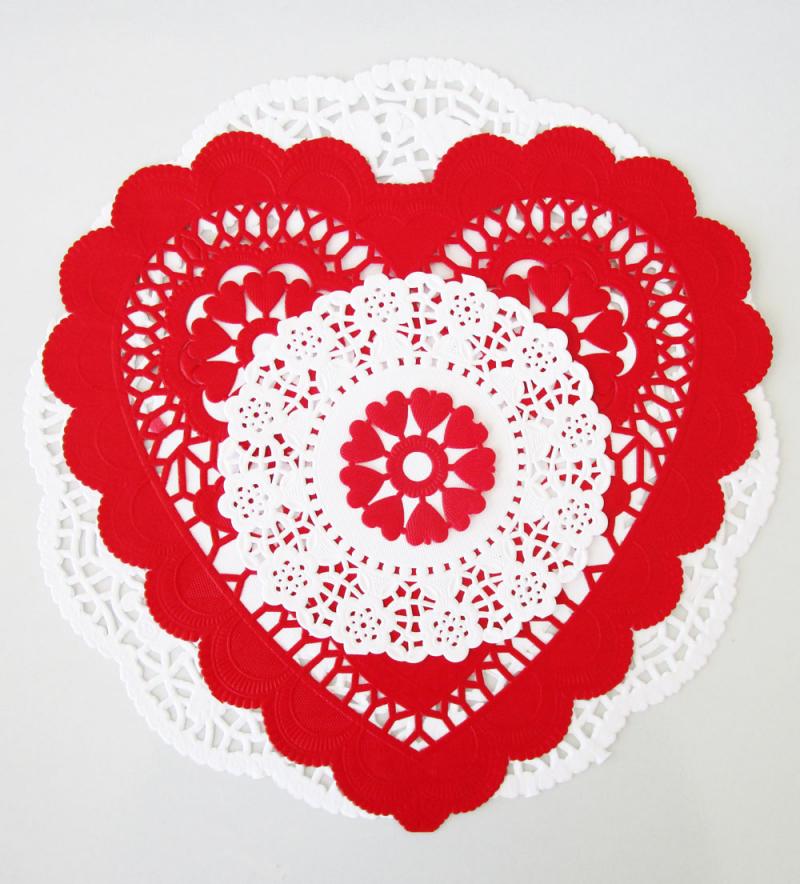
Take these...

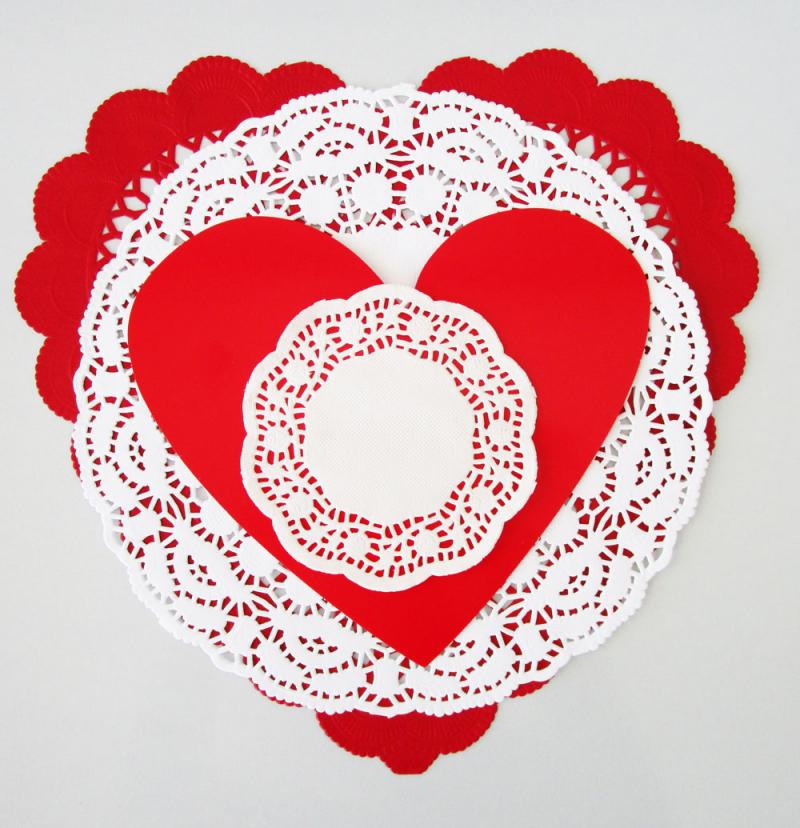
Make this...
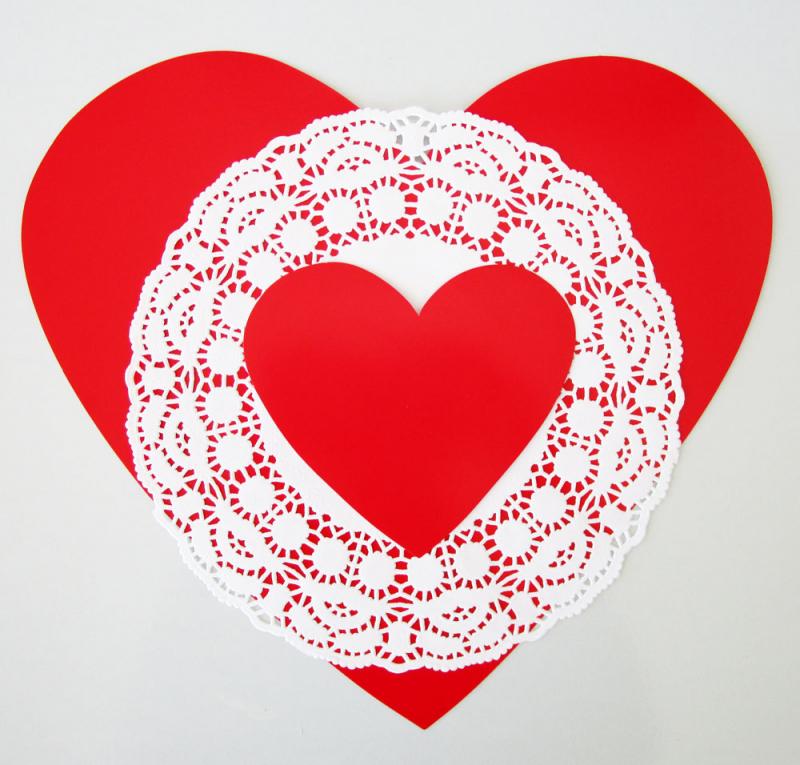
Layer these (and cut a heart out of the heart doily)...
Create this...

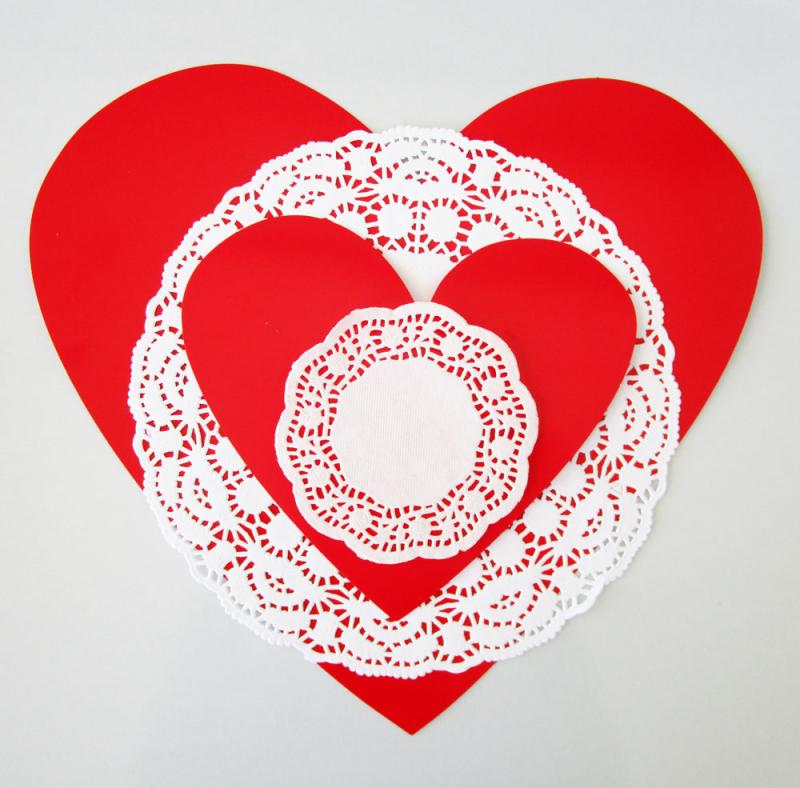
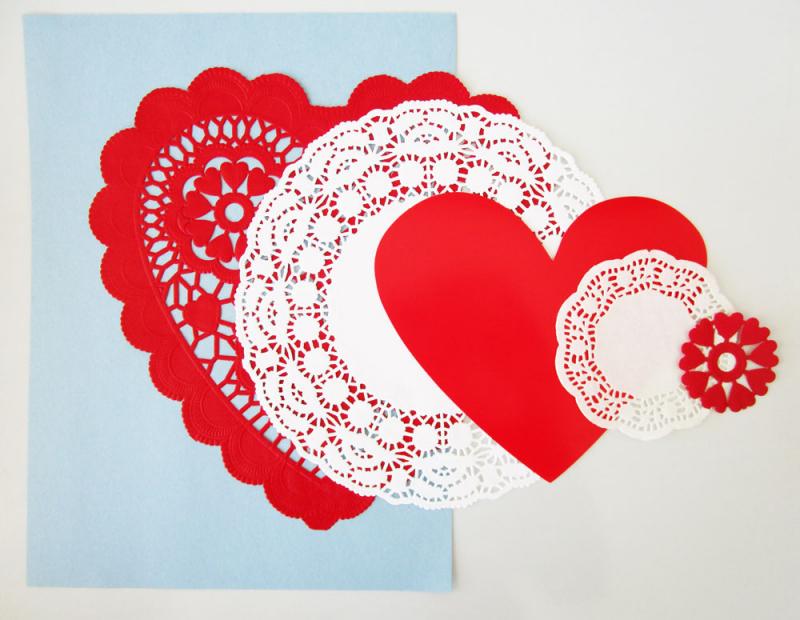
Gather these (and cut a ring of hearts out of the heart doily)...
Glue this...
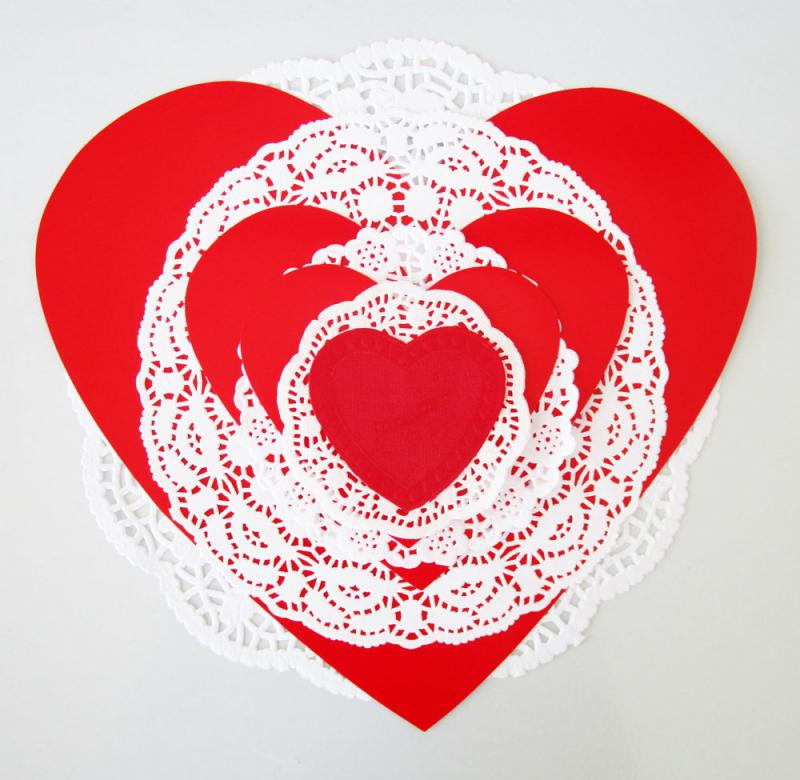
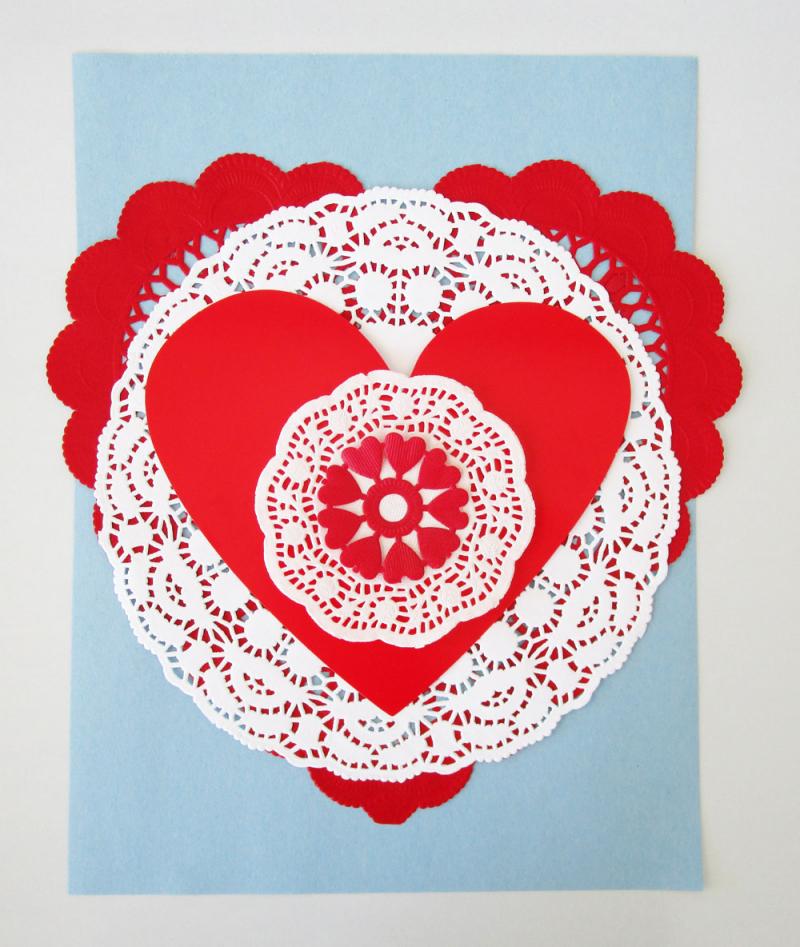
All of these...
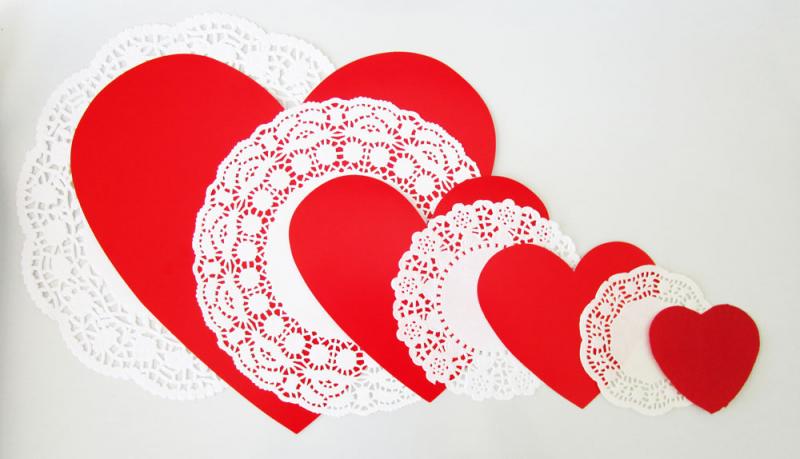
Can turn into something like this...
Three little pieces...
Can look like this...
Add a sheet of construction paper...
To make this...
And use these...
To create this...

You get the idea.
And, if you're kids so desire, they can add messages to their Valentines using magic markers or pens. The point is, if you plan ahead, you will have a chance to poke around Pinterest while making your way through an entire mug of coffee and that, my friends, is my Valentine's Day gift to you.
You could go to the store and pick up ready-made Valentine's Day cards for your kids to distribute among friends and family on February 14th. Or, you could show them how to recycle some household paper goods into sweet messages of love and affection.
The required materials are few, and chances are you've already got everything you need in your office or basement.
![]() Easy Watercolour Valentine's Cards That Are Out-Of-This World Gorgeous
Easy Watercolour Valentine's Cards That Are Out-Of-This World Gorgeous
Simply gather some cardboard tubes (from paper towels, wrapping paper or toilet paper), scrap paper (pink, red, & white), markers and/or crayons, a pair of scissors, and a splash of red and white paint.

In addition to the above, you will also need paintbrushes, a container of water and some newspapers or an old tablecloth to protect your work surface. And maybe some cinnamon hearts, for energy.
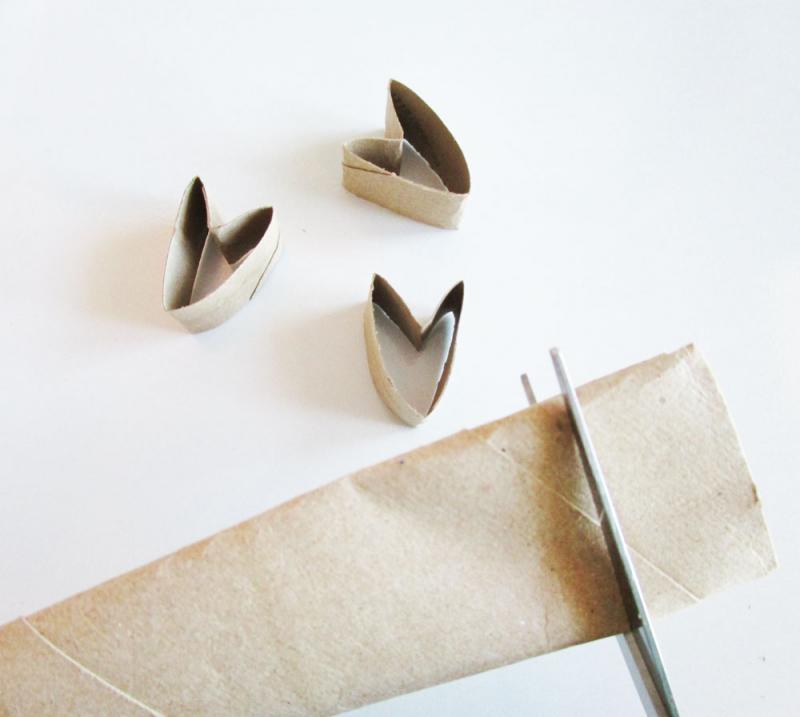
Step 1: Fold a cardboard tube into the shape of a heart by running a crease down the middle.

Step 2: Press the folded tube flat and cut into 3cm sections. You'll probably want to toss the end pieces as they tend to unravel.
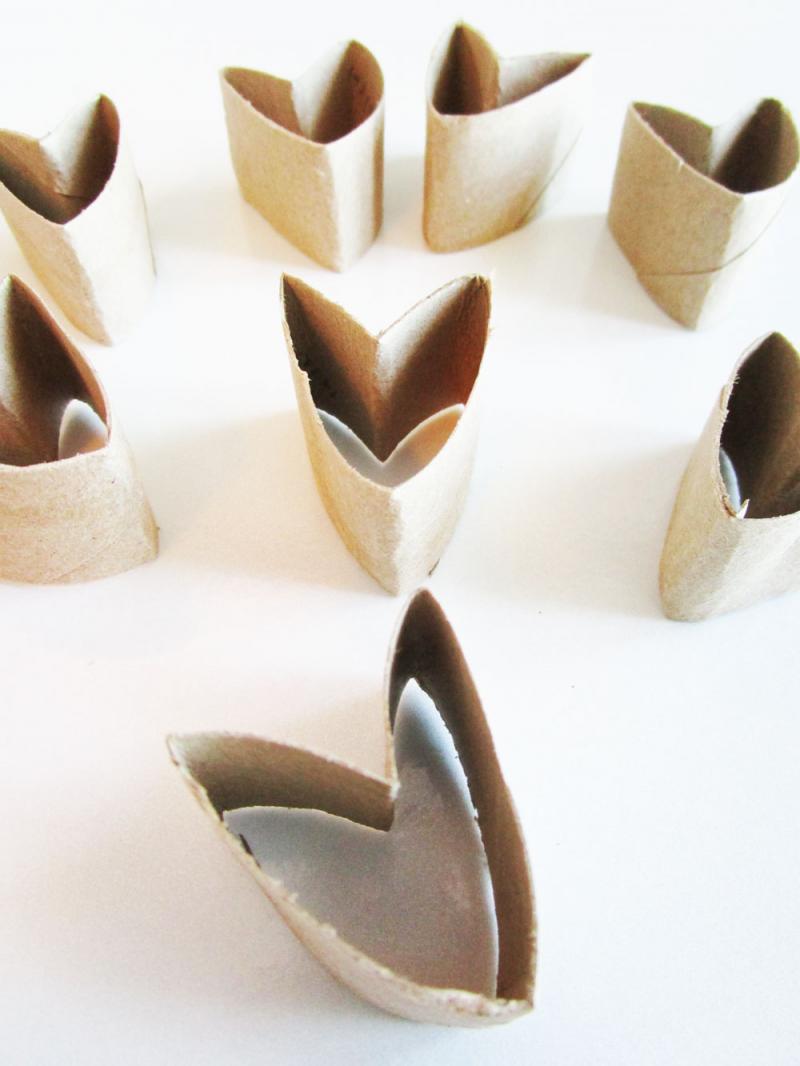
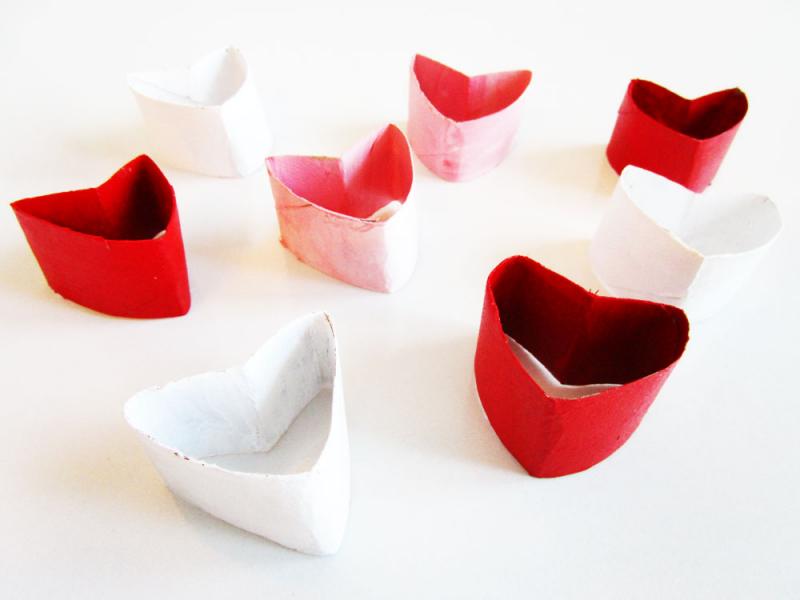
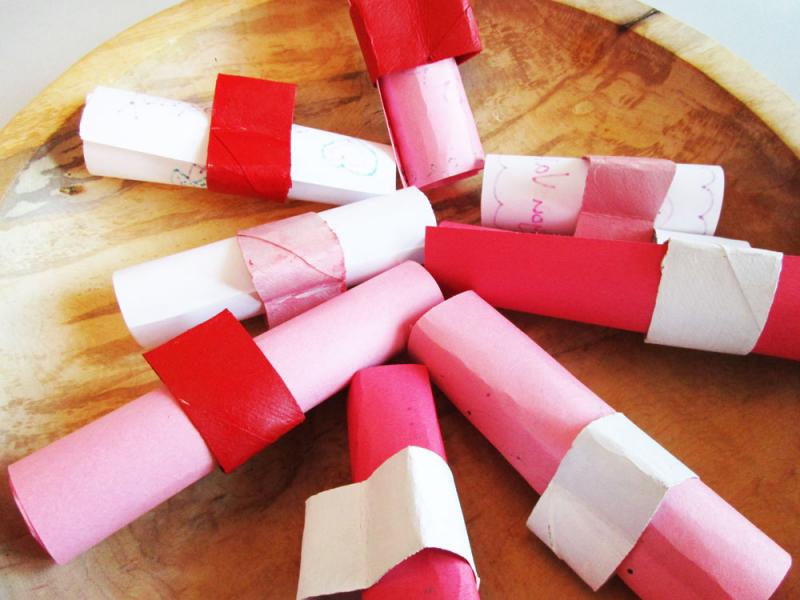
Step 3: Gather your little hearts.
Step 4: Using poster, acrylic or tempera paint, give the hearts some colour.

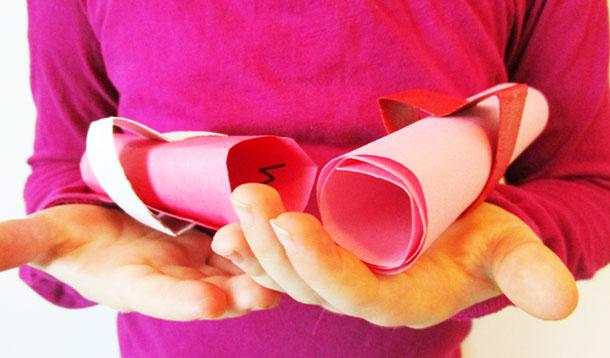
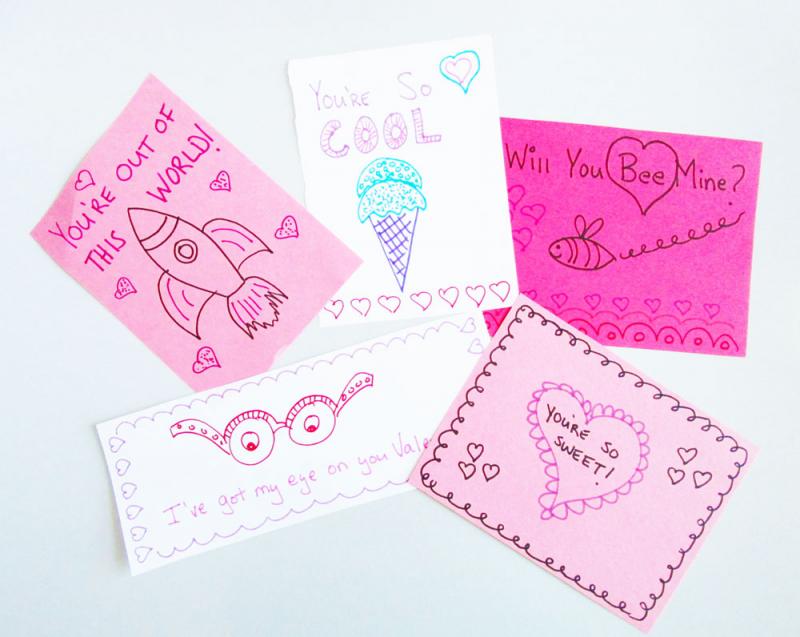
Step 5: While you're waiting for the paint to dry, create some fun messages on scrap paper using markers, crayons or whatever you have on hand.
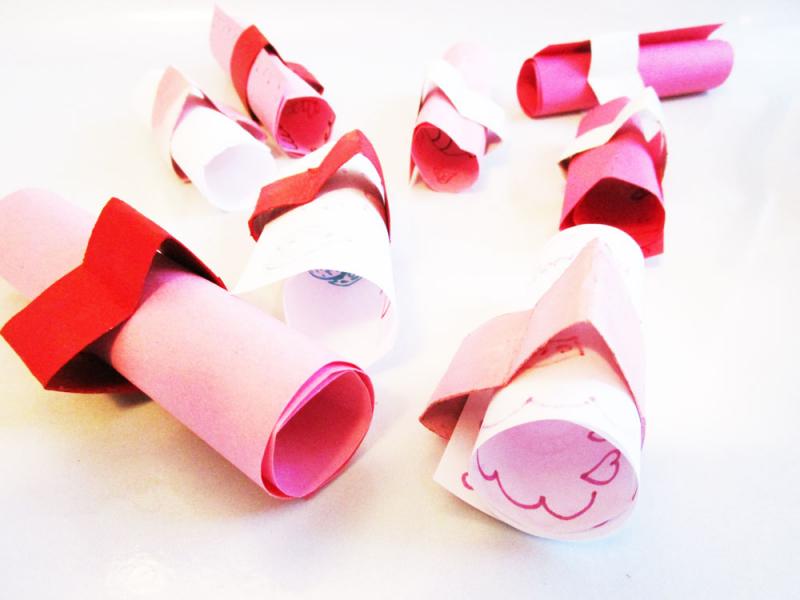
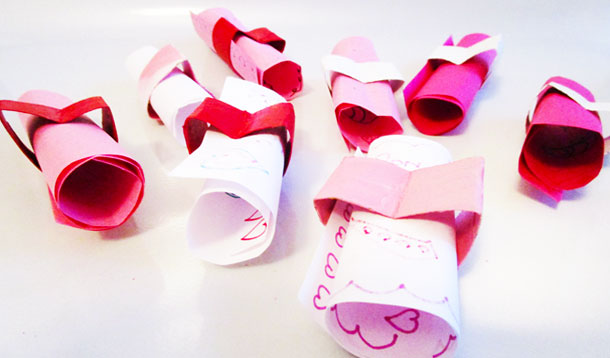
Step 6: Roll the notes, tuck them into the little painted cardboard hearts and voila, they are ready to share.
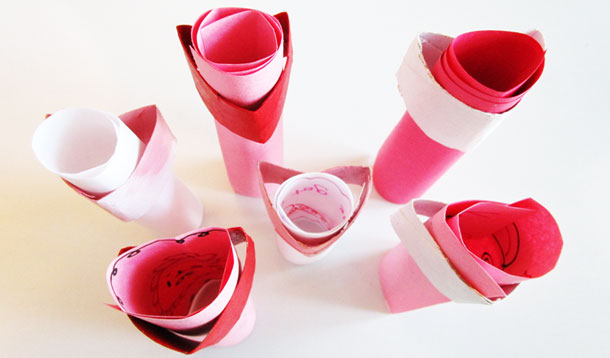
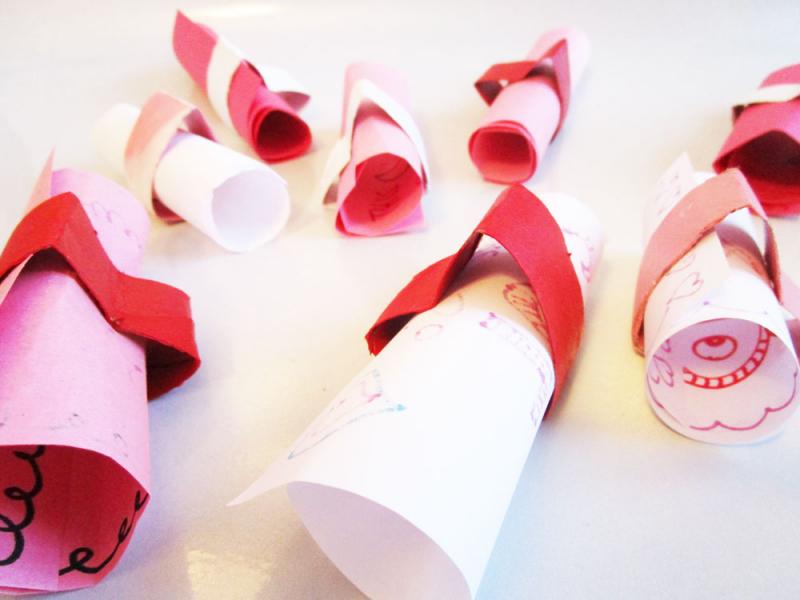
Aren't they sweet?
Your child can set her Valentines in a bowl and let loved ones choose their own.
Or she can hide them in unlikely places, like inside the fridge or in the cupboard next to the coffee filters and cake mix.
Either way, these messages of love will be truly from the heart.

Somewhere in the neighbourhood of two hundred centimetres of snow have fallen on my part of the world over the past few weeks.
Two hundred centimetres.
To put that in perspective, that's roughly the height of Will Ferrell, which is - if I'm not mistaken - A LOT OF SNOW!
![]() Icy Treats: Delicious Snacks You Can Make With Snow
Icy Treats: Delicious Snacks You Can Make With Snow
Sure, snow can be fun - for a while - but what do you do when your yard is already full of snow angels and you just can't bring yourself to help your kids make one more snowman?
You get creative.
Here are ten ideas to get you started.
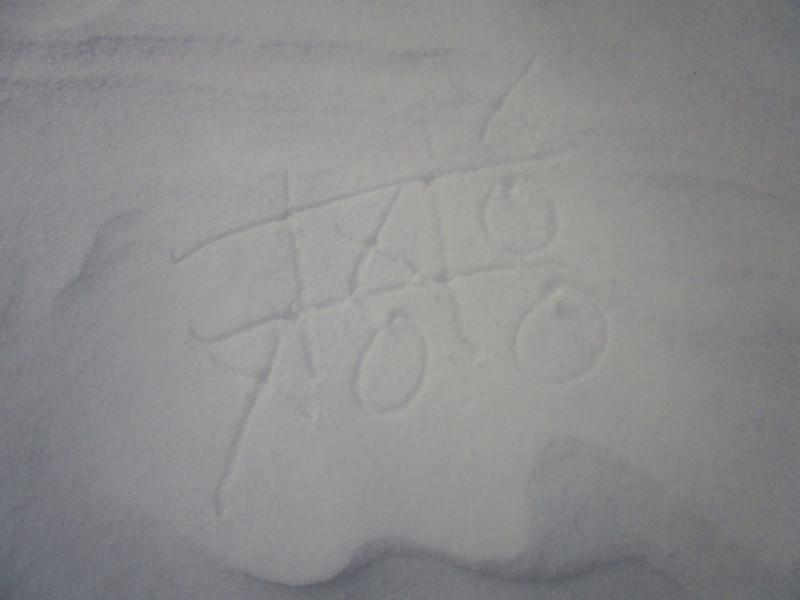
1) Grab a stick and play tic-tac-snow.
2) Make snow symbols by squeezing drops of undiluted food colouring onto the pristine ground.
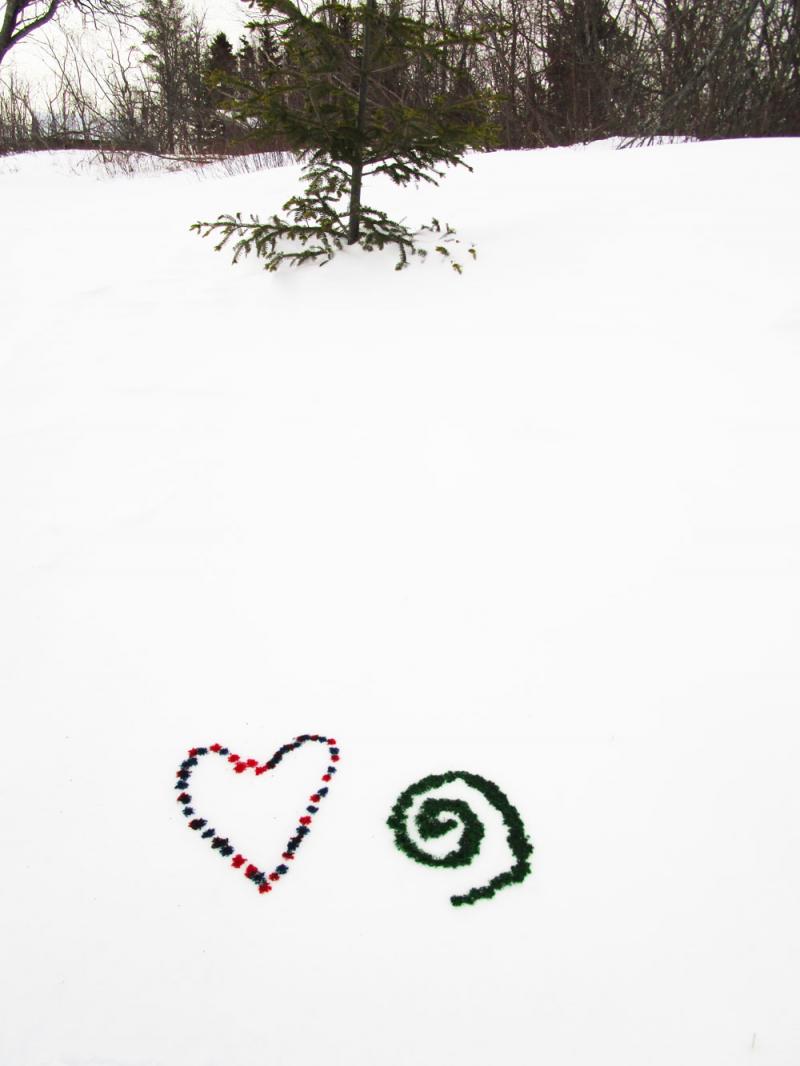
If you dilute your food colouring (about 5 drops per cup of water), it will go a lot further. Just use an eyedropper, straw or spoon to drip the colours in the snow.
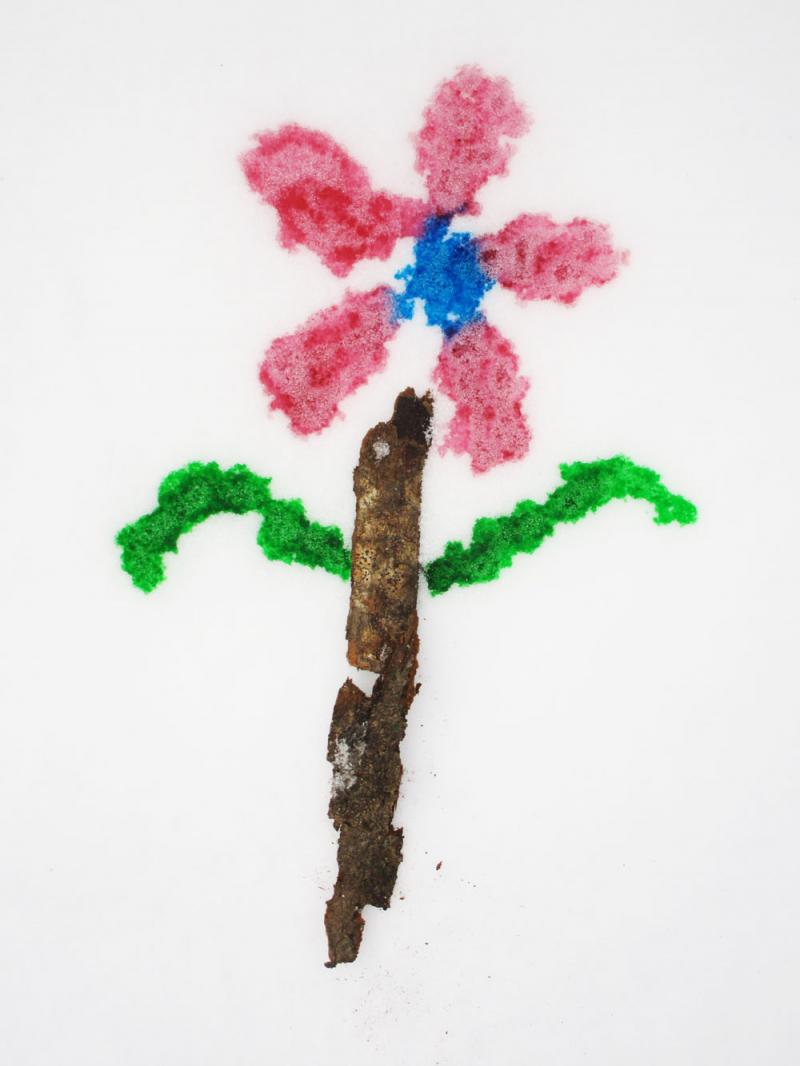
3) Paint a snow flower while incorporating a piece of bark from the giant stack of firewood that's been sitting on your deck since October.

4) While you're at it, why not make a snow tree?

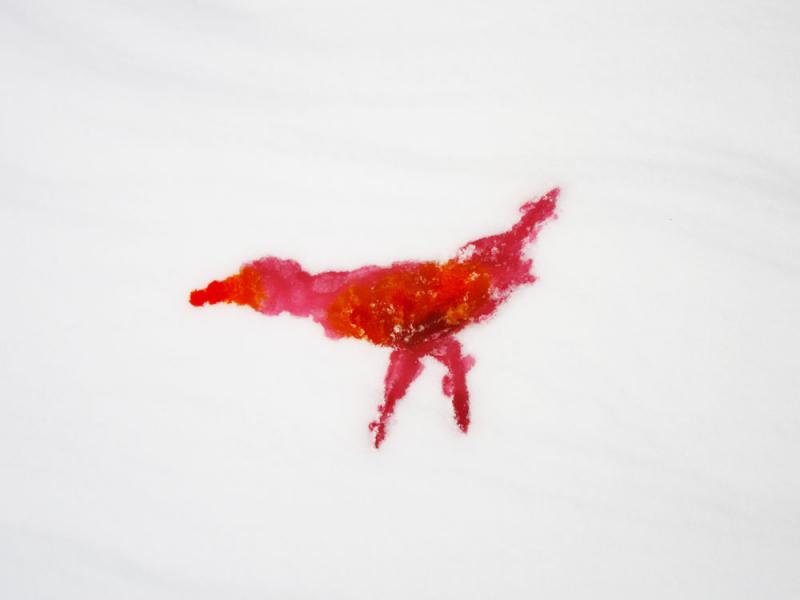
5) Or, just put a bird on it.
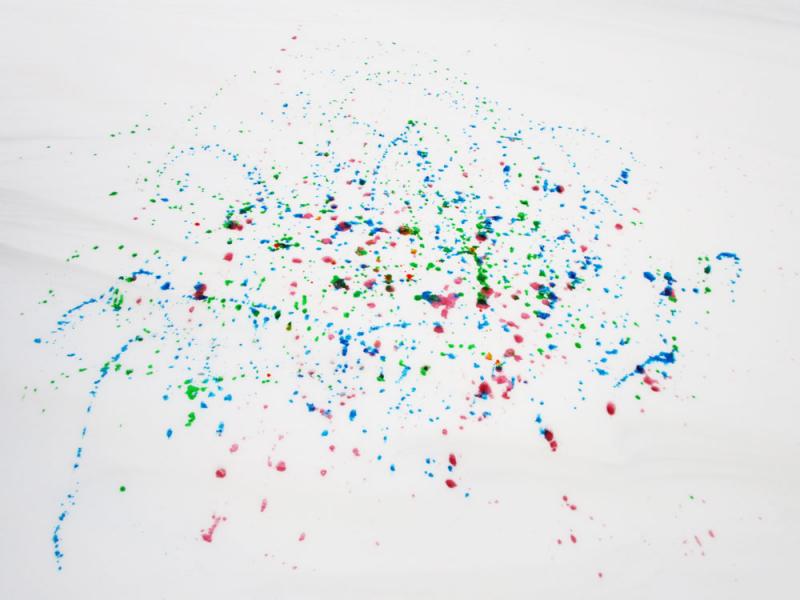
6) If you have a paintbrush (or even if you don't) go ahead and channel your inner Jackson Pollock as you drip and whip diluted food colouring across the giant drifts of snow in your backyard. You are an Abstract Expressionist. Your kids will LOVE THIS!
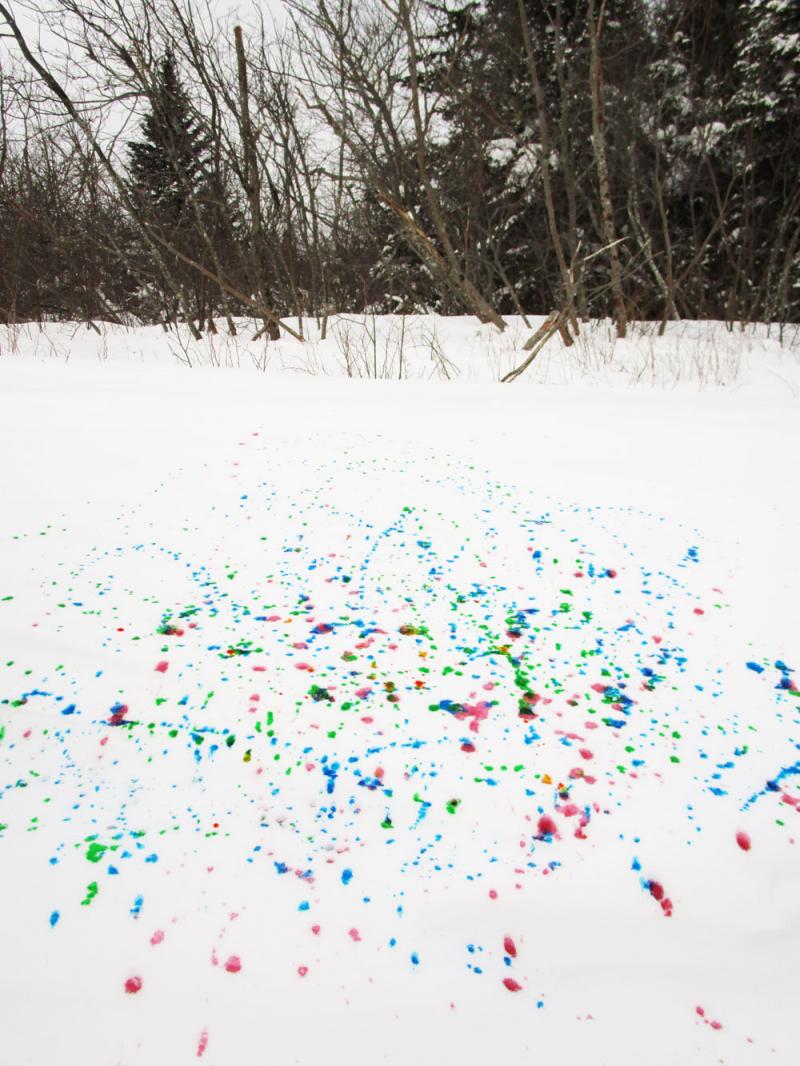
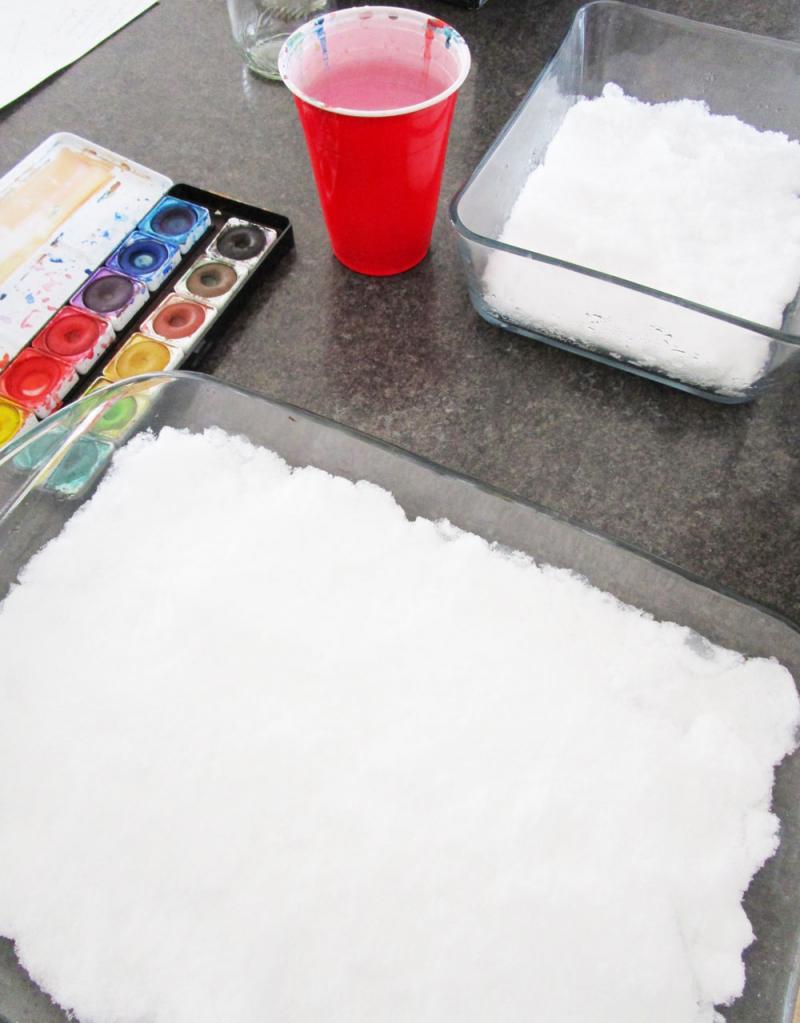
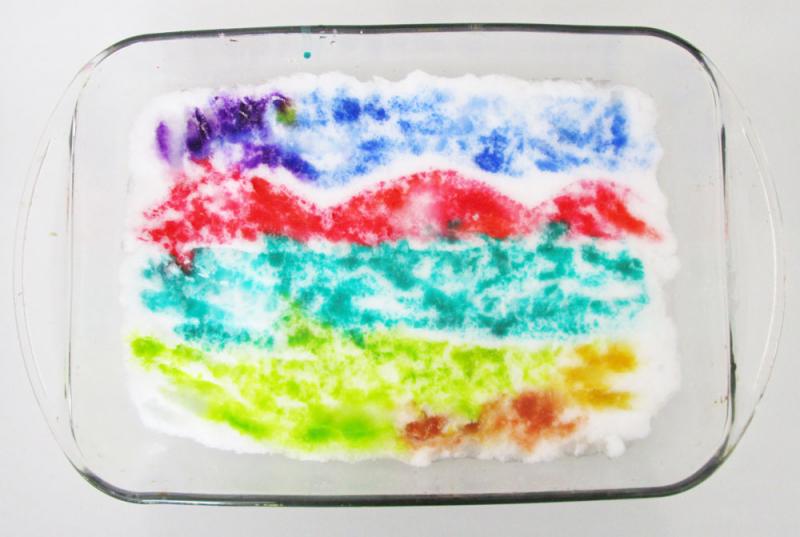
At some point, your fingers will become frozen and you'll want to move the party inside. But don't forget the snow! Throw a bunch in a pan and dig out some watercolour paints. Then, get ready to make art where the process is more important than the product.
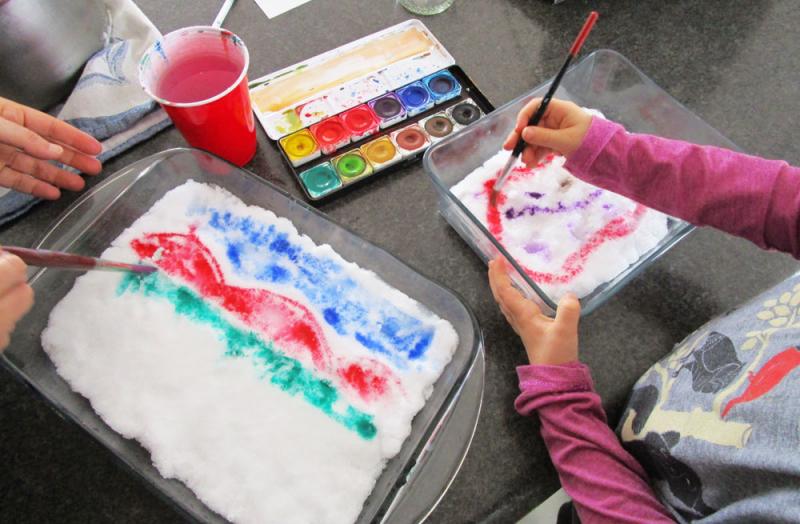
7) Make a snowscape by painting with watercolour paints directly on the snow. This is a serious amount of fun.
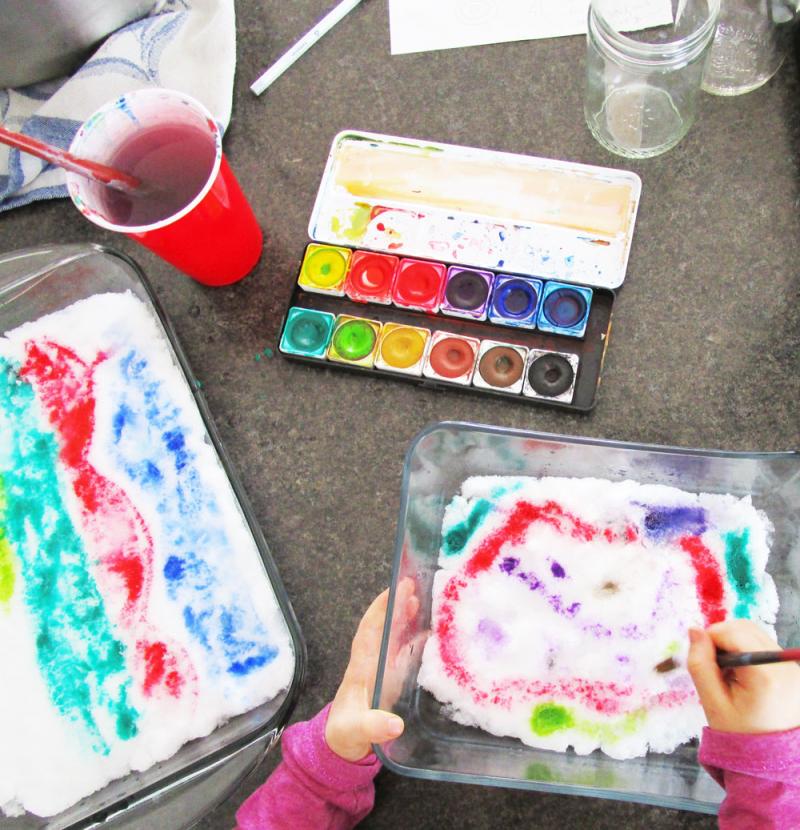

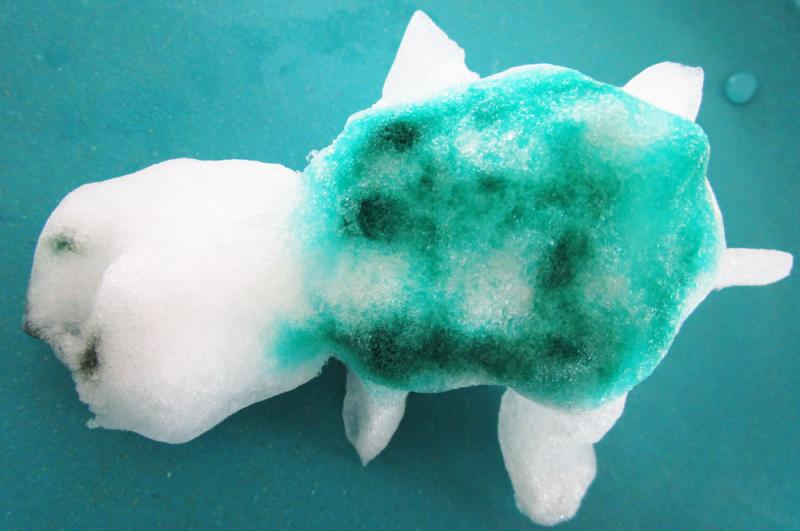
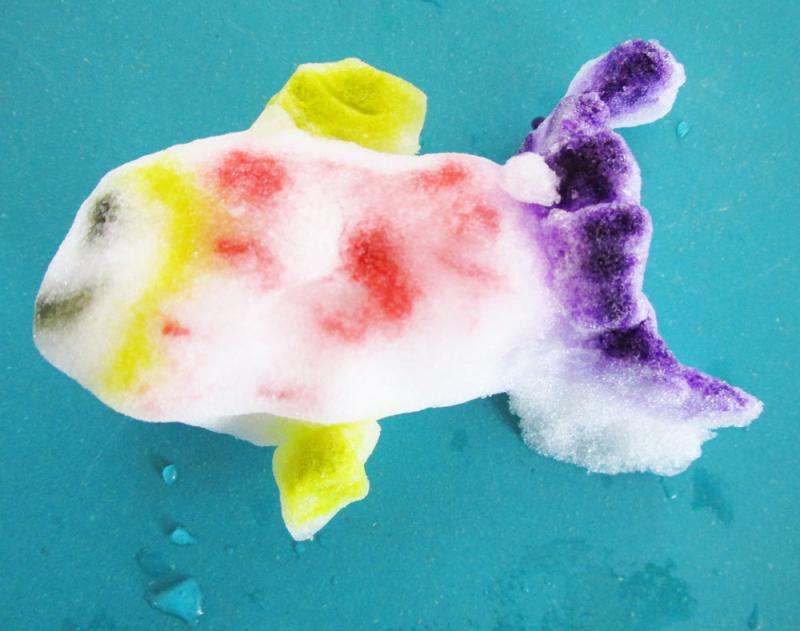
8) Make sweet little snow sculptures and paint them with watercolours before they melt.
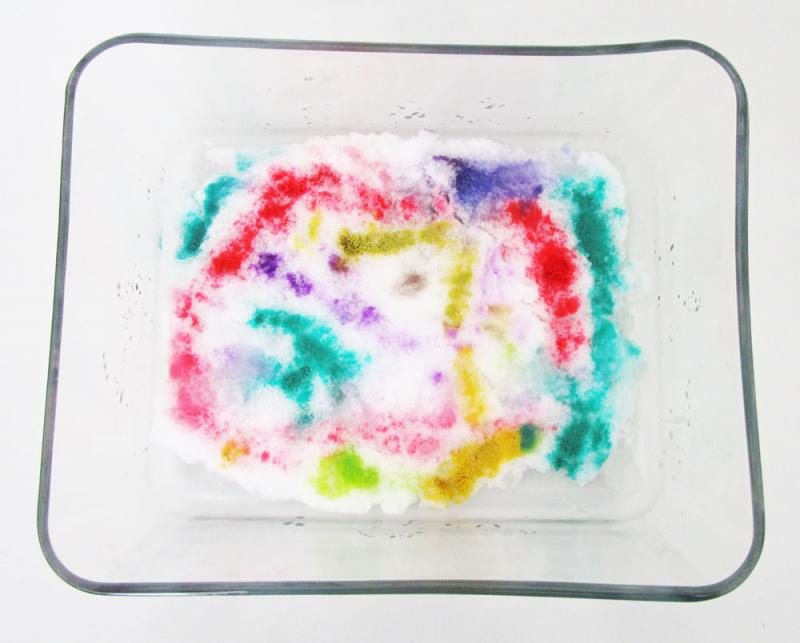
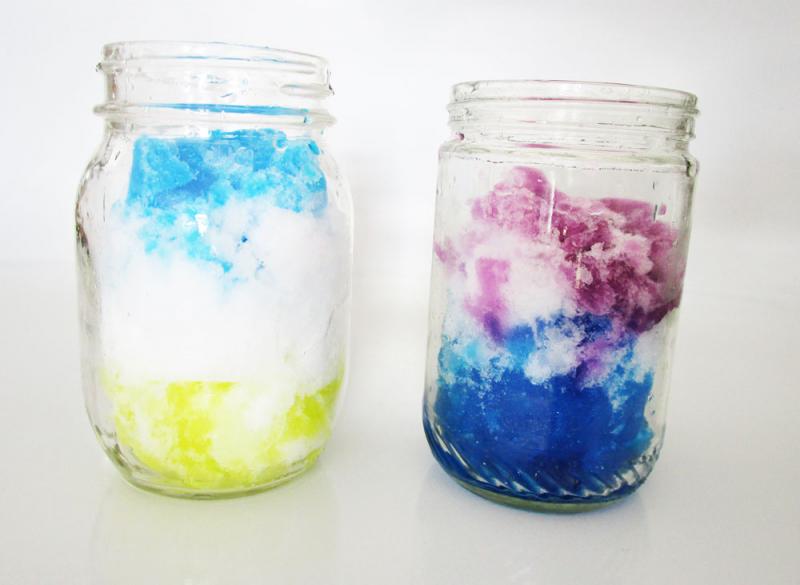
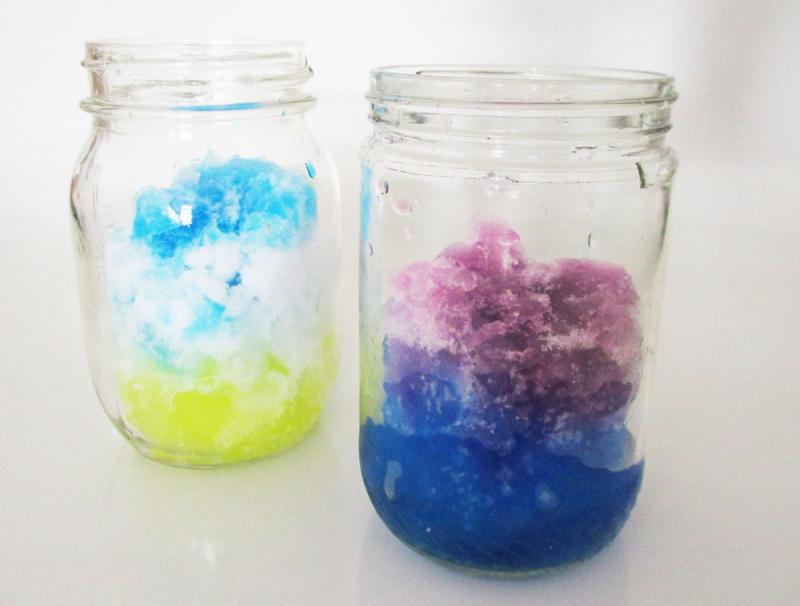
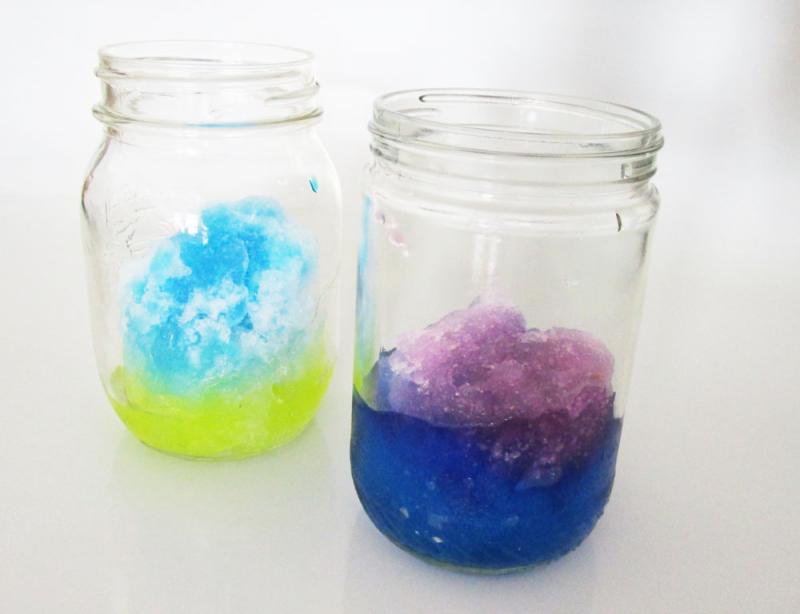
9) Layer snow and diluted food colouring in a mason jar and watch it morph.
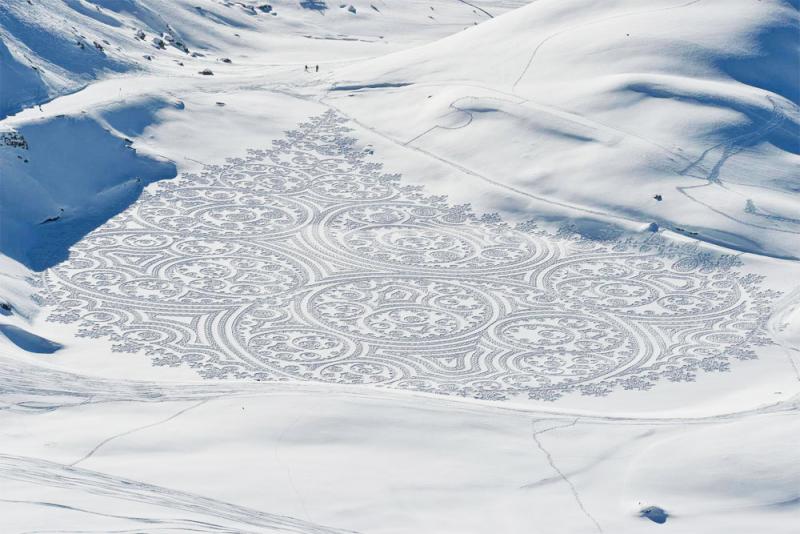
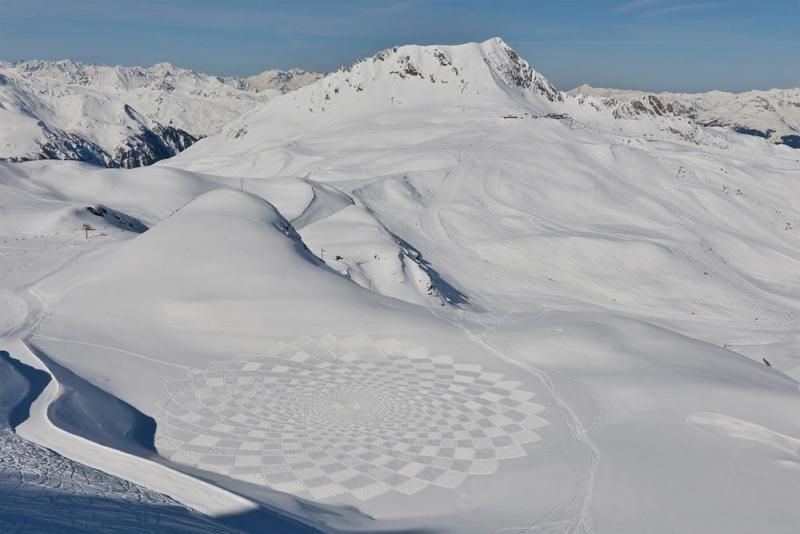
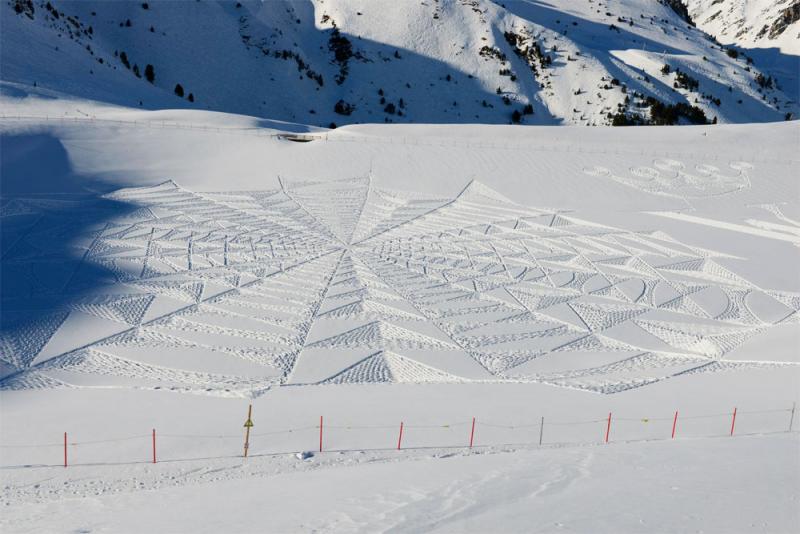
10) If you're feeling particularly ambitious, get back outside and stomp your way to an incredible work of art, just like Simon Beck, snow artist. Amazing, right?

And finally, if you're looking for even more ways to get creative with snow, check out Joe Boughner's awesome Polka Dot Snow idea and then, watch this:
Simon Beck photos courtesy of the artist: Facebook

