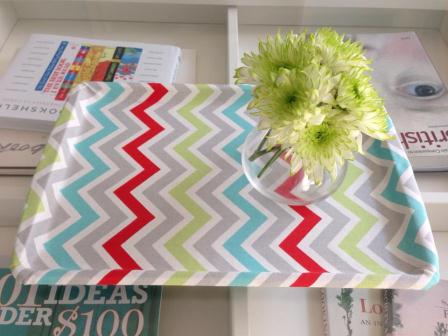
This is the time of year when we all feed the need to be more organized. A great way to 'corral your clutter' is to use decorative trays throughout your home. They add colour and pattern and keep small every day items together in one place. I created this fabric covered tray for a recent Cityline segment. It now has a happy new home on my coffee table. For now, it holds flowers. I am sure in a few days lego figures will be snuck in there by at least one of my boys. Such is life with little kids though, right?

WHAT YOU NEED:
-cookie sheet
-decorative fabric {I used this cheerful mini chevron in 'fresh' from Tonic Living}
-spray adhesive
-scissors
HOW TO:
-Cut the fabric large enough to cover the front of the tray and wrap around the back {like when wrapping a gift}. When cutting, account for the dip around the edge.
-Cover the front of the tray with spray adhesive. Lay the fabric in place, smoothing out any air bubbles as you go. Wrap it over the sides and pull excess fabric carefully to each corner.
-Turn tray over and spray the back with adhesive. Wrap the tray in fabric on two sides. Trim the ends so there is just enough fabric to tuck under the raised adge of the tray. Glue in place.


I got a little carried away, as I tend to with DIYs and I created several other trays.....a post about those coming soon!