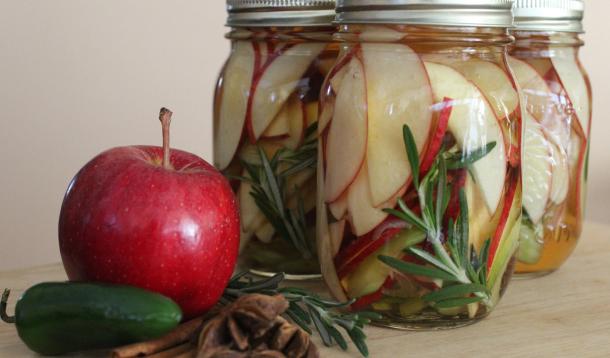
If you’re a fan of traditional pickles, maybe it’s time to branch out (pun intended) to pickled fruit. Not only are pickled apples fast to make and delicious, they add a bright burst of colour to any meal. I love this recipe because you can make just one jar or several and once the brine has worked its magic for a day or two, the apples are ready to be enjoyed. My kids love putting them in grilled cheese sandwiches while I enjoy scattering them over salads or munching with a handful of nuts for a mid-afternoon pick-me-up. Use whatever apple you like; my favourites are sweet, rosy-hued Galas but any red apple will do just fine. Like this delicious zucchini relish, and no-cook pear chutney, pickled apples also make a fantastic hostess or holiday gift that shows you care enough to offer a handmade present.
Ingredients
Directions
 Wash and dry three 16 ounce (500 mL) canning jars and lids. Set aside.
 In small non-reactive pot, stir together vinegar, water sugar and salt. Add cinnamon sticks and star anise. Warm over medium heat until sugar and salt dissolve, stirring occasionally. Once sugar and salt have dissolved, remove and reserve the cinnamon sticks and star anise and transfer the mixture to a pitcher or measuring cup and put in the refrigerator to cool.
 While brine is cooling, slice shallots and jalapeño as thinly as possible. The easiest way to slice a hot pepper is to take the sides off and then slice them. This leaves the core and seeds intact, making them easier to discard. Once sliced, set aside.
 Wash celery stalk and slice thinly on the diagonal.
 Wash apples but do not peel. Core and slice thinly. The easiest way to do this is to cut the apple off the core in four pieces which can then be sliced easily.
 Fill the canning jars in layers. Start with the cinnamon and star anise, then add a little bit of the shallot and jalapeno, followed by celery and apples. Try to divide the mixture as evenly as possible among the three jars. When the jars are half full, tuck the rosemary sprig down one side (it looks pretty to have it visible). Keep adding shallots, jalapenos, apples and celery until all three jars are packed as tightly as possible. Depending upon the size of your apples, all the slices may not fit. Snack time!
 Once the jars are packed, carefully pour the cooled brine (it should be lukewarm) into the jars. If you don’t have quite enough brine to fill them completely, just mix two parts cider vinegar to one part water (i.e., 2 tbsp vinegar + 1 tbsp water) to top up the jars.
 Because these pickles are not being processed in a hot water bath, they must be stored in the refrigerator. Let stand for at least a day before eating. They are best consumed within a month of making.
Makes three 16 ounce (500 mL) jars.

![]() Holiday Cooking 101: Everything You Need To Know About Cooking A Turkey
Holiday Cooking 101: Everything You Need To Know About Cooking A Turkey
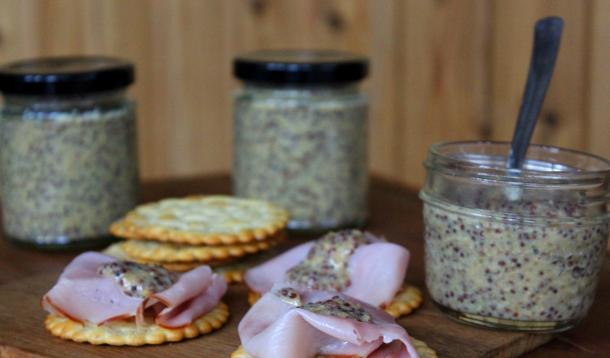
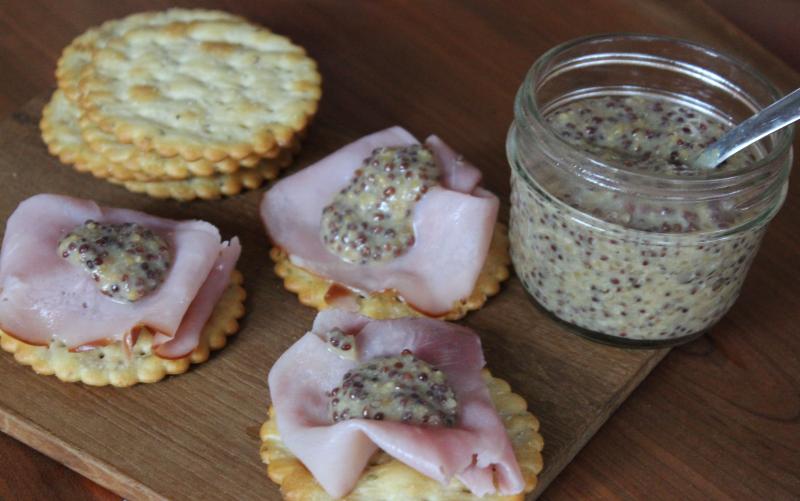
Gourmet condiments are all the rage these days, including specialty mustards. Did you know it’s super easy to make your own delicious mustard at home? It makes an ideal hostess or holiday gift; you could put together a festive and sure-to-be-appreciated edible gift package that includes homemade mustard, roasted sweet-salty nuts, cranberry-balsamic chutney and salted honey bark. You can make this mustard with any liquor you like – bourbon or scotch would be great – but to keep it proudly Canadian, I like the combination of rye and maple syrup. If you would prefer to use less alcohol (although it does get cooked off), substitute 1/4 cup of apple cider for 1/4 cup of the rye whisky. I recommend packaging the mustard in small jars so they retain their flavour.
Ingredients
Directions
 Combine mustard seeds, boiling water and 1/2 cup of the whisky in a bowl. Cover and let stand for 2 – 12 hours until most of the liquid is absorbed.
 Transfer soaked seeds and any remaining liquid to a medium sized saucepan. Add remaining 1/4 cup whisky, cider vinegar, mustard powder, maple syrup and salt.
 Over medium heat, stirring constantly, bring mustard to a boil; continue to boil until it is starting to thicken, about 3 minutes. Taste and add a tiny bit more vinegar and/or salt if needed to suit your preferences. Note that the mustard will thicken further when it cools.
 In the saucepan, puree mixture slightly with a stick blender (leaving some seeds intact for that grainy texture) OR transfer to a blender or food processor and puree slightly.
 Fill four clean 125 ml (1/2 cup) jars to within 1/4 inch of the top. Run a wooden skewer or the handle of a small spoon around the edges and middle of the jars to eliminate any air bubbles. Wipe the rim of the jars with a damp paper towel then affix the lids.
 For short term storage, mustard can be refrigerated for up to 6 months. For longer term, shelf-stable storage (up to one year), process jars in a boiling water bath.
 Once opened, even with refrigeration, the jars of mustard will maintain their peak flavour for about a month, after which point they will start to fade in intensity (but they will still be safe to eat for up to six months from opening).
Makes 2 cups.

![]() Holiday Cooking 101: Everything You Need To Know About Cooking A Turkey
Holiday Cooking 101: Everything You Need To Know About Cooking A Turkey
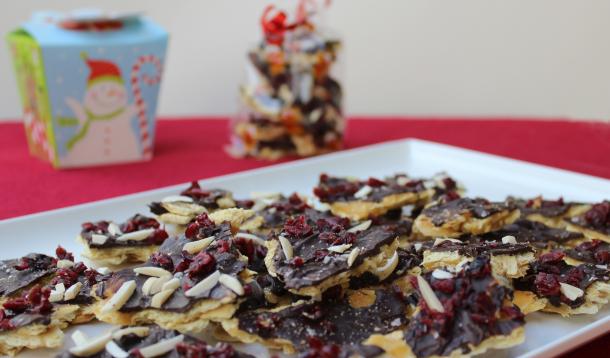
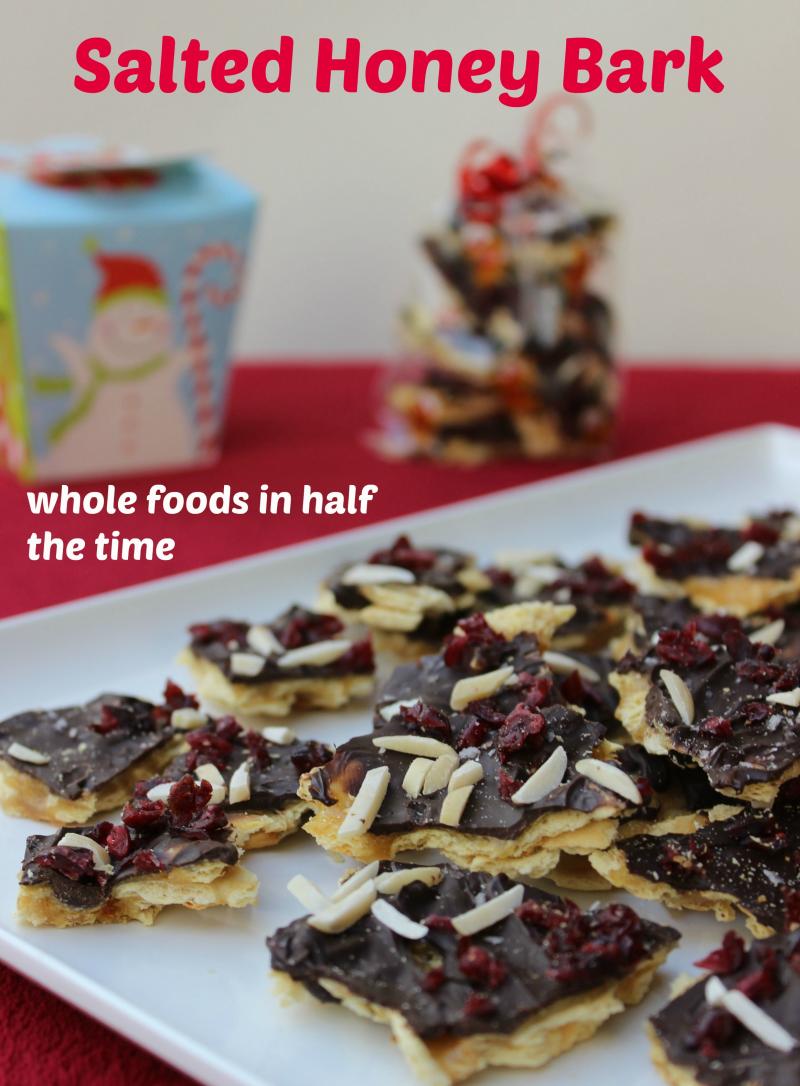
This delightful confection is both sweet and salty. While most people are familiar with salted caramel, salted honey is even more appealing and makes this treat recipe a little healthier than ones which include a lot of refined sugar. Kids can easily get in on the fun of helping to make the bark – they can crush the crackers, stir the honey syrup (with supervision) and sprinkle the toppings on as well. Part snack, part candy, this bark makes an ideal teacher or hostess gift.

Ingredients

Directions
 Preheat oven to 350F. Line a baking sheet with parchment paper.
 Using your hands, coarsely crumble crackers into one layer onto the prepared baking sheet (pieces should be 1/2 inch approximately). Toast in oven until golden brown, 3 - 4 minutes. Remove from oven and set aside to cool.
 Put sugar, honey, and butter in a medium saucepan over medium-high heat. Cook, stirring occasionally, until butter is melted, then stir constantly as soon as it begins to bubble. Use instant-read thermometer and watch the temperature as it will rise quickly as the syrup cooks. Remove from heat as soon as it reaches 300F, about 5 – 7 minutes.
 Stir in baking soda (mixture will foam up). Quickly pour mixture over crackers, as evenly as possible.
 Immediately sprinkle chocolate chips evenly over top. Let sit 3 – 4 minutes until melted, then spread in a thin layer using a knife or spatula.
 Top with cranberries and almonds then sprinkle with salt. Use the tip of a knife or your fingertips to press almonds into the chocolate.
 Chill until chocolate is hardened, at least 10 minutes. Break bark into pieces and store in an airtight container for up to a month (as IF it's going to last that long!!!).
Makes approximately 6 cups.
