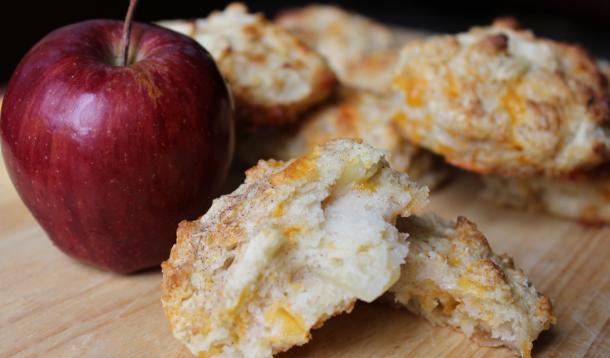
I always shed a tear when my pies get polished off the night they’re first served because leftover pie is truly one of the most glorious things to enjoy at breakfast. These biscuits are inspired by my personal favourite, apple pie, which I always make with lots of cinnamon and enjoy eating hot out of the oven with a slice or three of old Cheddar on top. They also tip their hat to my other favourite new breakfast treat: Apple Cinnamon Snacking Squares.
A cinch to prepare, these biscuits are nutritious and filling, making them a great addition to an on-the-go breakfast. They’re ideal in a lunchbox too! To speed things up in the morning, you can prepare the apples the night before; cover and refrigerate. Do the same with the cheese and have the dry ingredients already measured and in the bowl. With these steps taken care of, it will take less than 5 minutes to get biscuits into the oven in the morning. Be prepared to have your family worship you forever.
Ingredients

Directions
 Preheat oven to 425F and line baking sheet with parchment paper. Set aside.
Combine cinnamon and sugar; remove 1 tsp of the mixture and set aside.
Toss sliced apples with lemon juice plus remaining 2 tbsp cinnamon and sugar mixture. Set aside.
Combine flour, baking powder, baking soda, salt, and sugar in a large bowl.
With a box grater, grate the cold butter into the flour mixture and toss with your fingers to combine.
Add apple mixture, milk and cheddar to the flour and butter mixture. Stir quickly with a wooden spoon, just until the dough comes together. If it seems too dry, add 1 tbsp milk.
Turn the dough out onto a clean, lightly floured work surface and draw it together with your hands.
Pat the dough down into a 1/2 inch thick rectangle and cut into 12 – 15 biscuits with a biscuit cutter or sharp knife.
Place biscuits one inch apart on the parchment-lined baking sheet and sprinkle tops with reserved 1 tsp of cinnamon sugar.

Bake until golden, about 15 minutes. Serve warm or at room temperature.

Remaining biscuits can be wrapped individually and frozen.
Makes 12 – 15 biscuits

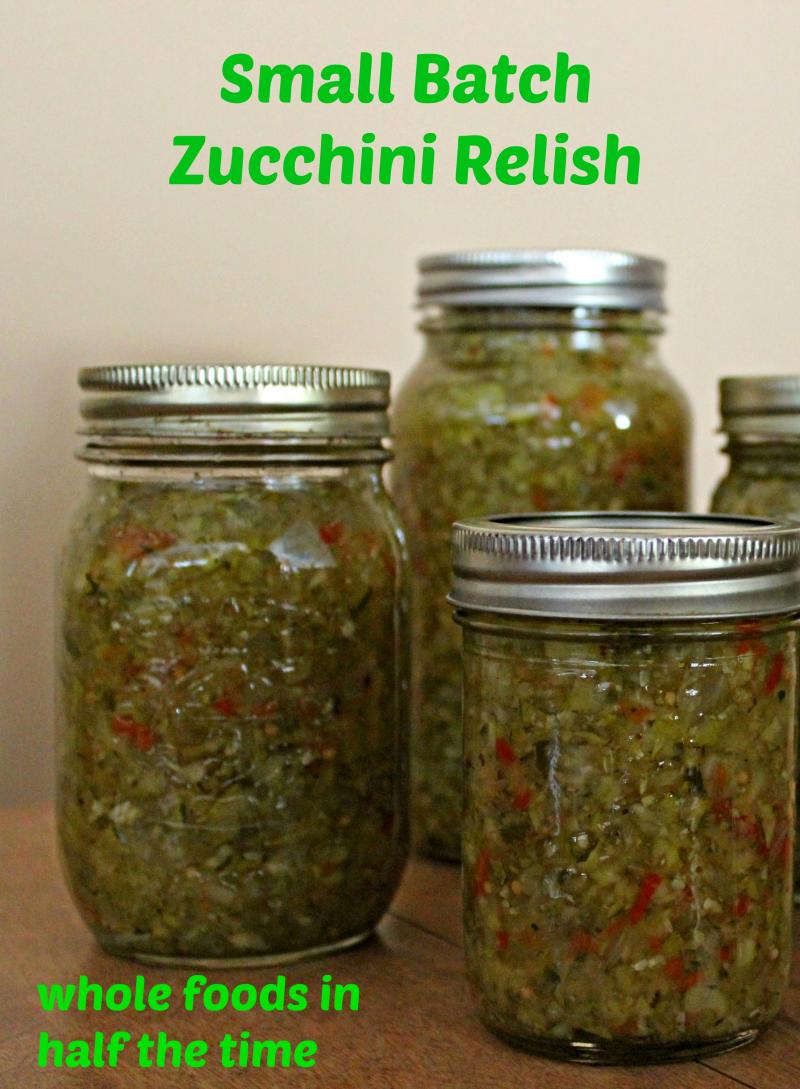
My family loves all sorts of pickled fruits and vegetables and now that they’ve got a taste for homemade they really don’t like storebought relishes, which tend to be overly sweet and also contain way more sodium than is necessary or healthy.
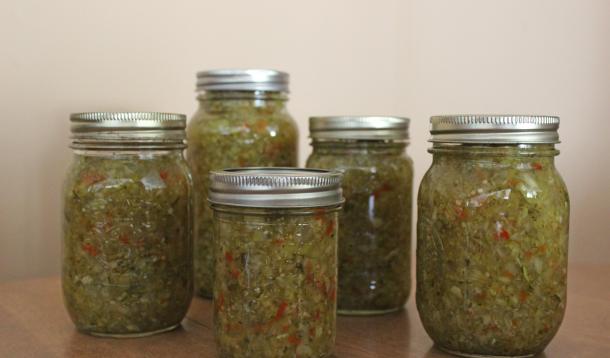
This zucchini relish is simple to make and tastes fantastic with roast chicken, turkey and pork, as well as on burgers and hotdogs. The quantities below can easily be halved if you want to make a really small batch; I tend to work with these amounts because it yields a few jars for my own fridge plus several for gifting to friends and family. In fact, this would make the perfect hostess treat for fall dinners, especially with Thanksgiving just around the corner!
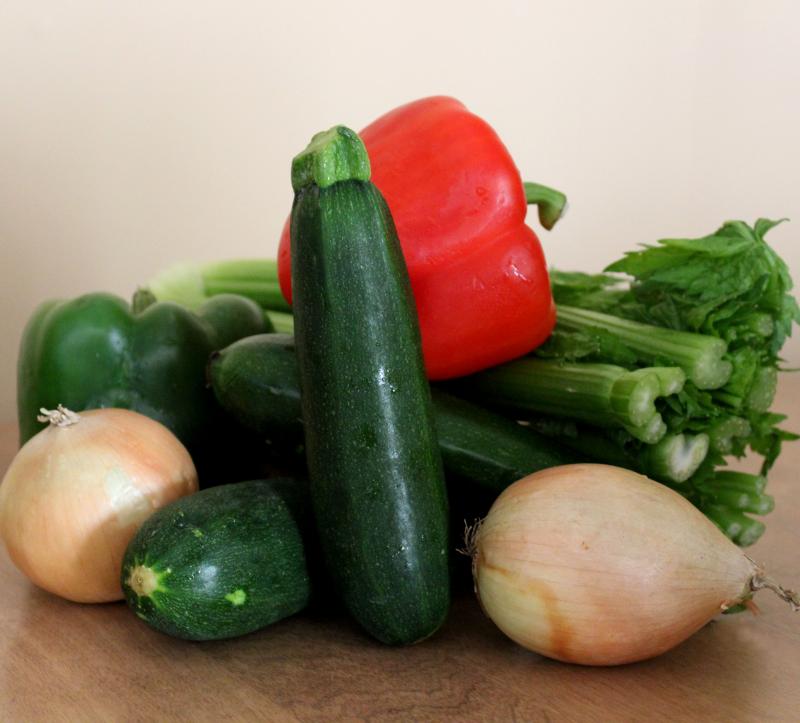
You’ll note that the ingredients listed below are not precise; that’s simply because vegetables don’t grow in precise sizes! Your goal is to assemble about 12 cups of combined chopped vegetables – I find it easiest to measure the capacity of the bowl or container I plan to put the vegetables in to rest overnight (do this by filling with measured water) and then when I get to that level, I know I have enough vegetables. If you chop your vegetables in a food processor, this recipe takes just moments to assemble; after the resting time the cooking sequence is super fast too. You can even spice things up by adding a tablespoon of curry powder if that flavour profile appeals to you.
Ingredients
Directions
 Wash all the vegetables. Halve 5 of the zucchinis lengthwise and cut into one inch pieces. Using a food processor (or you can do this by hand with a sharp knife), chop into pieces approximately 1/4 of an inch in size. Put them in a large bowl or food storage container (capable of holding 12 cups).
Use the same technique to prepare the onions, celery and peppers, adding them all to the zucchini. If you’re not yet at the 12 cup (approximately) mark, chop additional zucchini as needed.
Sprinkle the vegetables with the coarse salt and stir gently to blend.
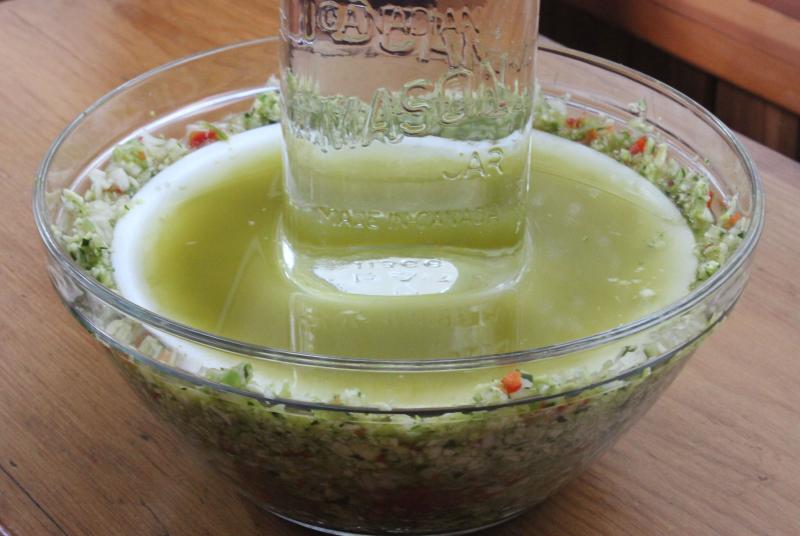
Place a plate on top of the vegetables (it doesn’t have to completely cover them) then weight the plate down with a large glass jar (or a large glass measuring cup) filled with water.
Let sit overnight so the vegetables will release some of their moisture.
The next day, drain the vegetables in a sieve or colander and rinse well.
Prepare your jars by washing well in warm water and placing in an oven that’s been preheated to 230F. Turn the oven off. Place the two parts of the lids of your canning jars in a small pot of water and bring to a boil.
In a large pot, combine sugar, vinegar, garlic and seasonings. Cover and bring to a boil and simmer gently for 5 minutes, stirring occasionally.
Add the drained vegetables and bring back to a boil. Reduce heat and simmer, covered, for 10 minutes, stirring every 2 minutes.
With a ladle and wide-mouth canning funnel, transfer the relish into the sterilized jars. As you fill each one, wipe the rim with a clean, damp cloth then immediately put the lid on and tighten it with your fingers.
The relish can be stored in the fridge for up to 6 months. For longer term storage, or to store at room temperature, please follow instructions for safe hot water bath processing for high acid foods.
Makes about 12 cups of relish.