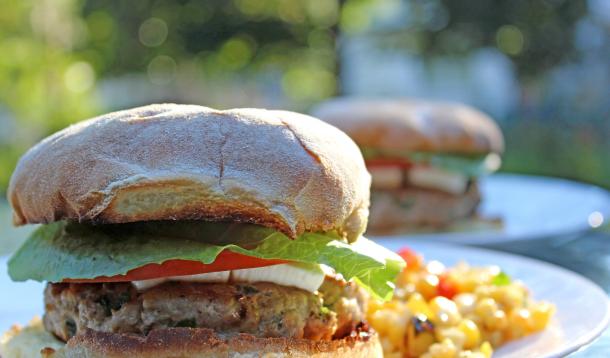
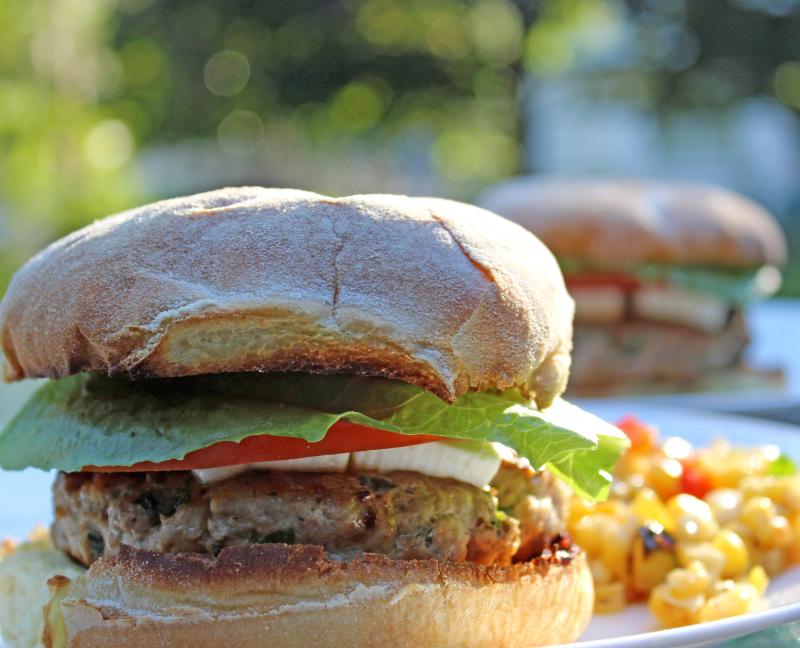
I was challenged by a non-beef eating friend to come up with a better burger recipe for her and her family, and here’s the result. She says it’s perfect because it’s nutritious and flavourful; by the time her kids smothered theirs in ketchup, mustard and relish, they’d not bothered to notice the green flecks of goodness in their burgers. You can make the burgers gluten-free by swapping out the panko for quick-cooking rolled oats. Top these beauties with whatever cheese your family prefers – feta was a winner in our house.
Ingredients
Directions
 Put ground turkey in a bowl. Add all other ingredients and mix well with your hands, distributing kale and seasonings evenly throughout the meat.
Shape into three large burger patties, each about 1/2 inch (1.25 cm) thick.
Place the patties on a parchment-lined baking sheet and refrigerate for at least an hour (or cover and let stand in fridge for up to 24 hours) before cooking.
At this point, burgers can also be frozen, tightly wrapped, and stored for up to 3 months. Thaw in the fridge before cooking.
Grill or cook in an oiled cast iron pan until burgers reach 165F.
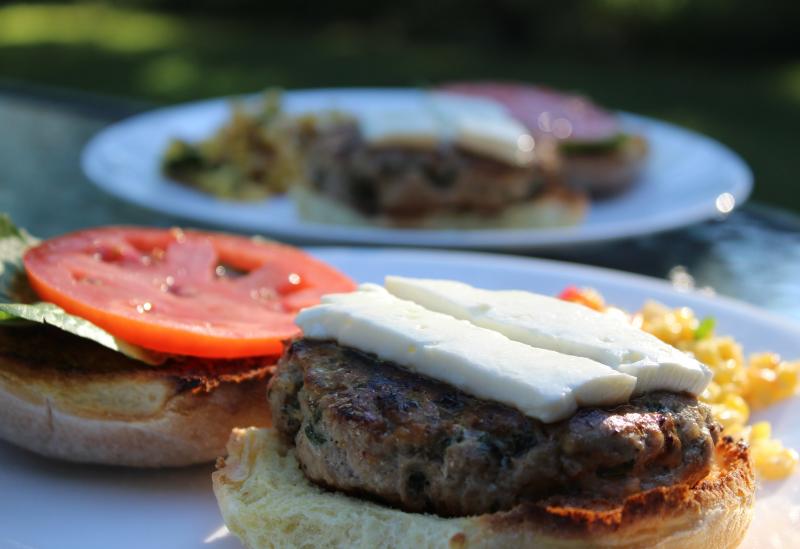
Place two slices of feta on each burger and cook a few minutes more until cheese has melted.
Serve on toasted buns.
Makes 3 burgers; can easily be doubled or tripled.


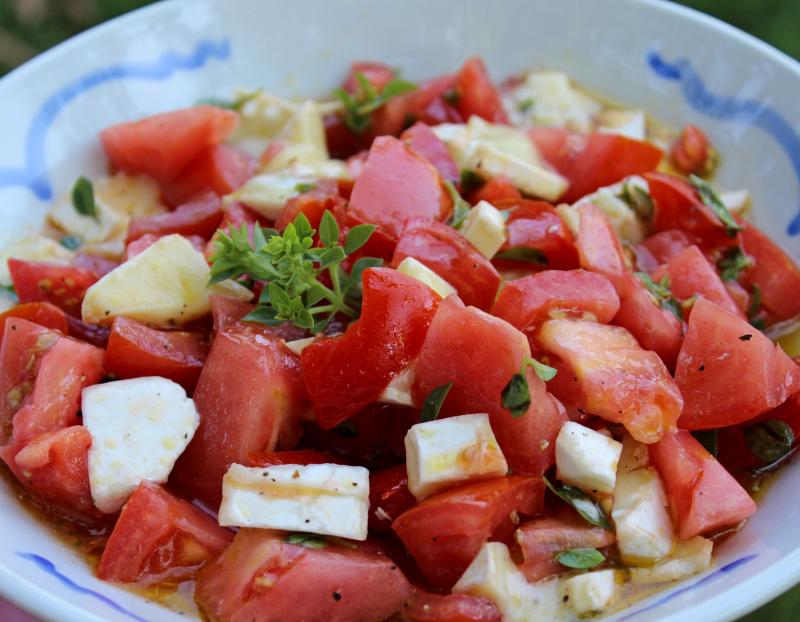
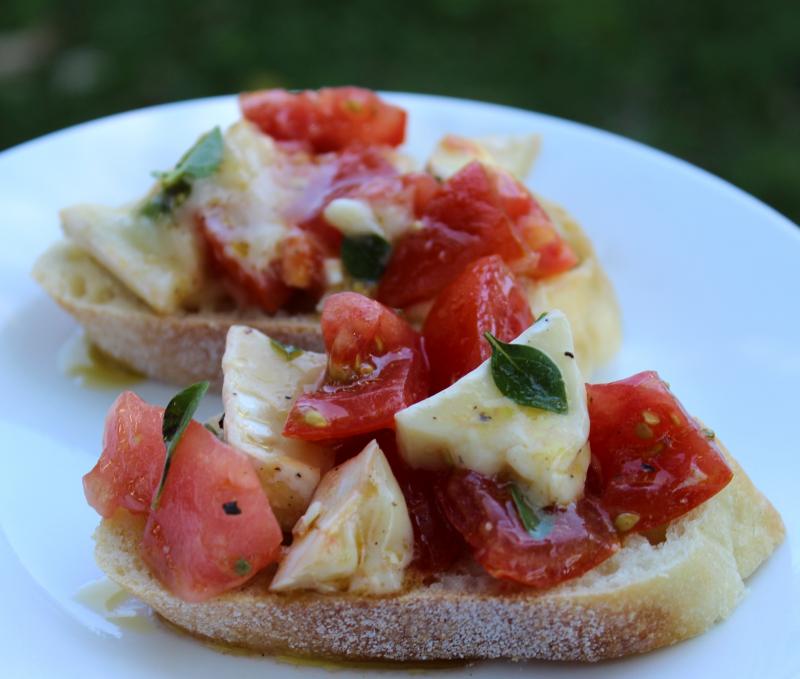
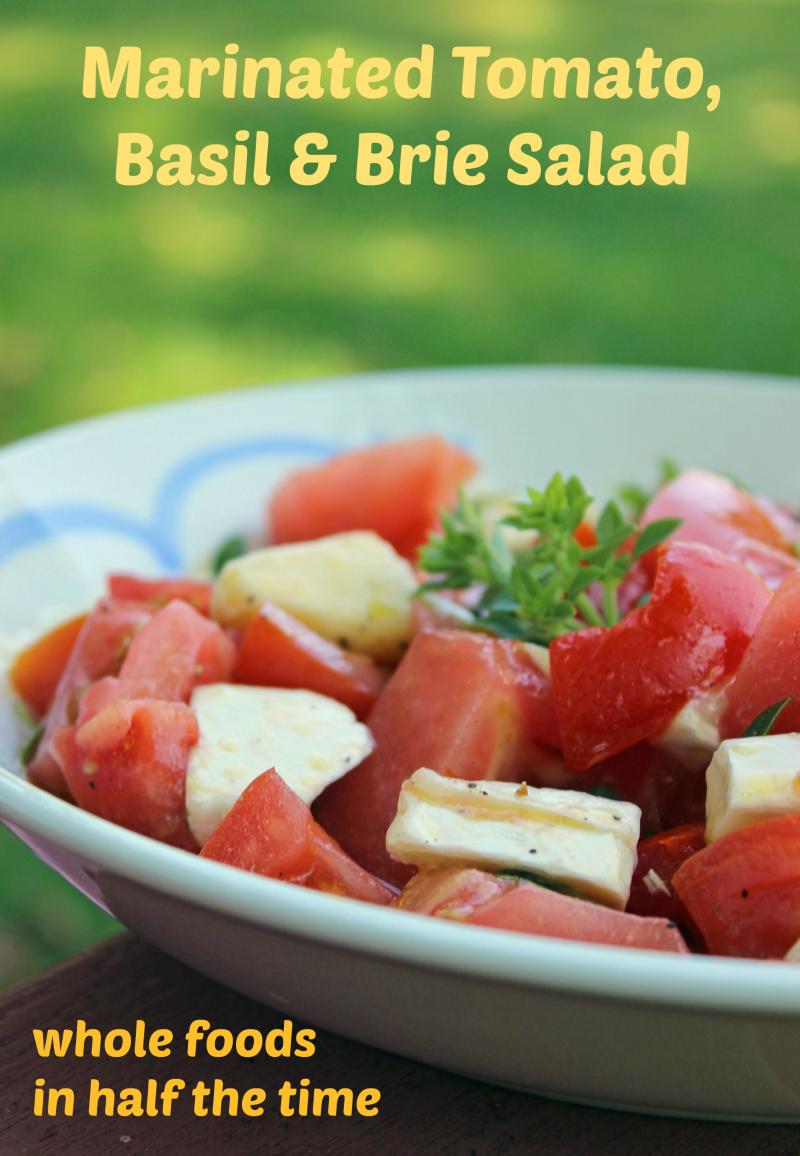
Like its cousin, the cute Caprese, this salad is an absolute stunner during tomato season. Despite having just a few ingredients, it delivers a huge flavour. It’s great on its own, or as a topping for slices of baguette. I like to use brie that’s been aging for a few weeks in my refrigerator for a slightly tangier taste. The way to judge the ‘ripeness’ of brie is simple – young brie will have 45 or more days to go before its best before date; semi-ripened has 20 – 45 days to go and fully ripened will have 20 or less days to go and will feel much softer than young brie when you press on the rind. This salad is best made an hour or two ahead of time; simply cover the bowl and leave it to marinate at room temperature.
Ingredients
Directions
 Combine tomatoes and brie in a bowl and stir gently to combine.
Heat a generous glug of olive oil - enough to very lightly coat whatever quantity of tomatoes and brie you've chopped - in the microwave till it is hot but not boiling.
Drizzle the warm oil over the tomatoes and brie then sprinkle with salt, pepper and basil.
Stir gently then cover with plastic wrap and let sit at room temperature for at least one hour so cheese softens and flavours blend.
Stir gently and serve at room temperature, as is or with slices of baguette.
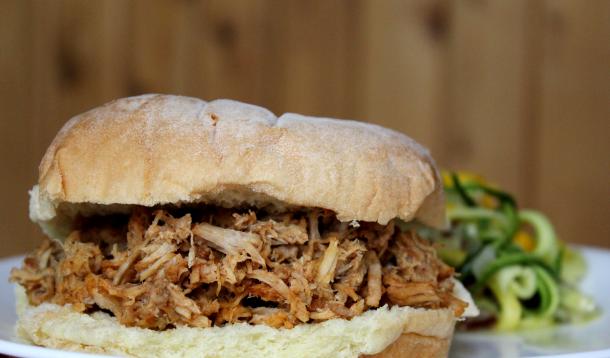
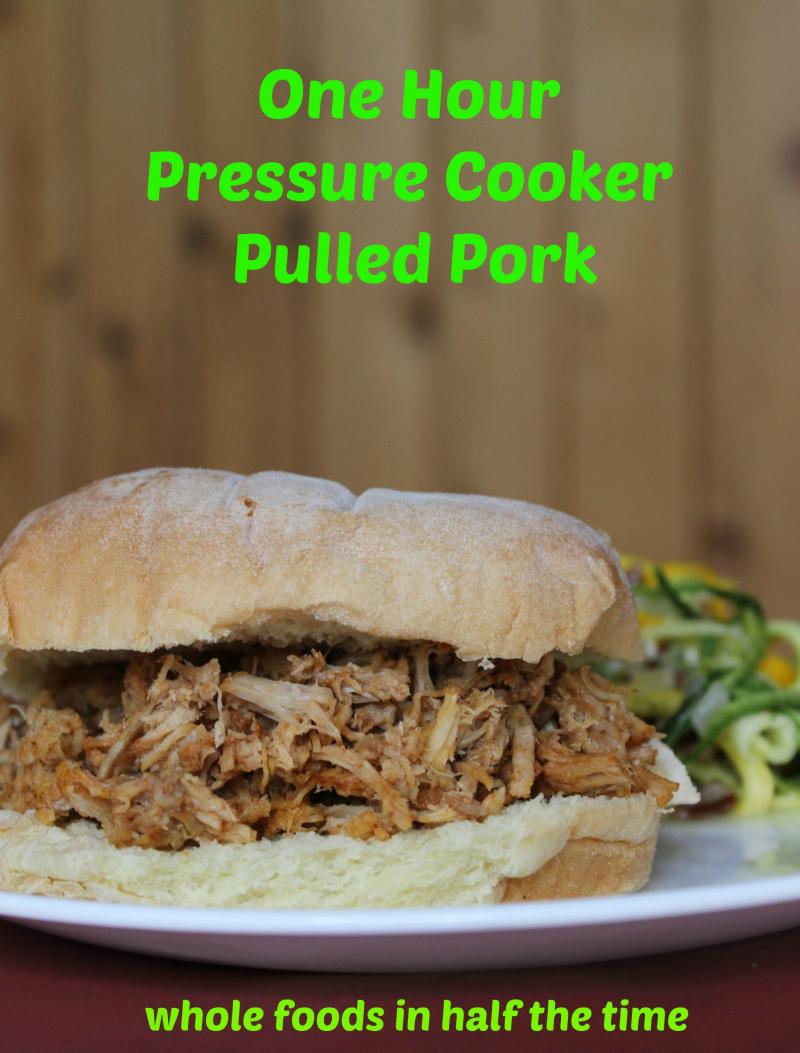
I don’t think my family has ever been more skeptical than the day I told them I was going to make pulled pork using a pressure cooker. They’re used to watching me sweat it out for hours over a barbeque or smoker to prepare this Southern delicacy. While this new version probably wouldn’t beat out traditional pulled pork at a competition, it is a pretty awesome substitute for the stuff that otherwise involves a 6 hour cooking and shredding ritual. The pressure cooker makes the meat fall-apart tender and shredding it in the stand mixer was a stroke of time and energy saving genius, if I do say so myself. I’ll be serving a lot more pulled pork now that I’ve found a way to save this much time preparing it.
Ingredients
The Meat
5 pound loin roast or equivalent weight of boneless pork chops
3 – 4 tablespoons olive or canola oil
The Rub
2 tsp salt
1 tbsp brown sugar
1 tbsp cumin
1 tsp chili powder
2 tsp black pepper
1/4 cup paprika
The Sauce
3/4 cup Worcestershire sauce
1 cup cider vinegar
3/4 cup brown sugar
3/4 cup ketchup
1 cup water
3/4 tsp cayenne
few drops liquid smoke
Directions
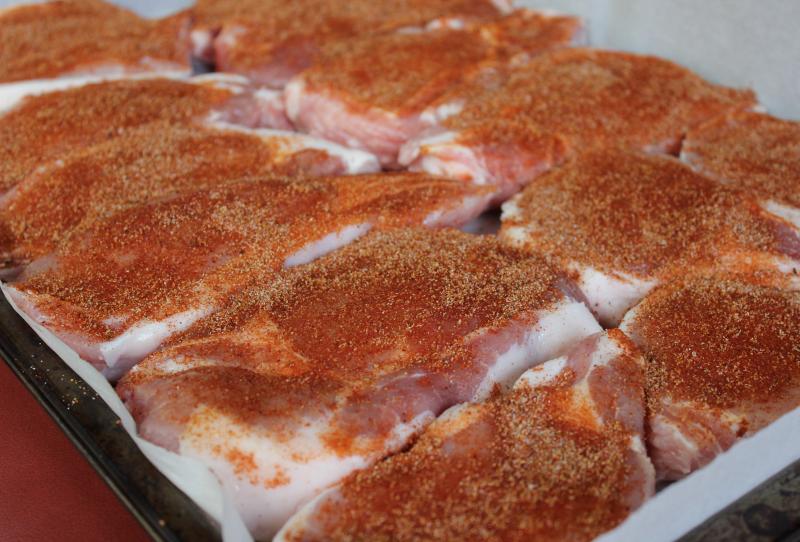
 If using a pork roast, slice crossways into 3/4 inch thick pieces (they’ll resemble pork chops).
Place the pork pieces or chops on a baking tray and rub both sides of the meat liberally with the dry rub. Set aside.
Make sauce by combining all ingredients in a medium saucepan. Bring to a boil over high heat, whisking occasionally. Let cook 2 minutes then remove from heat.
Heat 2 tablespoons of oil in a pressure cooker over medium heat. Working in small batches to avoid overcrowding and adding more oil as needed, sear the pork chops on both sides.
Return all the pork to the pressure cooker and add 1 cup water plus 1 cup of the sauce, being sure not overfill your pressure cooker (2/3 full is typically the maximum).
Put the lid on the pressure cooker and following the manufacturer’s instructions, bring to a boil over high heat. Reduce heat slightly, maintaining pressure, and cook for 45 minutes.
Safely de-pressurize the cooker.
To shred the meat, place it in the bowl of a stand mixer. With the regular paddle, stir the meat on a slow speed until it begins to fall apart, then increase speed and beat for 1 minute more until uniformly shredded. Alternatively, shred the cooked meat on a cutting board using two forks.
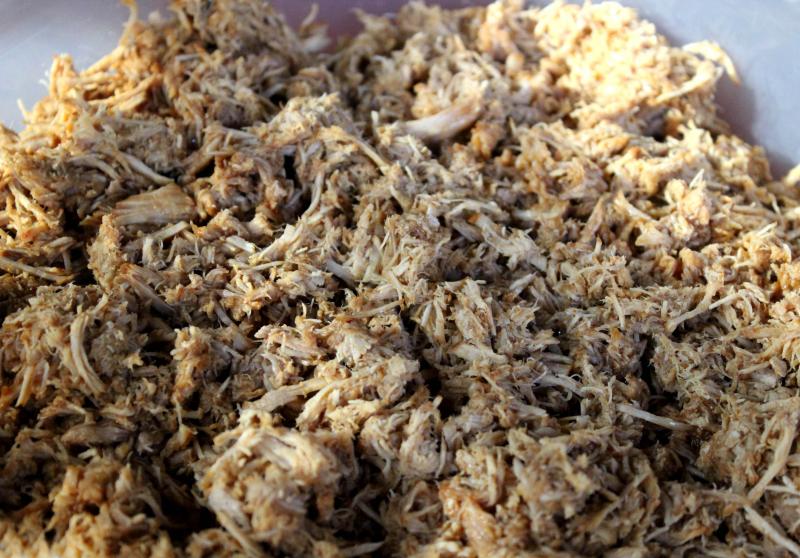
Place the shredded meat in a heatproof bowl or casserole dish and drizzle the reserved sauce over top; stir to combine.
Note that you can prepare pulled pork in advance and reheat it gently in microwave when ready to serve. It also freezes and reheats beautifully.
Serve on buns with your favourite salads.
Serves 10 - 12