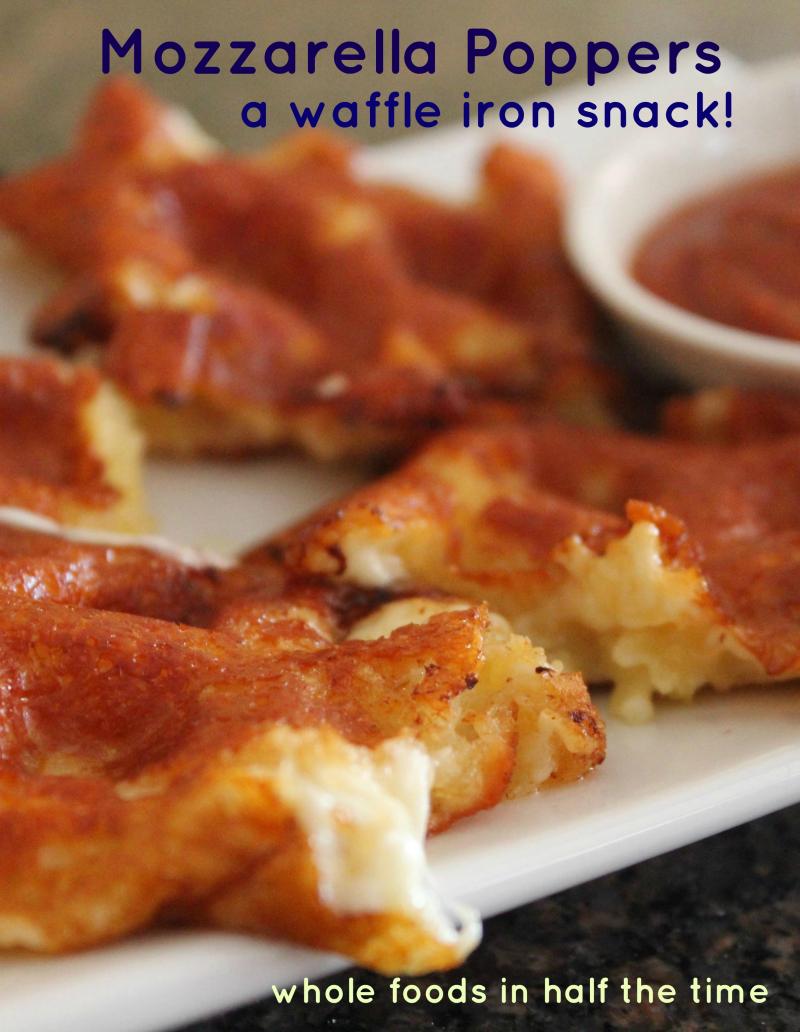
I don't know about your family, but I honestly think mine is addicted to cheese. From chili mac 'n cheese to grilled cheese to cheesy pasta pie, they just can't get enough of the stuff. This recipe was created for a a hangry kid one day, and it's quickly become one of our favourite snacks. We like to dunk them in pizza sauce, but they would be great with salsa too.
Ingredients
Directions
 Cut mozza into 1 x 1 x 1/2 inch cubes
Put flour in a small, shallow bowl; blend in oregano.
Put egg in a bowl, put panko in a third bowl.
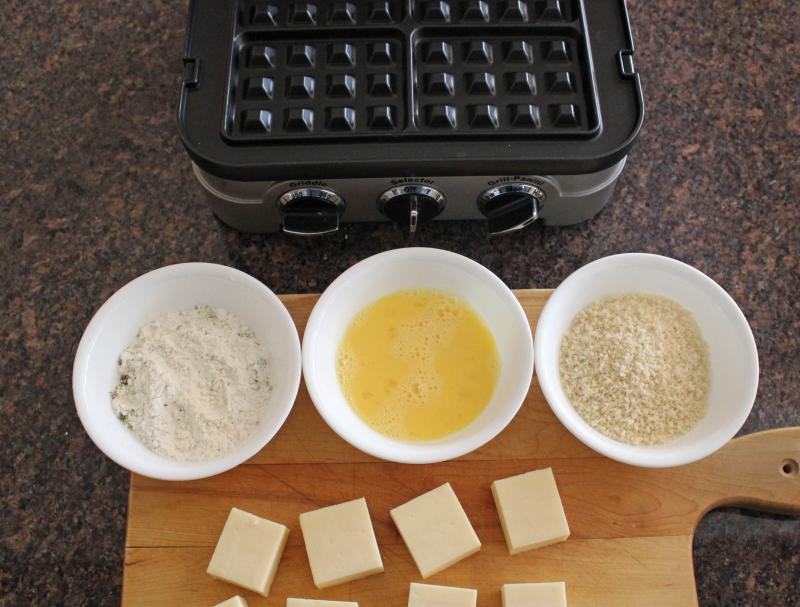
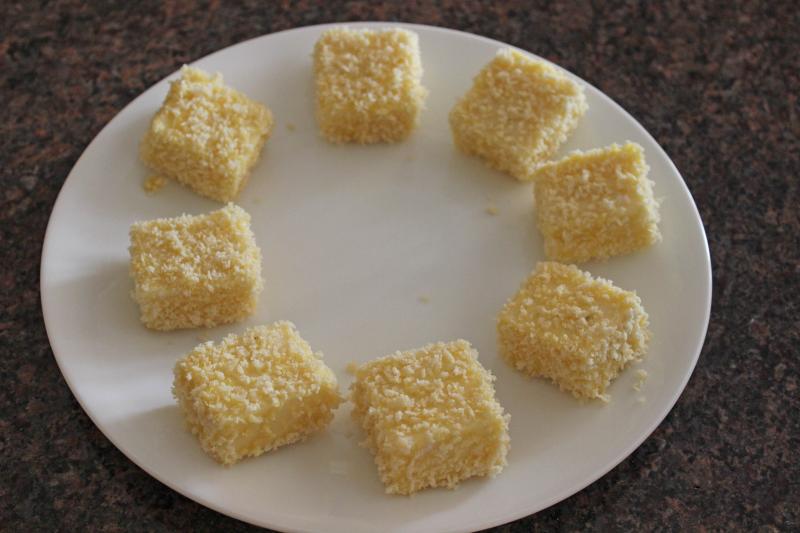
Roll mozza cubes one at a time in flour, then egg, then panko, making sure they are thoroughly coated with breadcrumbs. Place on a plate while you finish preparing the rest of the cheese cubes.
Preheat waffle maker.
Grease waffle plates lightly with canola oil.
Add one coated cheese cube per compartment of your waffle maker.
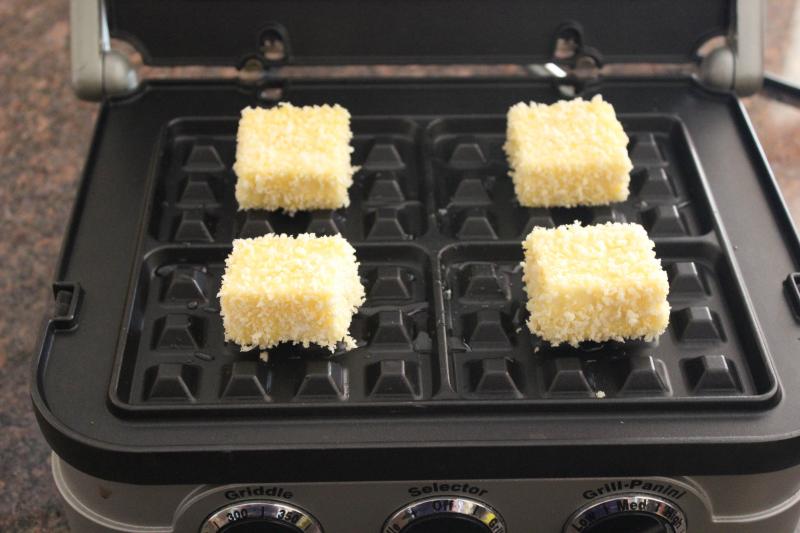
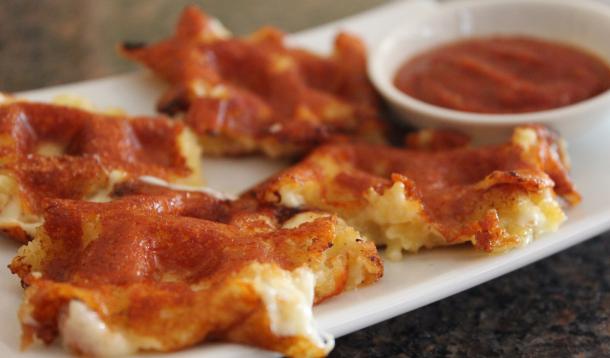
Cook 3 minutes, until bread crumb coating is golden brown and cheese has melted. If the bread crumb coating sticks to the top plate, just pry it off and stick it back on the cheese – it will adhere perfectly.
Let sit for 2 minutes before eating; serve with pizza sauce for dipping.
Makes 8 mozzarella poppers.
![]() RELATED: You Can Pair Mozzerella Poppers With These Amazing Pita Chips
RELATED: You Can Pair Mozzerella Poppers With These Amazing Pita Chips

Summertime opens up a whole world of cocktail possibilities and I like to shake things up (pun intended) each year with a few new creations. I’ll be kicking off my backyard parties in style with these delightful warm-weather drinks, which you can make ahead and store in the freezer so they’re ready to serve whenever you feel a fiesta coming on! Use whatever herbs you like to add a delicate pop of flavour to your drinks – I’ve tried basil, mint, rosemary and cilantro and they’ve all been delicious. The taste testing was arduous (ok, not really). The best part? If anyone asks what you're having for dinner, you can say salad. Herbs and cucumber are salad, right?? Cheers to summer!
Ingredients
Directions

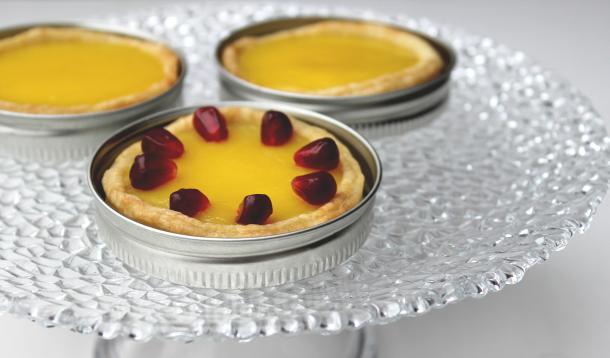
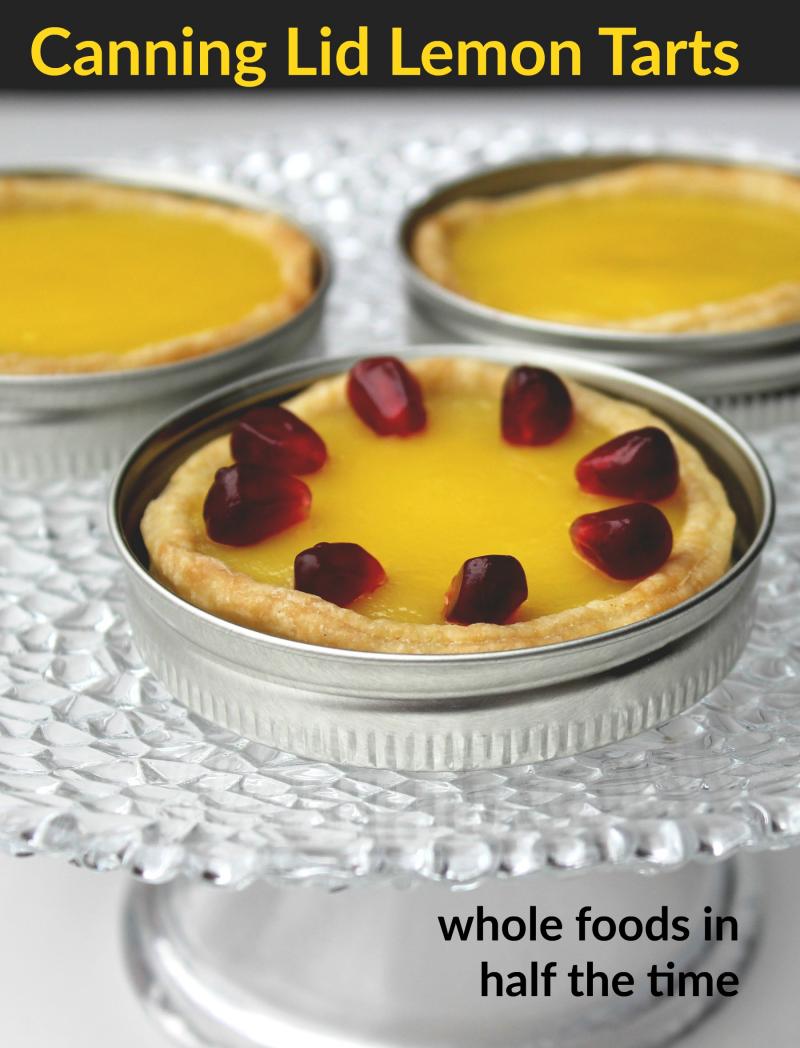
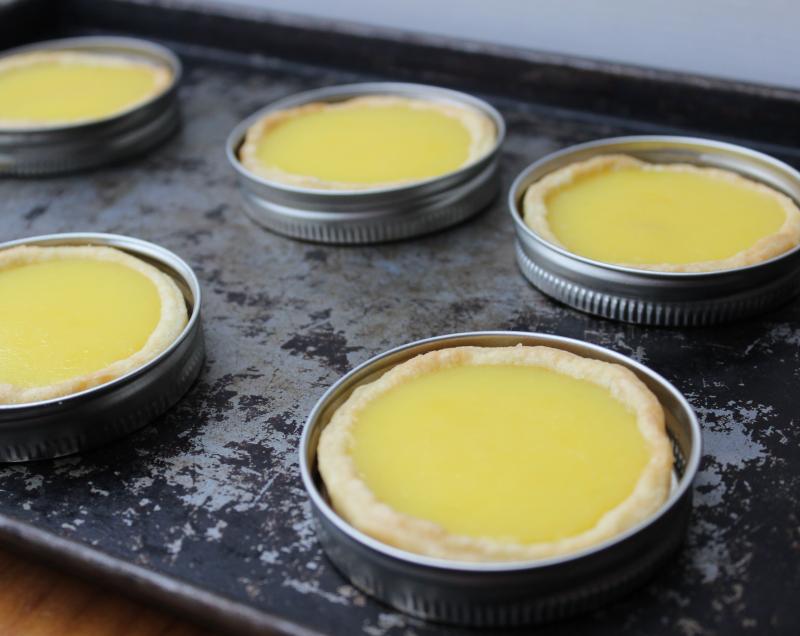
Maybe it’s because I never got that Easy-Bake oven I so desperately wanted as a kid. Or maybe it’s because I grew up hearing ‘good things come in small packages’. Whatever the case, I really do have a soft spot for miniature versions of both sweet and savoury dishes. They just look so darned cute when you present them to family or guests and they can make a recipe that is hard to serve up prettily (I'm looking at you, Shepherd's Pie) so much more appealing. When I got thinking about a luscious lemon tart for spring, I discovered all I had were larger pans with removable bottoms yet I really wanted that adorable cuteness that mini offers. That’s when I realized I actually had a LOT of miniature pans with removable bottoms…they’re called canning jar lids! Unlike the canning jars themselves, which should never be used to bake in, the lids are absolutely perfect for miniature tarts. You can garnish your tarts with whipped cream or your favourite fruit.
Ingredients
Lemon Curd Filling
Directions
Make pastry by combining flour, salt and sugar in a medium bowl. Quickly grate the cold butter into the flour and stir to blend. Sprinkle 3 tablespoons of water over top and stir quickly with a fork.
Add up to 1 tablespoon more water as needed to bind the dough together, using your fingers to incorporate the flour. Do not overwork the pastry.
Turn dough out onto a clean surface and shape into a disc. Wrap well in plastic and refrigerate for at least 30 minutes or overnight. Don’t skip the chilling time as the dough will be difficult to roll out if you do.
While dough is chilling, make the lemon curd. Put the egg yolks, salt, sugar, zest, lemon juice and butter in a small saucepan and cook over medium-low heat, whisking constantly, until butter has melted.
Cook for 3 – 4 minutes longer, whisking constantly, until mixture is bubbling and has thickened.
Pour the warm lemon curd though a strainer into a bowl, scraping with a rubber spatula to press it through.
If not using within the hour, cover tightly and refrigerate.
To prebake the crusts, wash and dry 8 regular sized canning jar rings and lids. Flip the flat lids upside down into the rings so the crust will not sit on the rubber seal. Grease lightly with butter and place on a baking sheet.
Roll the pastry out very thinly between two sheets of parchment paper. Cut the dough into 4 inch circles (widemouth mason jar lids are the perfect size as cutters) and place the circles inside the prepared canning jar lids.
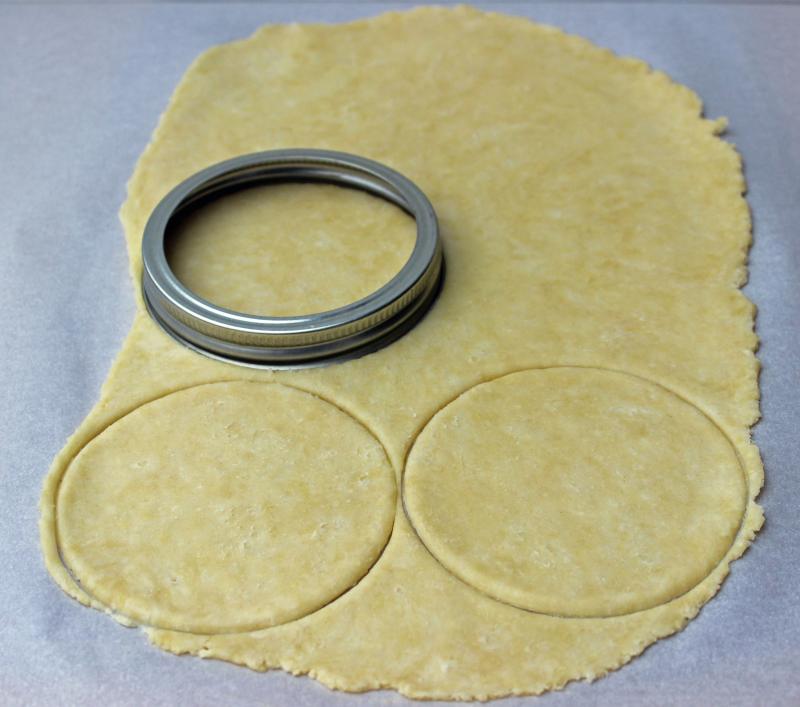
Reroll dough scraps to create additional circles, making 8 in total.
Gently press the dough into the lids; flute the edges with your fingertips if you want to get fancy.
Set the oven to 375F and put the tray of pastry-lined canning jar lids into the freezer while the oven preheats.
Bake for 13 to 15 minutes, until lightly browned. If the bottoms are puffing up, push down on them gently with a wooden spoon to deflate.
Let the pre-baked shells cool before filling.
When ready to fill, preheat the oven to 350F. Fill each tart shell with lemon curd and bake until it is just beginning to set, about 6 minutes.
Remove from oven and let cool before serving.
Makes 8 mini tarts; recipe can easily be doubled.