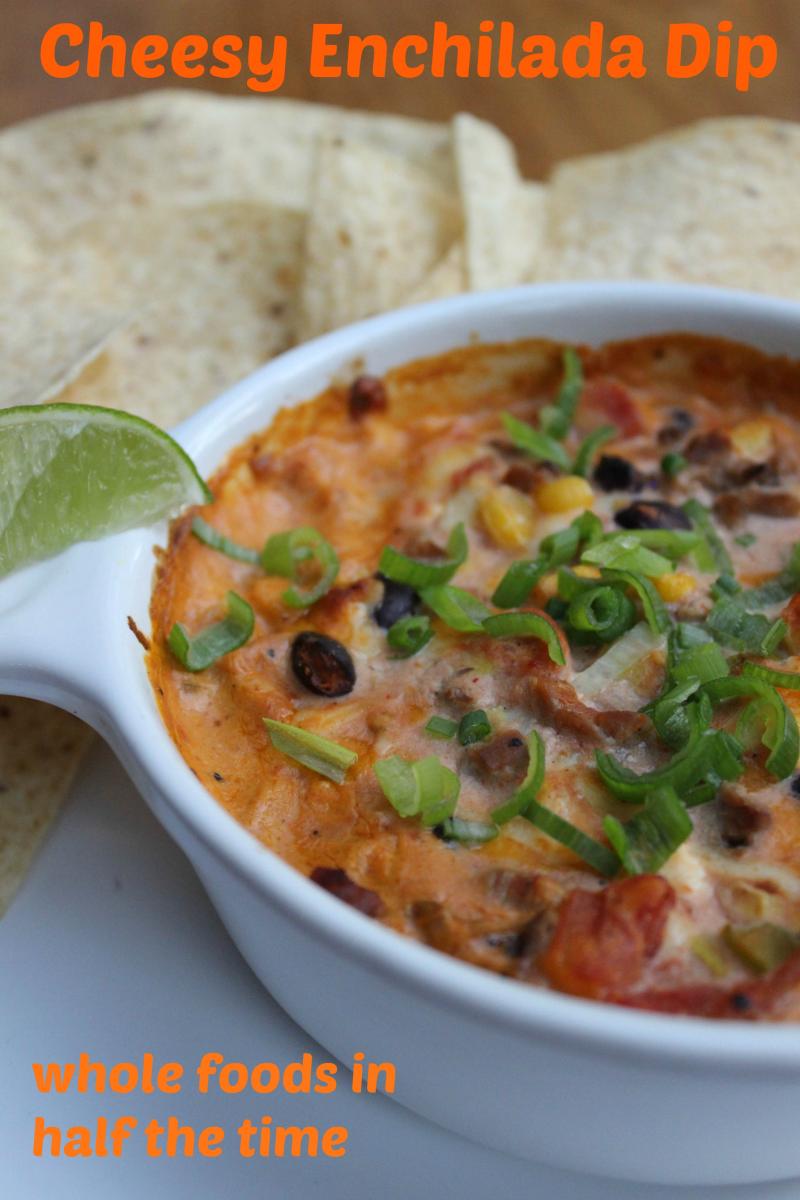
If my family had their way, we’d have something cheesy for dinner every single night. I can pile extra vegetables into a dish, even add in some un-favourite ones, and as long as there’s a good amount of cheese, they’ll eat it up without complaint. I created this when I contemplating making enchiladas one night but came to the realization that really, it’s actually just the filling and toppings that everyone really loves, right? This dip captures all the best flavours of enchiladas, and it takes just moments to prepare. I’ve made it with leftover roast beef, turkey and chicken and all three variations have been delicious - you can even make it with sliced deli meat! For a vegetarian version, you could easily omit the meat or replace it with cubed tofu or textured vegetable protein. As a bonus, you can assemble this dish up to 48 hours ahead, then cover it and refrigerate until ready to bake. Serve it up as either a main course or an appetizer and you just might hear comments like this one from my husband, who said, "this just might be the best thing I've ever eaten."
Ingredients
Directions
 Put cream cheese in a medium sized, microwave-safe mixing bowl. Gently heat over medium power for about 30 seconds, until cream cheese is softened.
Add enchilada sauce to cream cheese and stir to blend well.
Add green pepper, white parts of diced green onions, diced tomatoes, black beans, corn, meat, and spices. Stir to blend well.
Add cheese and stir once more.
Transfer mixture into four two-cup oven safe ramekins, or one larger casserole dish.
Bake at 350F until the entire dish is bubbling (about 20 minutes for smaller size; 25 – 30 minutes for larger).
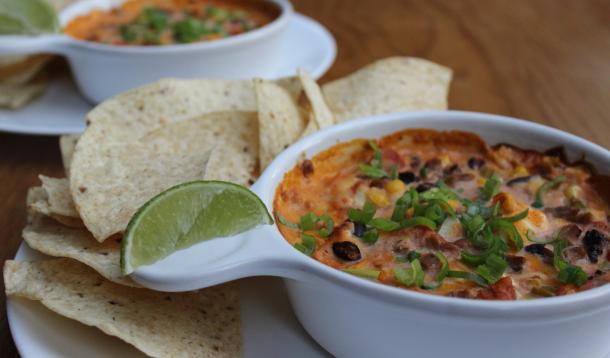
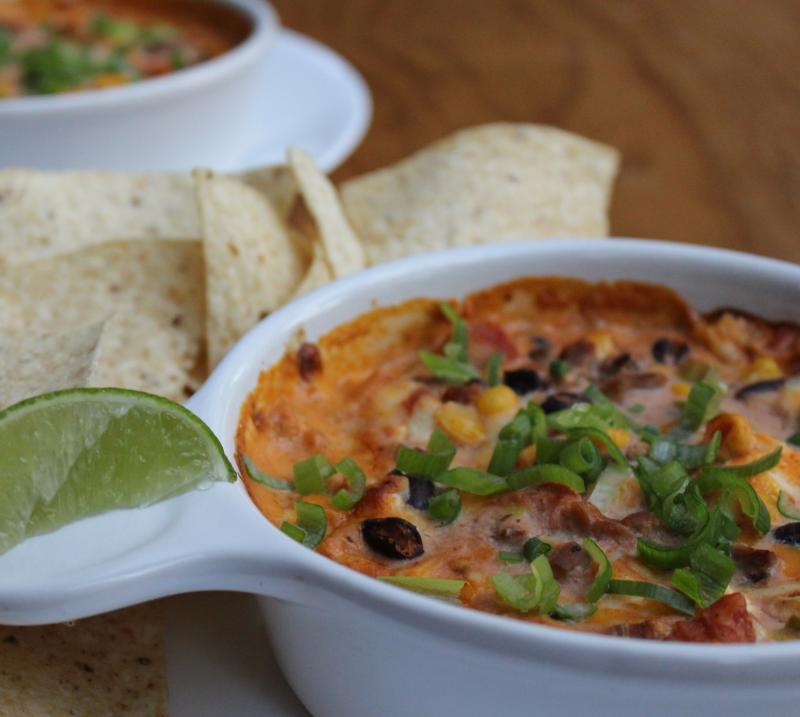
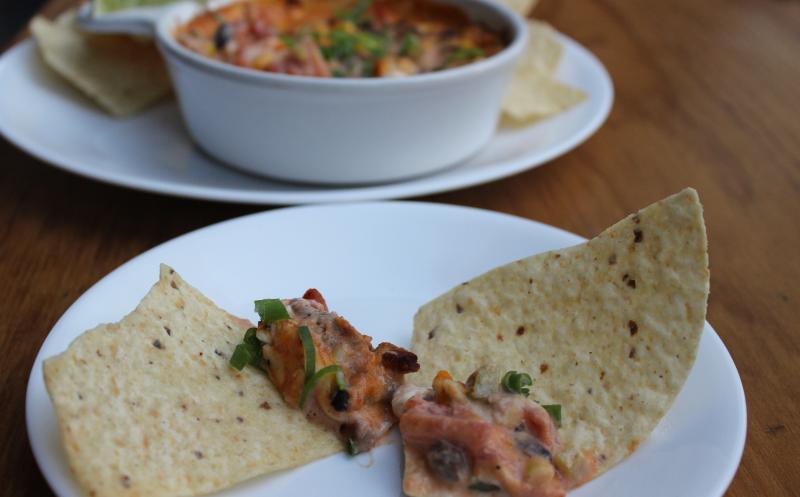
Remove from oven and sprinkle top with green parts of diced green onions. Serve with lime wedges, a dollop of sour cream if you like and tortilla chips for scooping up all the goodness.
Makes four generous individual servings or serves 8 as an appetizer.
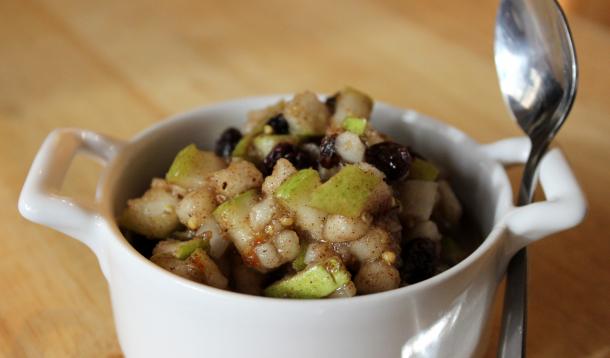
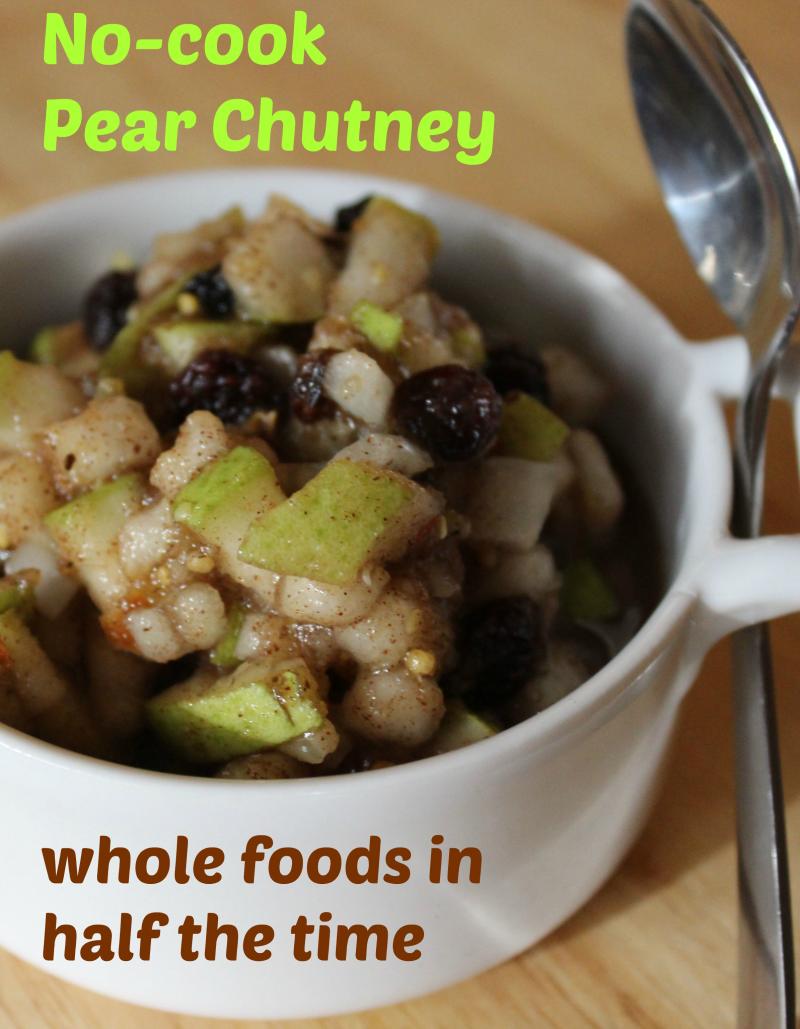
Chutneys are delicious with roasted meat or stews of any kind, as a side dish or even a stuffing - they add a nutritious pop of flavour and colour to any plate. Kids are often lured by chutney as a way to eat foods they don’t otherwise enjoy – when my daughter was young, she’d devour any meat so long as it was covered in either cranberry sauce or chutney. Chutneys are also an excellent condiment for grilled cheese sandwiches and make a nice element on a cheese board. I like to be able to see what’s in the chutneys I serve, but if you prefer a finer-textured chutney (or want to hide ingredients from picky eaters), you can grate the fruit and onions instead of dicing them. While this chutney is ready to eat within a day of preparing, its flavour improves after a few days of resting in the refrigerator.

Ingredients
Directions
Put currants in a small bowl and cover with hot water. Set aside to soak for 20 minutes or so.
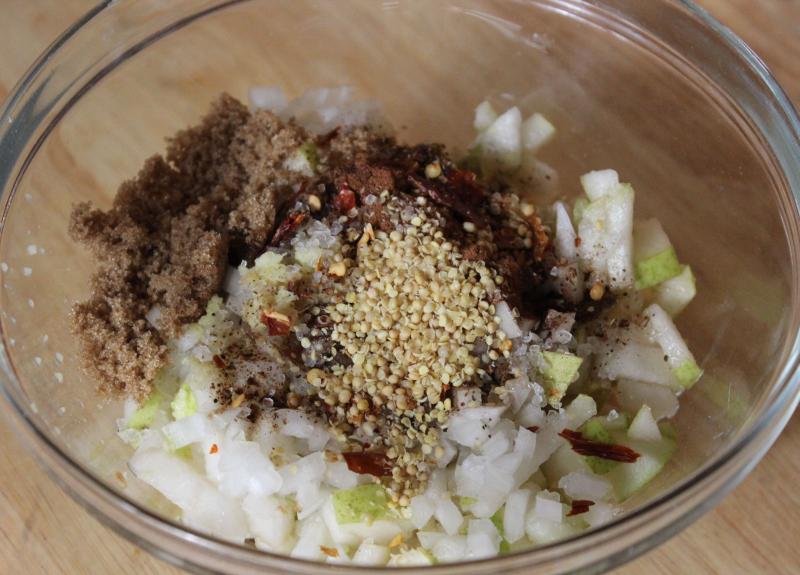
While currants are soaking, combine pears, onion and sugar in a medium sized bowl and let macerate (process by which the sugar draws juice out of the fruit) for 20 minutes.
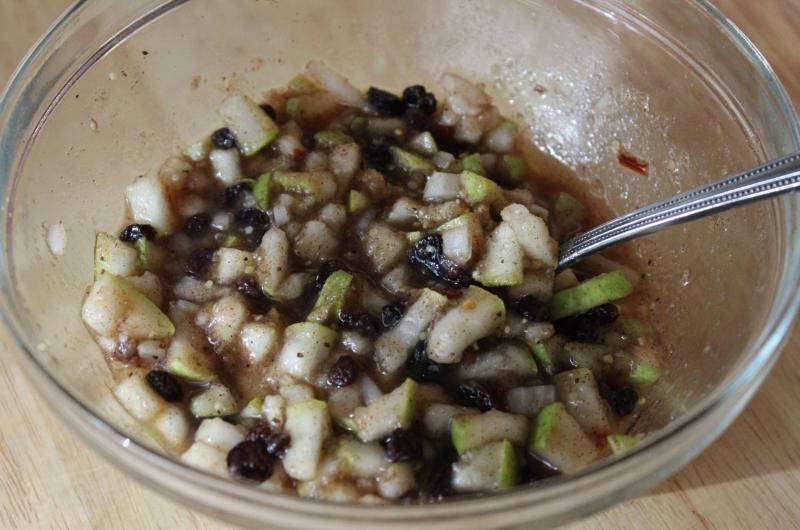
Drain water from currants and add to mixture along with all other ingredients, stirring to blend.
Cover tightly with plastic wrap and let marinate at room temperature for 6 – 12 hours before bottling, stirring occasionally during the marinating time.
Bottle in spotlessly clean jars and refrigerate for up to one month. Chutney is ready to eat immediately.
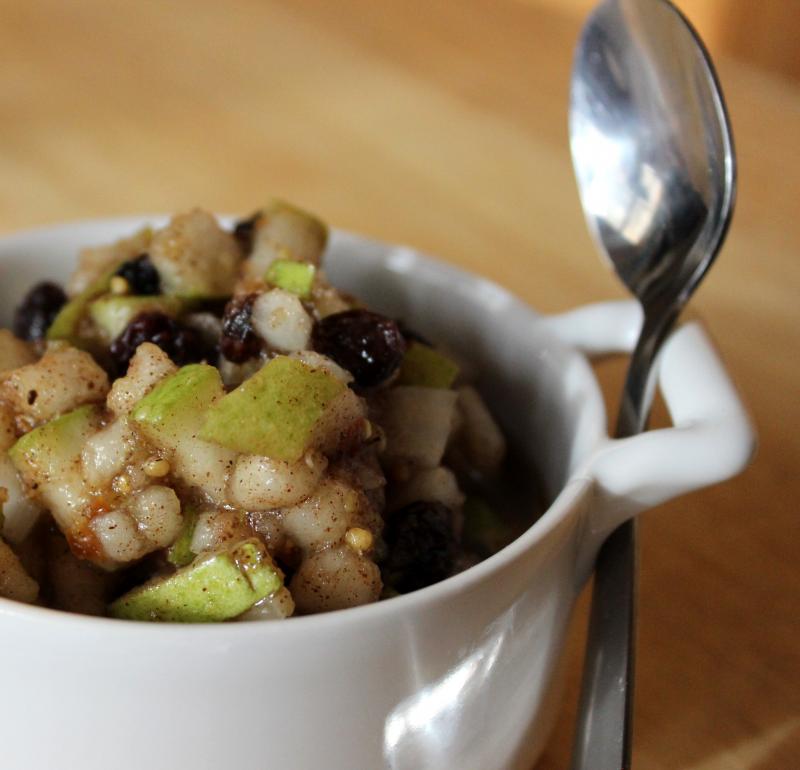
Makes approximately 2 cups.
![]() RELATED: No Measure, No Cook (and it's Delicious) Fresh Cherry Salsa
RELATED: No Measure, No Cook (and it's Delicious) Fresh Cherry Salsa

