Let's be honest: Most people practically live in their kitchen. Throughout the year, I spend a lot of time in there, but things get nuts during the holiday season and I wind up spending the majority of my day cooking, baking, and creating treats. My house is a small, mid-century bungalow and despite kitchen renovations, cupboard and counter space is still at a premium, as it is for many people. Chaos and clutter is overwhelming and difficult to work in, so keeping your kitchen organized is important for streamlining operations, and ultimately leads to more enjoyable time in there.
With that in mind, here are 6 tips for keeping your kitchen organized during this busy time of year—and beyond!
Keep your everyday plates, pans, and pots within reaching distance, and less-used crockery, casserole dishes, and fancy bowls in the hard-to-reach cupboards over the fridge. I also keep my essential cooking utensils in a pretty vase by the stove, so I don’t need to dig through a drawer to find my favourite mixing spoon. Out of sight, out of mind, so seeing where my favourite wooden spoon is makes cooking easier and more pleasurable.

When you're baking six dozen cookies for the kids' classroom holiday parties at the same time you're making brownies for the teacher's appreciation luncheon, you need all the counter space you can get. It’s important to utilize the awkward under-cabinet space; this is the perfect place to store frequently used appliances such as your stand mixer, food processor, or most importantly—the coffee maker. I keep my occasionally-used appliances such as my dehydrator and juicer in my storage room because they're not daily use items.

Have you ever opened a cupboard and have everything tumble out, crashing around you? The key to avoiding such an avalanche: nestable containers. Ziploc has launched an innovative line of containers designed to be nested within each other when empty which helps eliminate cupboard clutter and saves valuable storage space. These containers, with their easy One Press Seal stack perfectly when full of holiday baking or other yummy things, which saves fridge and freezer space as well.

Oh, the junk drawer; that receptacle for all miscellaneous and unwanted items. It's the downfall of many an organized cook, but it doesn't have to be. I recently reorganized my junk drawer and what a cathartic experience that was! Instead of having cookie cutters, scissors, potato mashers, and hundreds of mysterious elastic bands all jumbled together in a drawer, you can now have a neatly organized drawer that actually opens and closes without effort (and has a few less elastic bands). Try using drawer separators or small lidded containers to house your odds and ends. Take control and OWN that junk drawer!
Avoid playing "Guess What’s In The Freezer," by labelling all containers with their contents and the date. Instead of cramming your cupboards with rubber-banded bags of oatmeal, quinoa, and rice, transfer the contents to stackable containers, and add cooking instructions to the label—even after all these years, I still can’t remember how long to cook quinoa or how much water is needed for brown rice! Labels take the guesswork out of food storage, so add some to your containers and you are all set!
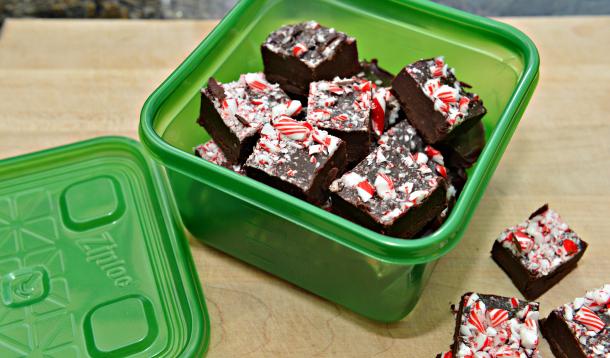
Once your kitchen is organized, spread the love! ‘Tis the season for hostess gifts and cookie exchanges, and the Ziploc Brand Holiday Collection containers come in festive colours and in a variety of shapes and sizes – perfect for storing your favourite cookies, squares, and other delicious sweet treats! Speaking of which, I have a wonderful recipe for Peppermint Fudge to share with you—it’s vegan, gluten-free, and can be whipped up in five minutes. It’s also delicious!

![]() Easy Peppermint Fudge (Vegan and Gluten-Free)
Easy Peppermint Fudge (Vegan and Gluten-Free)
Ingredients
 Line an 8x8 baking pan with parchment paper. Allow the paper to overlap the edges of the pan, like handles.
In a medium saucepan, heat coconut milk to boiling.
Reduce heat and add chocolate chips and peppermint extract, stirring constantly until mixture is smooth.
Pour chocolate mixture into the prepared pan; sprinkle with crushed candy canes, if desired.
Chill for 3-4 hours, or, if you can't wait that long, put it in the freezer for about 30 minutes until firm.
Using the parchment paper “handles”, lift out of the pan, cut into squares, and bring to neighbours, friends, teachers—everyone will be feeling the kitchen love!

Note the parchment paper "handles".
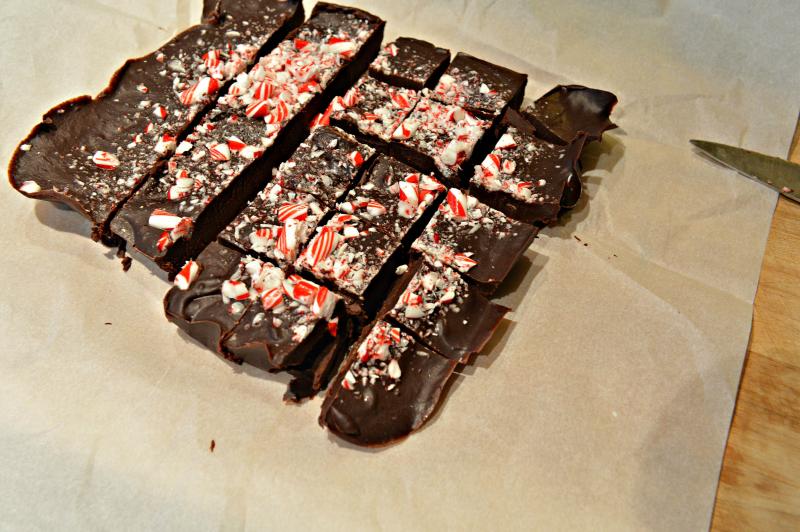
Lift the fudge out and cut into squares.
This is proudly sponsored by our friends at Ziploc.
www.lifelessons.ziploc.com/

