
There are few recipes and even fewer desserts that carry with them a true Canadian pedigree. While the exact origins of the butter tart are not always clear what we do know is the earliest Canadian pioneer women were making this mouth-watering buttery goodness since well before the first known recipe was published in 1900.

My earliest memories of butter tarts were many (many!) years ago at my Aunt Karen's "camp" on Manitoulin Island on the shores of Georgian Bay. If you're from Ontario you will know that somewhere north of Parry Sound the term "cottage" becomes "camp."
In my Aunt's camp kitchen I remember her creating the lightest pastry filled with rich perfect butter tart filling and I scribbled the recipe onto a piece of cardboard taken from a cereal box. I was probably 15 or 16 years old and I still have that recipe, but I have never made it. Mostly because despite coming from a long line of women (including my Aunt Karen) who can make pie pastry from scratch that tastes like heaven I've never been able to master it.

But in honour of Canada Day I thought I would attempt the butter tart à la Canned Soup Mom meaning taking a shortcut on the hardest part of this recipe—the pastry!
Ingredients
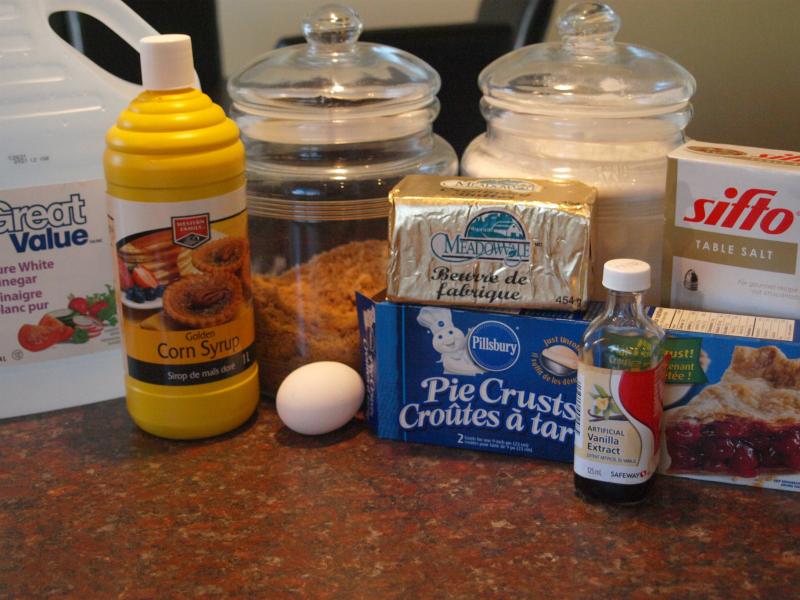
1 box Pillsbury Pie Crust
1/2 cup packed brown sugar
1/2 cup corn syrup
1 egg
2 Tbsp. butter, softened
1 Tsp. vanilla
1 Tsp. vinegar
Pinch salt
1/4 cup currants or raisins (optional—and by optional I mean really optional because I don't put anything in my tarts!)
 Preheat oven to 450F.
In large bowl whisk together brown sugar, corn syrup, egg, butter, vanilla, vinegar and salt.
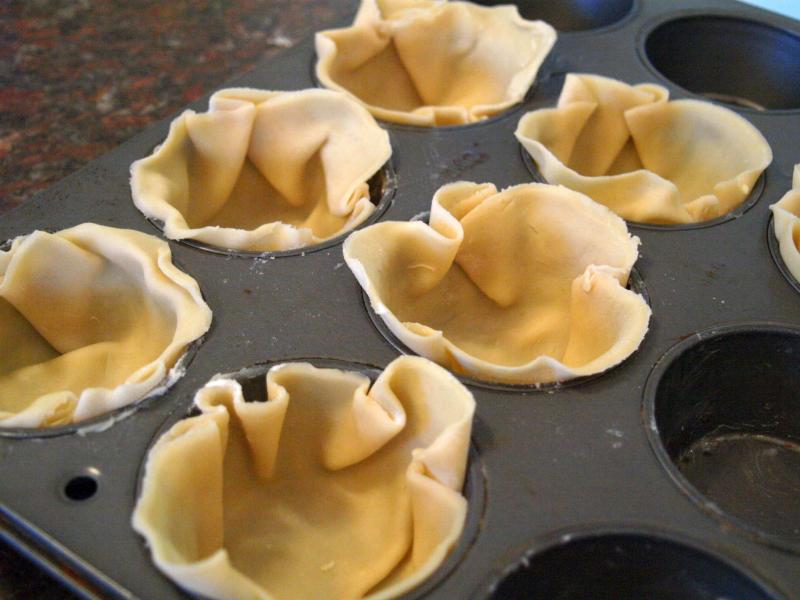
On lightly floured surface, roll out dough until approximately 1/8-inch thickness.
Using something round (approx. 4-inch diameter) cut out 12 circles. Feel free to re-roll scrap pieces until you have 12 circles.
Press circles into greased muffin cups. If you're using currants or raisins, divide among pastry shells.
Spoon filling into each pastry shell until 3/4 full (do not over-fill or the filling will spill over during baking making it impossible to take the tart out of the tin without it falling apart—trust me I know!).
Bake in bottom third of oven for approximately 12 minutes (filling should be puffed and bubbly and pastry should be golden).
Let cool in pan on rack for 1 minute then carefully remove from pan and continue to cool on rack.
If you're looking for more Canada Day inspired recipes be sure to check out my Gingerbread Cake and my Beer Rosemary Cheese Bread and Karen's Nanaimo Bars.
Adapted from Canadian Living Cooks Step by Step

Remember how easy the Three-Ingredient Crockpot Chicken Tacos were? Or how simple the Four-Ingredient No-Knead Bread was?
This recipe is just as easy and perfect for the men in your life (like my husband and son) who like their hardy meals—especially on Fathers Day.
Simply mix beer and bbq sauce into your crockpot (I spray mine with Pam first).

Add pork and cover with sauce. Cook on low for 8-10 hours.

Shred with two forks in the crockpot. Mix into sauce and serve.
You can also add cheese if you like.

Ingredients

1 jar BBQ sauce (approx. 400mL)
1 can and/or bottle of beer
1 boneless pork picnic roast (approx. 2lbs)
Mix BBQ sauce and beer in crockpot.
Add pork and cover with sauce.
Cook on low for 8 to 10 hours.
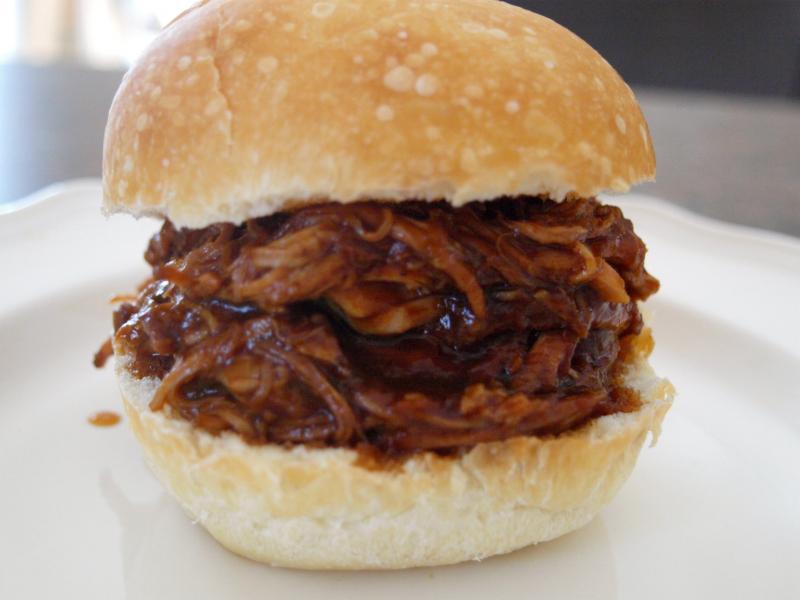
Using two forks shred pork in crockpot and mix into sauce.
Serve on crusty buns.
Tip One: My kids LOVE these for dinner so I will often buy smaller softer rolls for them and put a thin layer of pulled pork on their buns. This makes it easier for little hands to handle and a little less messy for me to clean up.
Tip Two: If you're going to put the leftovers in your kids' lunches the next day I wrap the bun separate and put the heated up pulled pork in a warmed thermos. I include a spoon in the lunchbox and let my kids scoop their own pulled pork onto the bun at lunchtime. This keeps the pork warm and the bun not soggy.
Tip Three: Serve the leftovers over rice either for an easy dinner the next night or for your own lunch.

When Erica Ehm messaged me to say my Breakfast Muffins recipe had over 11,000 shares on Twitter, Facebook and Pinterest I knew it was time to share my Pizza Muffins recipe with you.
This recipe uses the same basic assembly as the Breakfast Muffins except they take even less time to make because you don't have to fry up any bacon or eggs.
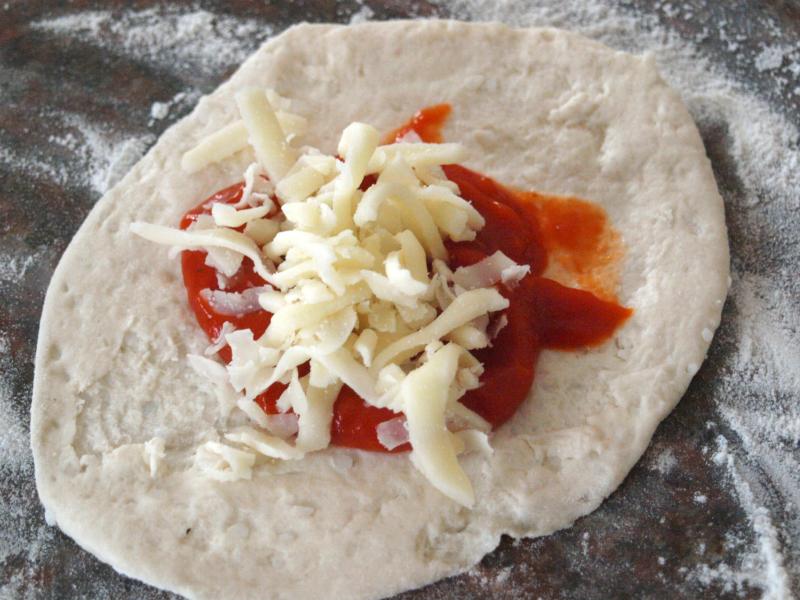
Simply roll out the biscuits.

Top with pizza sauce.

Then top with cheese.
Add the chopped ham (I buy 1/2 inch thick slices from the grocery store deli and use ham instead of pepperoni because it's easier for my little children to bite and chew).

Form into balls, pop into greased muffin tins, top with egg wash and parmesan cheese.

Bake and enjoy!

Ingredients

1 package of Pillsbury Biscuits (package of 10 biscuits)
1 small can of pizza sauce
1 cup shredded cheese (I use mozzarella)
1 cup chopped ham (or other toppings of your choice)
1 egg yolk (optional)
1 tbsp. water (optional)
1/3 cup parmesan cheese (optional)
Preheat oven to 375F. Using a rolling pin or your hands flatten each biscuit. Top each biscuit with 1 tbsp pizza sauce, cheese and ham.
Pull up on each corner to form into a ball, pressing together at the seams. Place each ball in greased muffin tin.
Whisk water into egg yolk and brush over each muffin. Top with parmesan cheese.
Bake for 15-17 minutes.
Let cool in pan for 3-5 minutes then carefully remove and allow to cool on rack. Serve warm.
Yield: 10 muffins (so be sure to double the batch!)

