While many of us are willing and able to tackle even the most outlandish recipes—there was the great garlic soup debacle of 2011—making jam remains a bit scary for amateur chefs.
All that cleaning and boiling and sterilizing, and what purpose does pectin even serve? For the record: pectin, a natural plant substance, shortens the cooking time when making jam, as it helps the fruit and sugars bind. Less cooking time, more fruitiness.
What this boils down to is that I decided to tackle jam making a few years ago and haven't looked back. My family has practically stopped buying jams, because I keep them supplied. The internet experts agreed that strawberry jam was a good place to start. Since then I've added peach, mango, and apple vanilla jam to the repertoire, but today we'll begin with strawberry jam.
'Tis the season after all.
Ingredients:
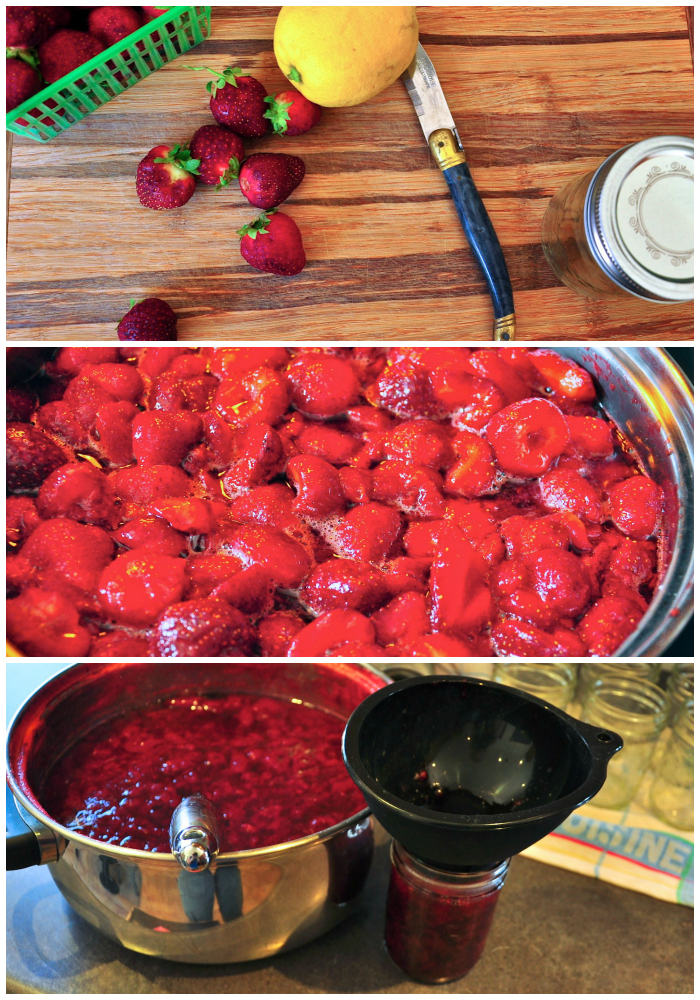
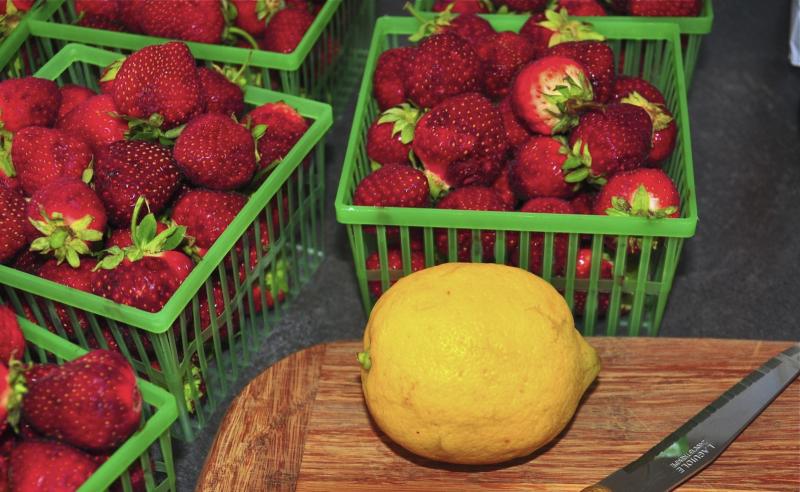
 Wash and core the strawberries. Halve the larger berries.
Place the strawberries into a deep cooking pot along with the sugar, pectin, and lemon juice. Simmer over medium heat. Stir frequently, and occasionally skim the foam from the top of your mixture.
Use a potato masher to break the strawberries down to the desired consistency. If you prefer larger pieces of fruit in the jam, lightly mash the berries.
Add Balsamic vinegar and keep stirring. The Balsamic vinegar adds a slight tang to the recipe.
Keep a rolling boil going for about 30 minutes. Test the consistency by chilling a plate in the freezer then placing a small amount of jam onto it. Allow the jam to sit for one minute and determine if the texture is to your liking. If it’s too runny, keep boiling.
Towards the end of the cooking process give the jam a hard boil for 5 minutes then remove from heat. Stir it through again and fill your sterilized* jars using a ladle and funnel to just below the rim on the neck of the jar.
Wipe away any spills from the opening, close the lids tightly, and submerge (using tongs) in boiling water for 15 minutes.
Once you remove the jars from the boiling water, let them sit and within 15 minutes to several hours you should hear the lids POP. This seals the jars and they can now be stored unrefrigerated for up to one year.
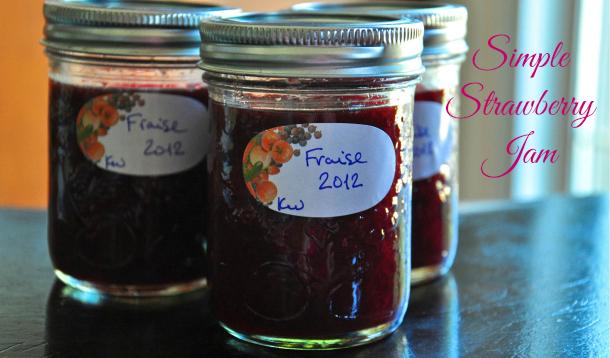
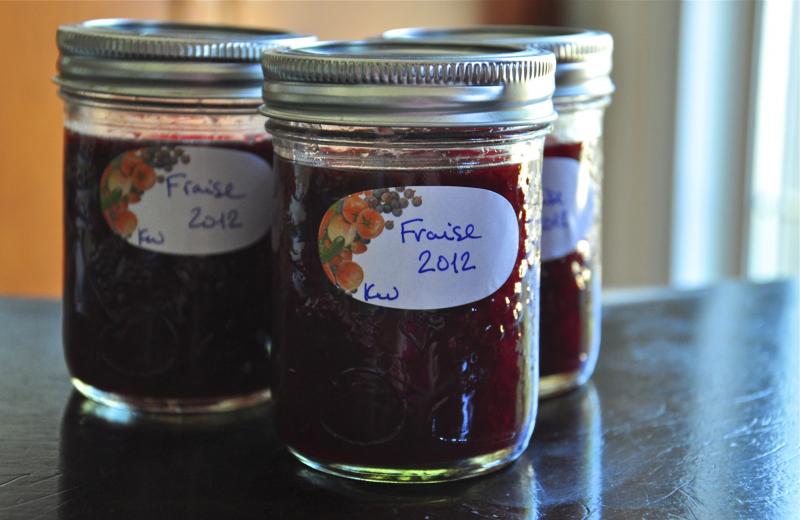
Let the sealed jam jars stand overnight. Make homemade labels or use pre-made ones and, congratulations, you’re now a Jam Maker. Easy as that.
(Makes 12 250 mL jars and enough on the side for breakfast for the next week or so.)
* To sterilize new or pre-used jars, wash them thoroughly, place clean jars and lids into boiling water so that they're submerged, and allow to boil 10-15 minutes. Remove the jars from the water using tongs, dry them off, and they're ready for use. There are dishwasher and microwave methods for sterilizing that work too, but I haven't tried them yet.
We tested the jam with peanut butter and the official verdict was . . . DELICIOUS! Try it with pancakes or as a topping for vanilla ice cream, too.
Bon appétit!
Adapted from Eat Magazine and Canadian Living.
For more simple recipes, try this Peach Blueberry Crumble or a 3-ingredients weeknight meal of Mashed Potatoes, Spinach, And Eggs.

