I’ll admit it.
I’m a DIY and decor blogger who isn’t really that into fall… I’ll give you a minute to pick your jaw up off the floor.
I know. It’s like sacrilege in my world to even whisper that you aren’t into the season that follows summer and precedes winter. I've always felt like our Canadian summers are so short lived and our winters are so harsh, that I don’t want to make time for those ‘between’ seasons - especially when it comes to investing in decor.
I invest in my summer garden each year and I often allow myself to purchase a new holiday piece (a wreath, ornament or fancy twinkle lights) each year - but fall decor? Nope.
If I’m going to do it, I’m going to do it on the cheap and cheerful. The trick is, however, to not do it ‘tacky’.
So this week, I challenged myself to surf Pinterest for a project tutorial that actually felt do-able and that would yield results in one afternoon. I was looking for a fun, autumnal touch for a little nook in our dining room.
Basically, what I’m saying is “I searched Pinterest, so you don’t have to!”
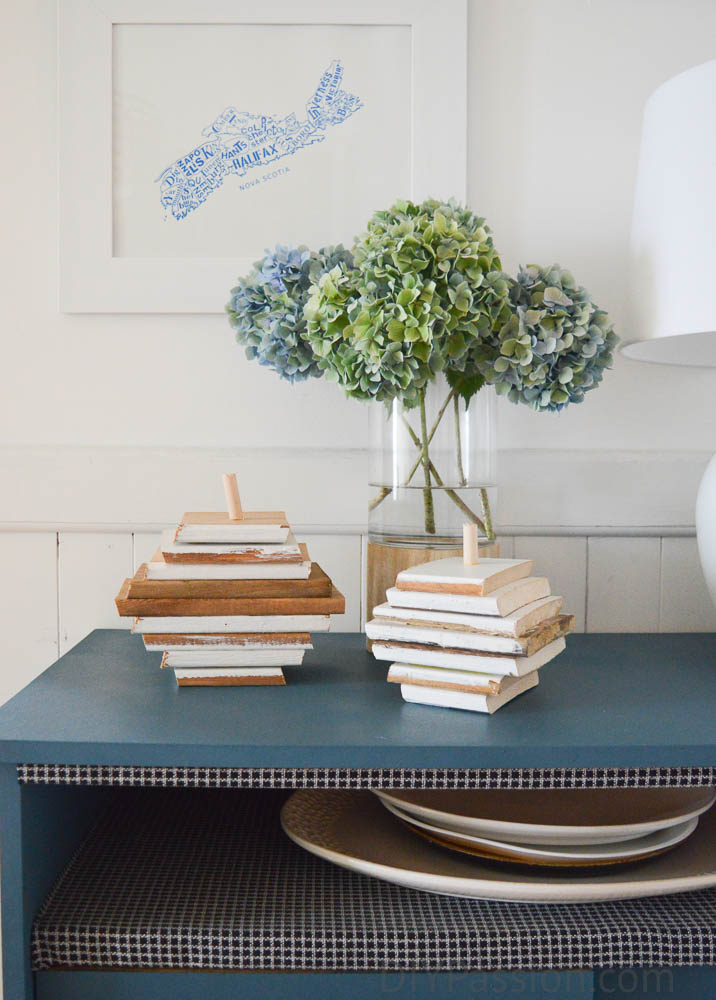
Here was the mood I was going for: rustic, beach, and neutral. Think Fixer Upper meets Canada’s east coast. Our house is right on the water and a lot of my decor reflects that.
What I didn’t want? Bright and garish oranges or anything with glitter.
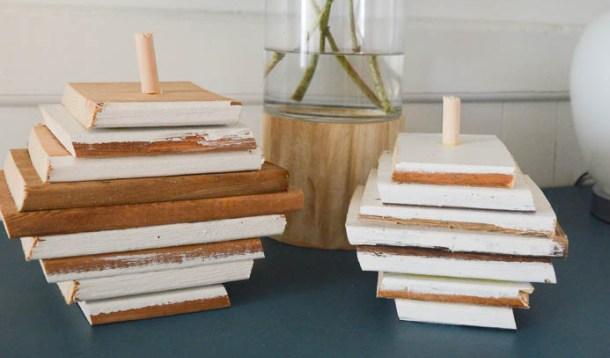
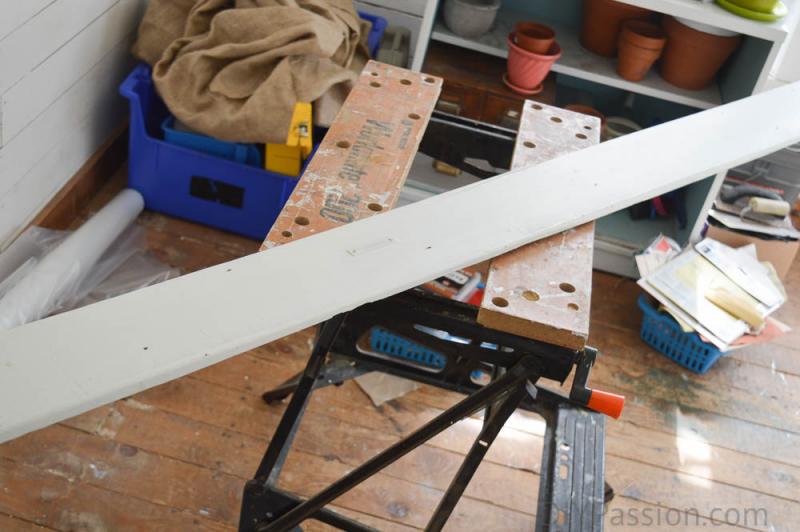
Well, I ended up making these Scrap Wood Pumpkins (the original tutorial is by Katie from Little House of Four) and I am over the moon. This tutorial actually works! And it helped me get rid of an old piece of trim board we had from a wall demolition in our basement.
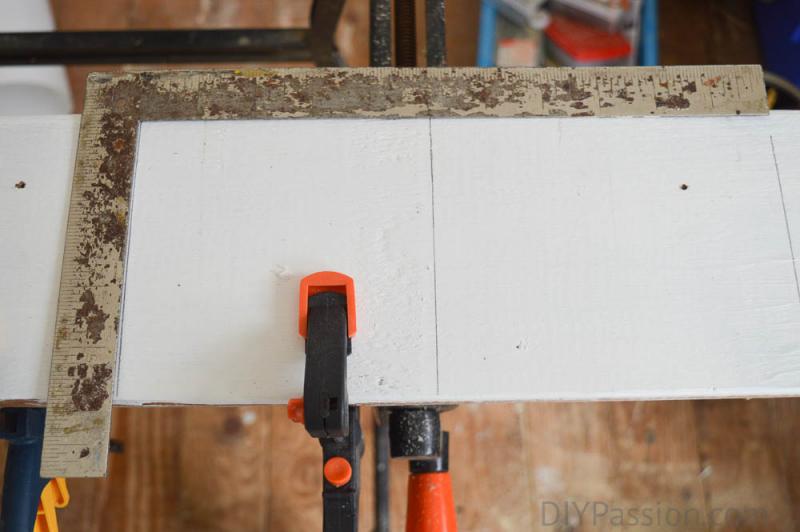
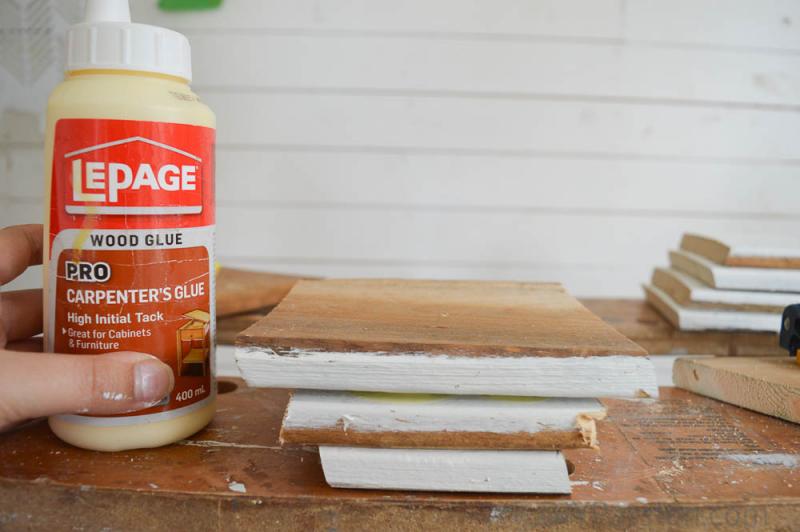
Essentially, you start with some scrap wood (pallets work great for this apparently!), cut it down to varying lengths with either a hand saw, mitre saw or (as I used) a circular saw. My lengths varied from about 8” down to 3.5”. Stack them up until they start to resemble pumpkins and glue them together. Glue a topper on (Katie used some cut down twigs, I used a spare dowel rod.)
And there you go!
You could white wash them with paint or stain them a darker tone if that’s your thing. I chose to allow my pumpkins to show off all the imperfections of my piece of wood.
For the full explanation of how to make these pumpkins, make sure you check out the tutorial here. Happy Fall!
![]() RELATED: 16 Delicious Ways to Bring More Pumpkin Into Your Life
RELATED: 16 Delicious Ways to Bring More Pumpkin Into Your Life

