When my daughter was younger, decorating at Easter consisted of me boiling a few eggs and letting my kiddo cover them with stickers, or paint them with washable watercolours. Later on, I broke out the glue and tissue paper. More recently, we've been experimenting with traditional dye baths, which are the most fun because when else can you stick your hands into multiple containers filled with colourful concoctions?
![]() RELATED: All Natural Easter Egg Dyes for Kids
RELATED: All Natural Easter Egg Dyes for Kids
It's easier than you might think to decorate Easter eggs with your kids. And if you're really concerned about the mess, just grab a dollar store tablecloth or some newspapers and cover the heck out of your work area. Or - if it's mild enough in your part of the world - take the materials outside. Because, kids.
First...
BOIL THE EGGS
Boil some eggs until they are hard (place eggs in boiling water for about 8-10 minutes). Or - if you want to save the eggs - blow them out instead (find out how to do that here).

Then...
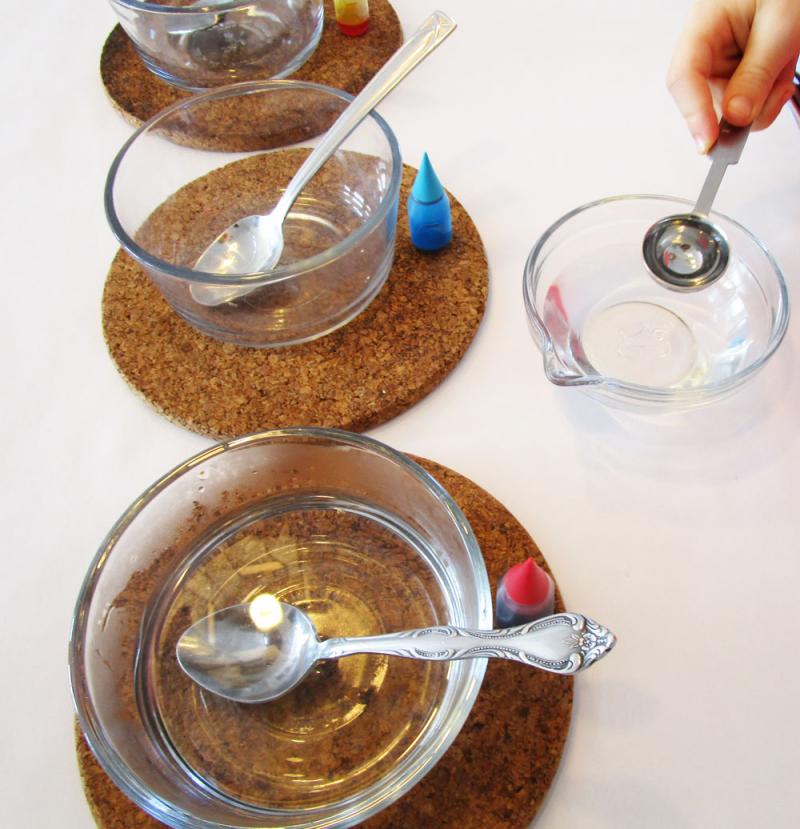
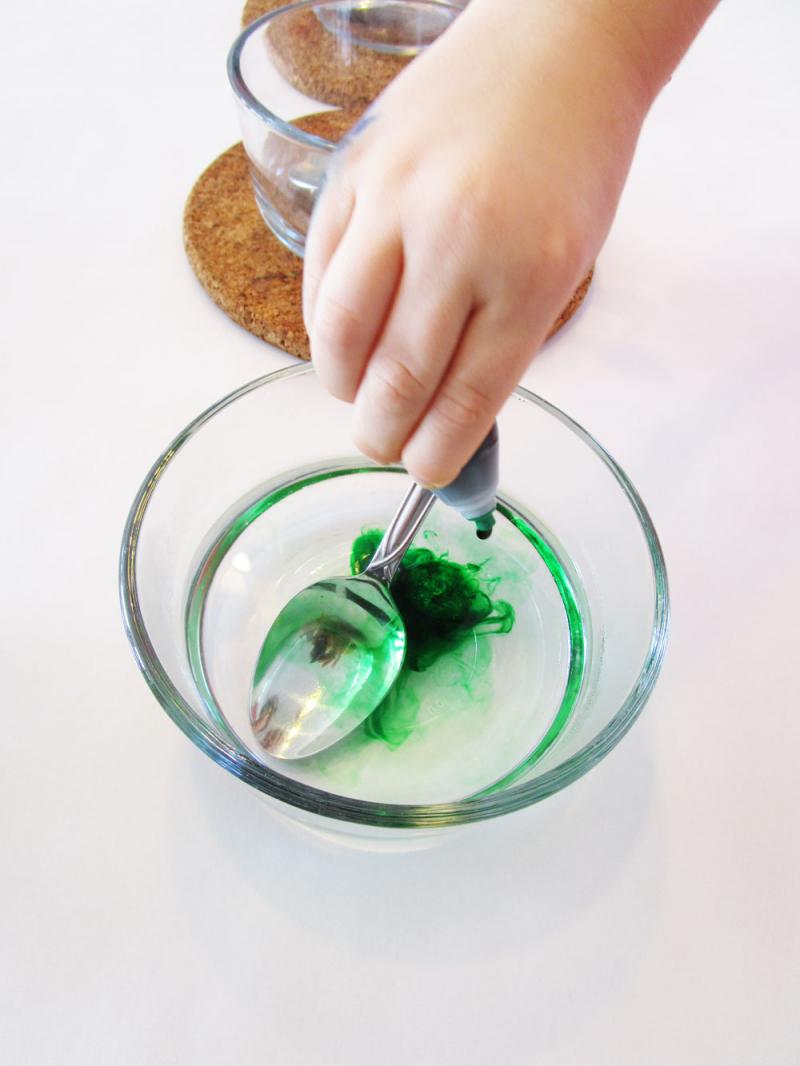
MAKE THE DYE
This part is super easy. All you need to do is combine the following ingredients in a container and let the mixture cool.
 1 cup hot water. I used boiling water from the kettle. 1 teaspoon vinegar. A little more is fine. So is a little less. 10 to 20 drops food colouring. The more you squeeze, the more intense the shade.
Note: If you would rather not use food colouring, check out my all-natural Easter egg dye recipes using cabbage, coffee, turmeric and other ingestible items.
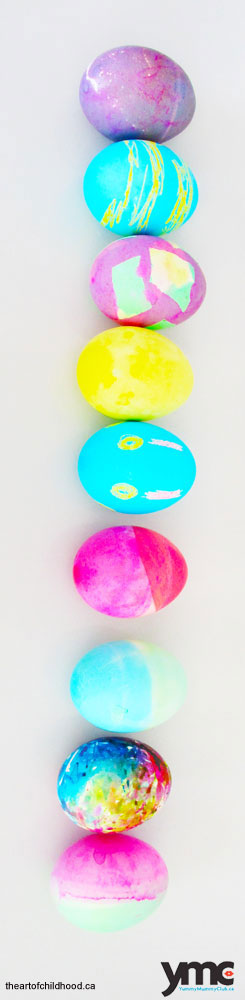
Now it's time to dip!
You can dip once. You can dip twice. You can double dip. You can do a half and half dip. What I'm saying here is that there are no rules.
But, if you want to get fancy, here are three ways to kick things up a notch.
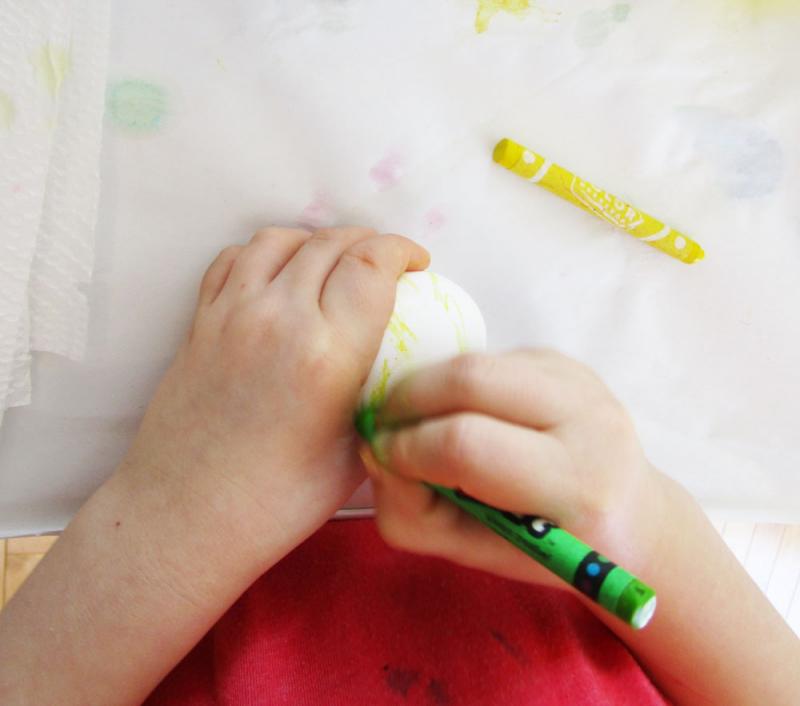
The concept here is simple. Start by making designs on an egg using wax crayons. Then, dip the egg into the dye. That's all there is to it!


To make these funky eggs, start by placing pieces of masking tape randomly on an egg, leaving some areas exposed. If you want to get super fancy, you can cut designs out of the tape using an X-Acto blade. Because my daughter is six, we just tore bits of tape off the roll and stuck them onto the egg.
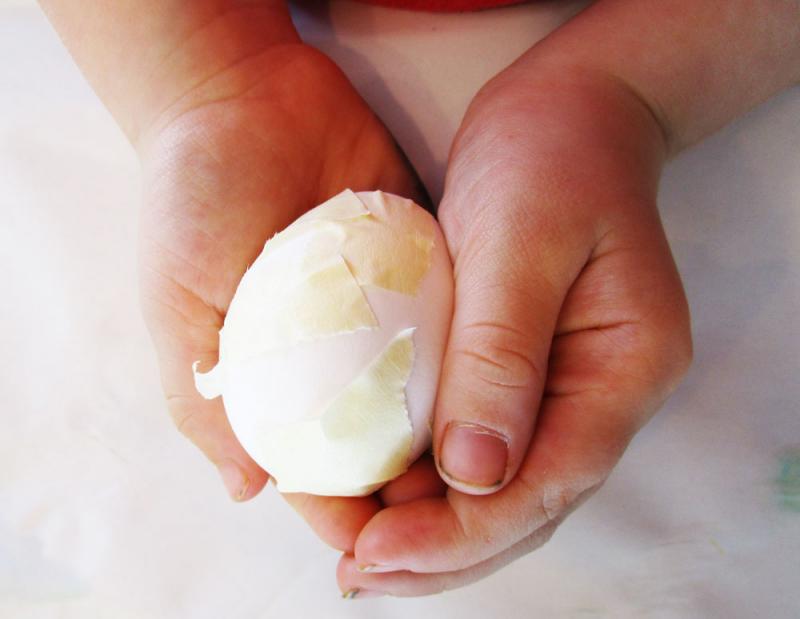
Dip the egg into a dye bath.

Remove the egg, let it dry and peel away the tape.
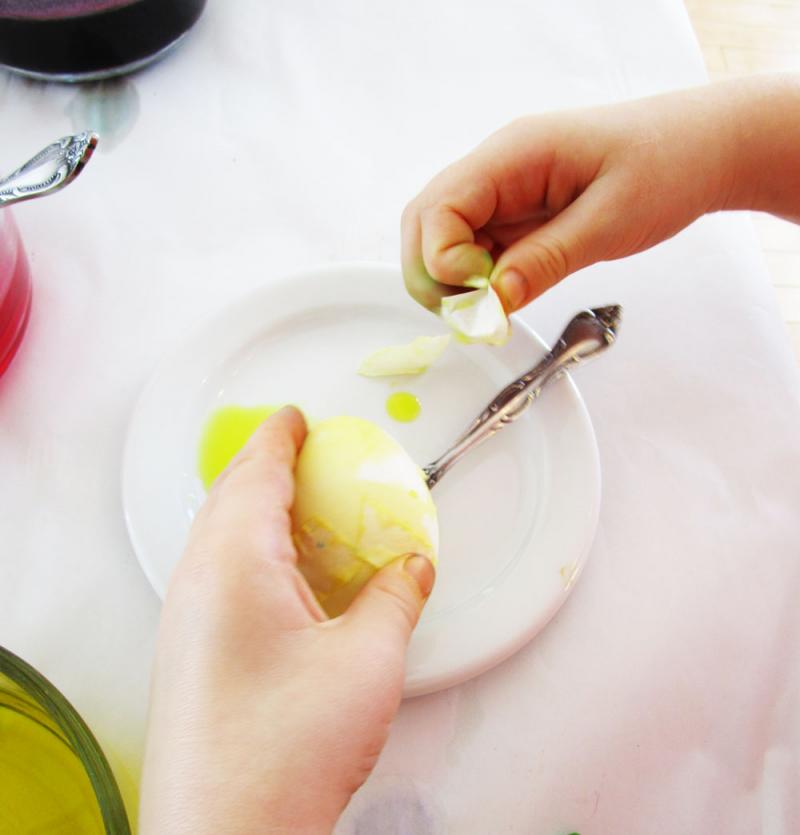
Add more tape and dip into a second colour.

Again, let the egg dry and remove the tape.
And... repeat.

Continue until you are happy with the results.

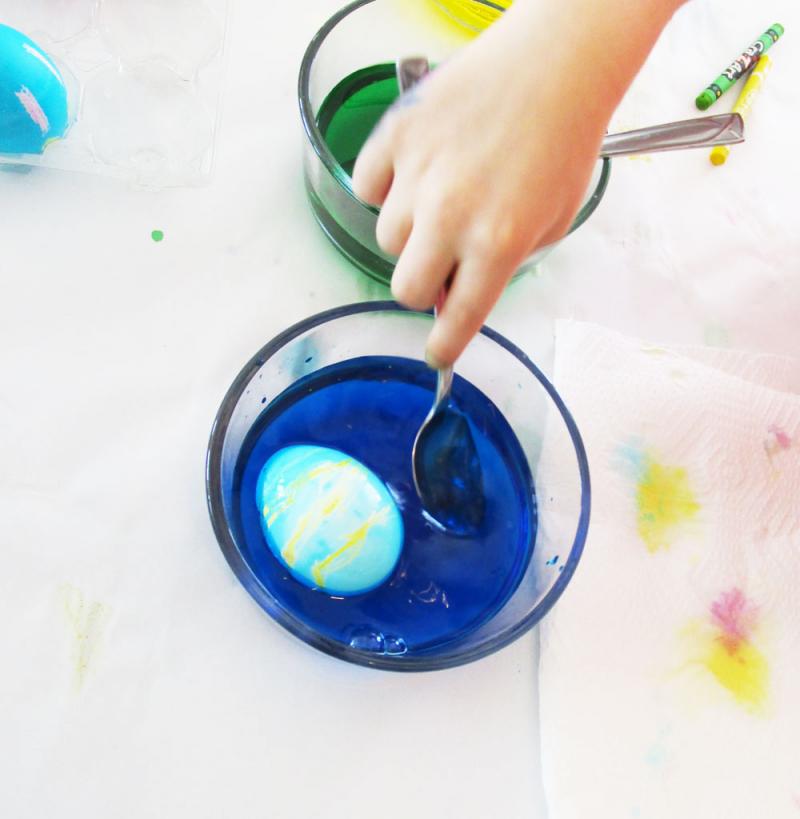
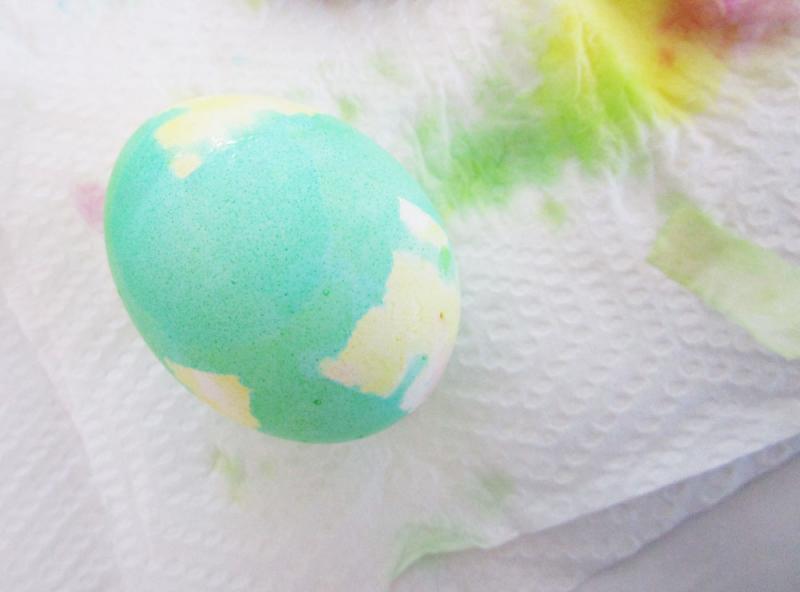
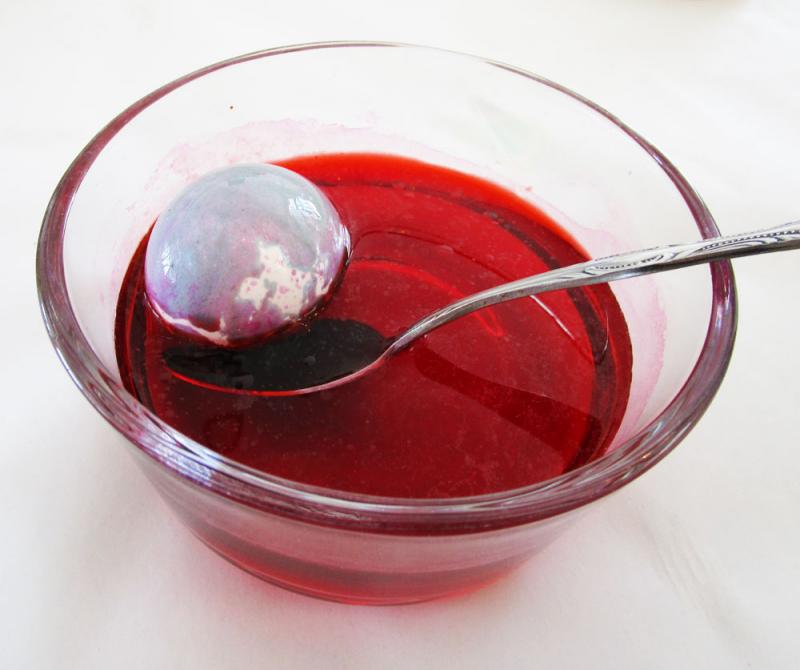
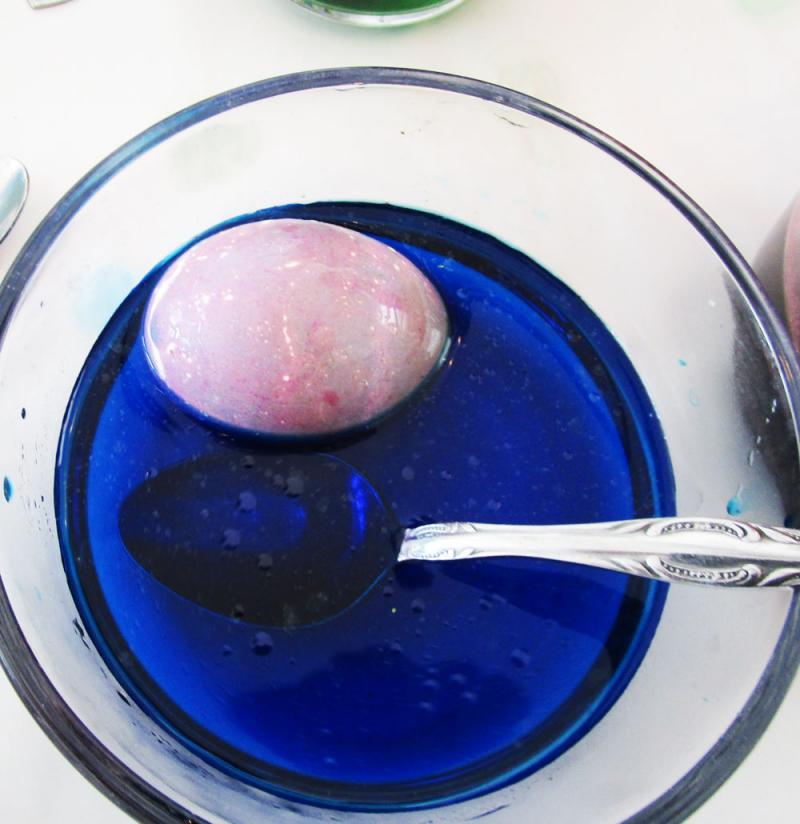
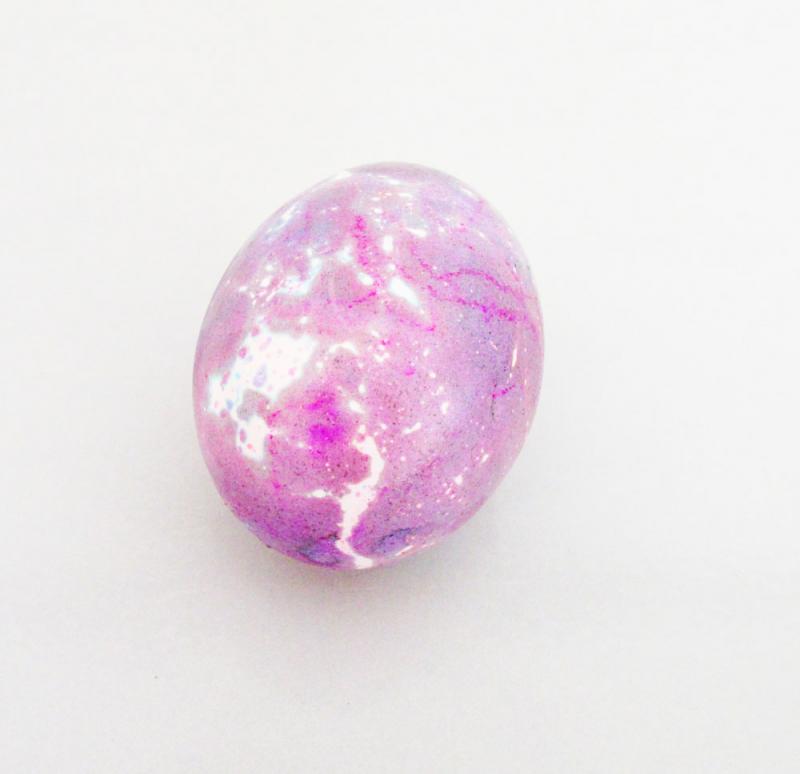
This technique is best left until you are finished decorating since you will be adding 1 tablespoon of olive oil to your dye baths. The oil will cause the egg to repel some of the colour as you dip, thus creating a marble effect. You can begin with a blank egg (which is what my daughter and I did), or you can start by dipping the egg in an oil-free dye bath to achieve a base colour. Dip the egg into a couple of different colours to see what you end up with.
If you are looking for more Easter decorating ideas, don't miss this terrific round up from our YMC bloggers.