
Last week, our area experienced high winds resulting in a massive storm surge.
The ocean made its way well onto the shore and brought with it a fair amount of flotsam and jetsam. At the end of our pathway, seaweed and driftwood were tangled together with dead crabs, and plastic bottles. The mangled debris – both natural and manufactured - was enough to prompt a conversation about habitats with my seven-year-old daughter.
Habitats are like well-oiled machines. But if just one thing is removed, everything else is impacted. In fact, even small changes to ecosystems are enough to potentially affect plant and animal life within that habitat – and beyond.
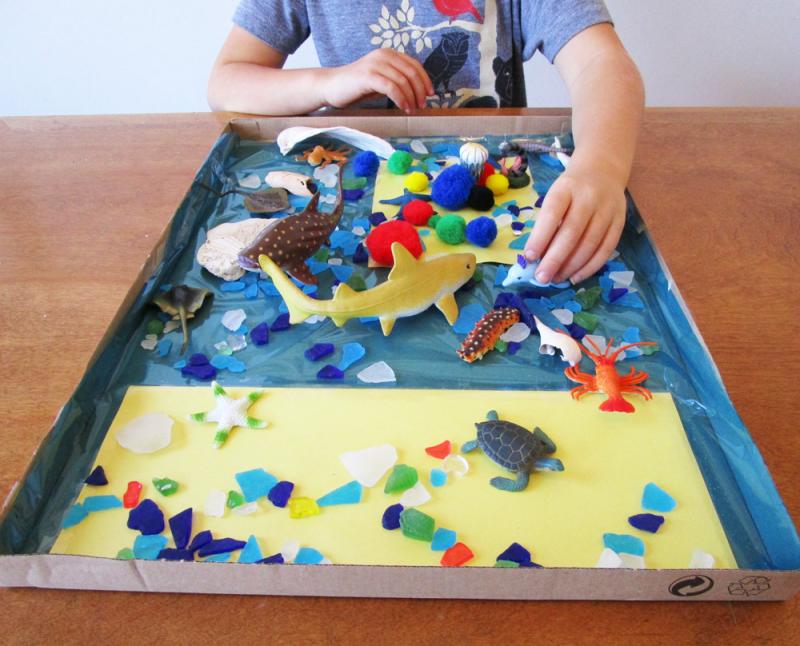
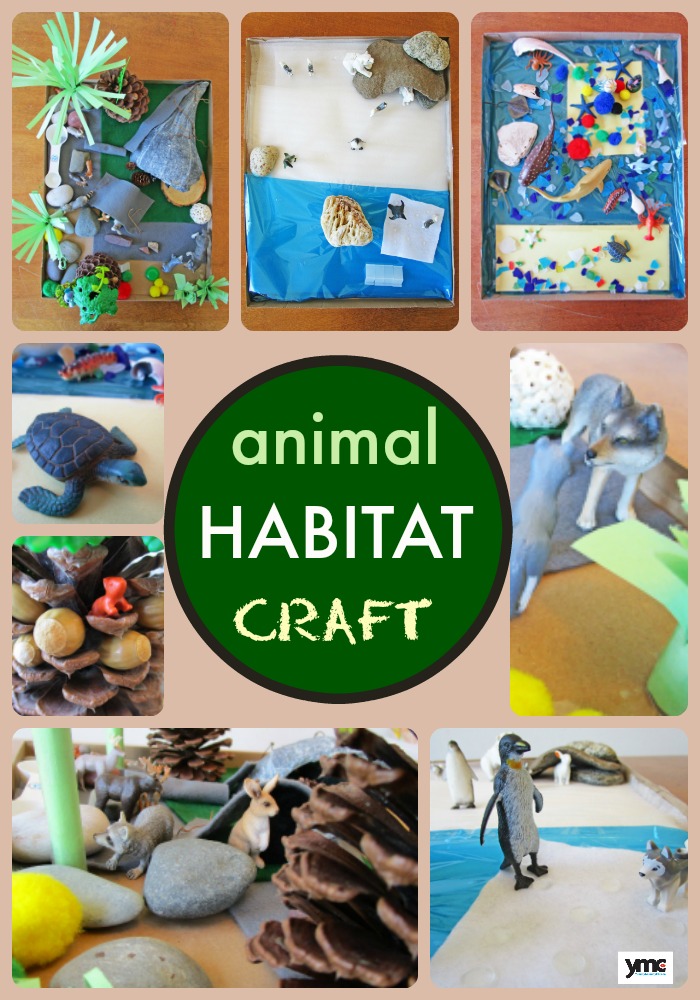
One way for kids to see how habitats function, is to have them make a one. Or a few.
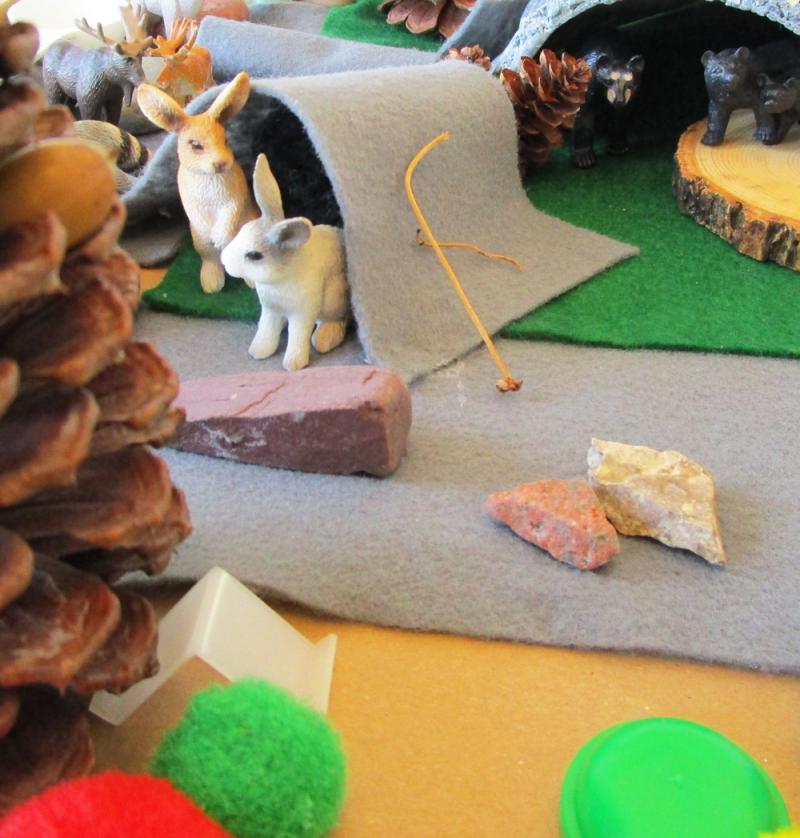
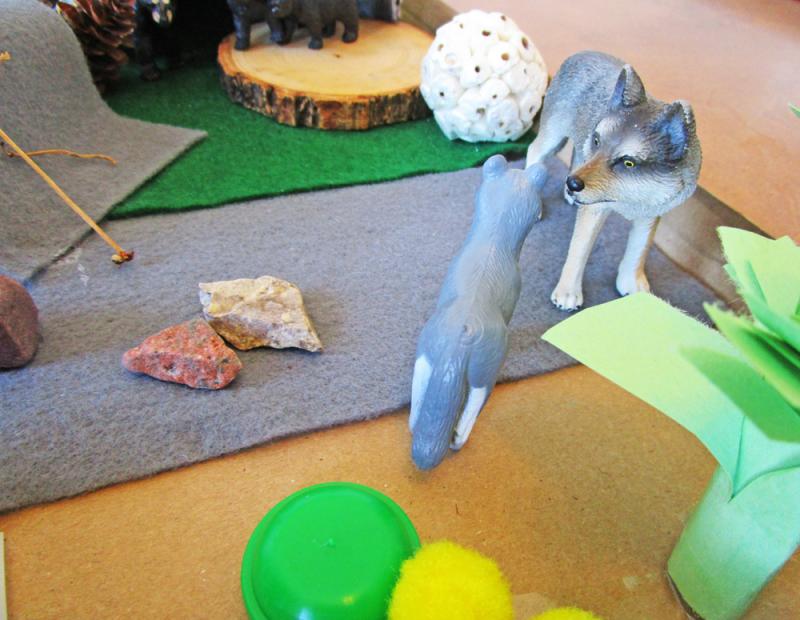
For the Woodland Habitat, my daughter used a measuring spoon as a river, felt for a rabbit hole, a broken seashell as a cave, rolled and cut paper as trees and shrubs, pinecones as trees and rocks as… rocks.

"Jack, everyone has been talking about us since we moved in together. I'm telling you. I can HEAR them."
"What do you mean you let the mice go? Are you freakin' kidding me?"
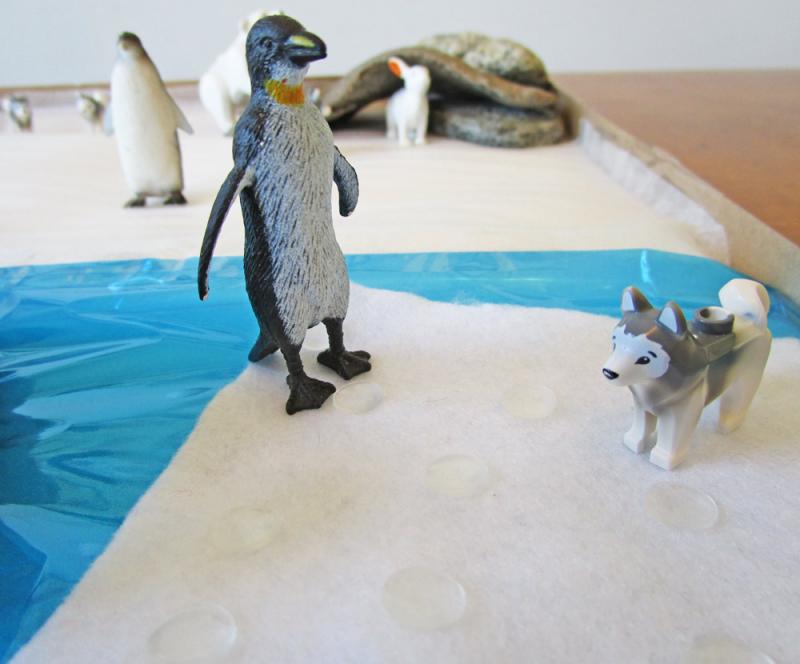
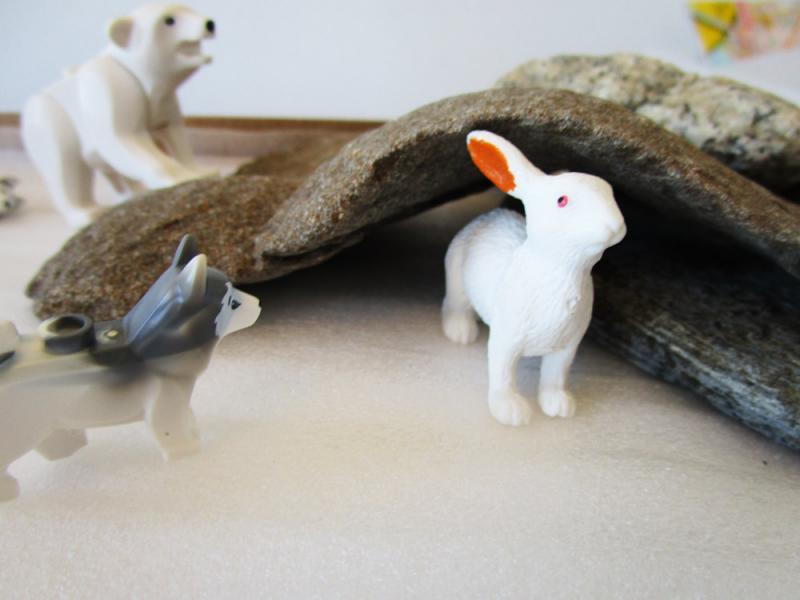
For the Arctic Habitat, my kiddo used white felt, blue cellophane, stones and little bumpy stickers we use to keep our cupboard doors from banging when closed.

"And then the hare says to the seal, 'But I thought it was Thursday'! Get it? THURSDAY!"
"Build a house here, you said. It'll be safe, you said."
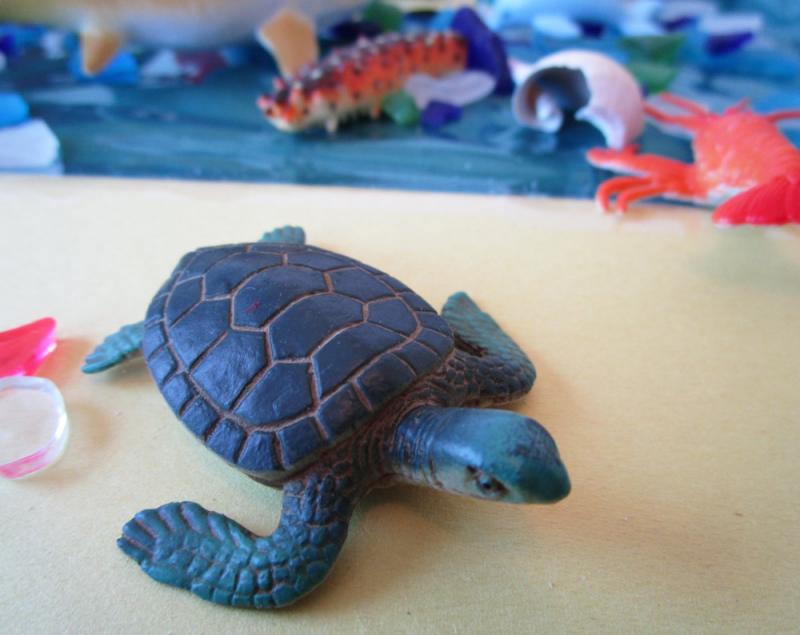
And for the Ocean Habitat she included cellophane, beach glass, pompoms, seashells, and sparkly stickers.

And that's when the jellyfish realized his days were numbered.
"Ok. Has anyone seen my hat?"
We’ve all talked with our kids about the environment. It’s a no brainer. A clean environment is a healthy environment and a dirty environment, isn’t. But exactly how to keep the earth healthy, isn’t so easy. Sure, we can clean up the garbage in our immediate area (which is what we did on our beach after the storm) but when it comes to the bigger picture, kids can sometimes feel powerless. This is where the idea of “if everyone chips in, big things can happen” comes into play.
If you would like to learn about what you and your family can do in your neighbourhoods (and beyond) to help protect habitats, visit Earth Day Canada, Eco Kids, The David Susuki Foundation, Earth Rangers and Enviroment Canada.
Also, for more ideas on how to live "green" don’t miss YMC’s 50 Shades of Green blog written by Gwen Leron.

“Don’t let her touch anything!”
The words fell out of my mouth as I nervously watched my husband walk through the Emergency Room doors out into the hospital proper, hand in hand with our two year-old daughter. She was getting restless and he thought a wander might be in order.
Our family was in a city hospital waiting to find out why my uncle had been brought in by ambulance and I was more than a little nervous to have my curious toddler climbing on chairs which (obviously) were crawling with germs. My heart raced as I scanned the room trying to determine what each of the patients might be suffering from. Ringworm. Rotovirus. Malaria. Really, anything and everything was possible as far as I was concerned.
Especially diarrhea.
Soon after, we learned the doctors didn’t know what was up with my mom’s brother, so the lot of us went home with instructions to return at a later date for follow up tests.
Just over a week later, my husband, kiddo and I went out for breakfast at a downtown café after dropping my mom and her brother off at the hospital.* After ordering my daughter a kid-sized omelet and a fruit plate (her favourites), we watched in amazement as she played with her cutlery, while completely ignoring her food.
Understand, this was a kid who required a full cooler of snacks in order to travel from our home to the library, located one block away. And this same kid, after being taught sign language, used the “more” and “crackers” signs almost nonstop. For her to turn her nose up at food was like a lion saying no to raw meat or like me pushing away a chocolate bar.
Warning bells.
Aside from the odd sniffle and a brief bout with the trots, my little girl had made it to her second birthday without being sick. But our luck was about to change because the fever arrived later that day.
It was high. Really high. But once under control – with the help of children’s acetaminophen – my daughter happily played with her toys while I waited for a sore throat, runny nose or cough to arrive. But nothing happened. She even ate some supper.
The next day I was torn. With the fever under control, I vacillated. Should I take my toddler to our family doctor or relax at home while enjoying her Zen-like vibes? On day three, just as I began to second-guess my decision not to seek medical help, the fever disappeared without a trace.
Poof!
All was well until the next morning when my smiling, happy daughter lifted her shirt to expose a rash-covered torso with spots making a mad dash up her neck and down her thighs right before my eyes.
Then I noticed her puffy eyes as she giggled and sucked on the ears of her stuffed toy lamb.
I grabbed my copy of What To Expect The Toddler Years and made the regrettable decision to turn on my computer, which is when I discovered that you should never EVER type the word “rash” into Google Images.
I raced to the kitchen to grab a glass because someone somewhere online said I should. I pressed that glass against the spots on my child’s skin thinking it would shed some light.
It didn’t.
Was it a heat rash? Was it the measles? What the hell was going on???!
Shortly after in the medical clinic, our family doctor examined my two-year old and told us she had roseola, one of the most common early childhood illnesses (next to the common cold). Since she was at the tail end of the virus, and because her rash was not causing her any discomfort, the only recommendation was to keep on keeping on, while making sure she had plenty of liquids and ample rest.
Sure enough, the rash disappeared in a day or two and life carried on as normal.
Remarkably, none of my daughter’s playgroup mates contracted the virus. In fact, none of my mom friends had even heard of it, much less dealt with it, which is too bad because as illnesses go, it’s a pretty decent one to catch.
Roseola – also known as Sixth Disease - is a HIGHLY CONTAGIOUS childhood virus characterized by a sudden high fever (lasting from a couple of days to a week). The fever ends abruptly and is then often followed by a rash. It can also cause puffy eyes, irritability, lack of appetite and loose stools.
Two common, closely related viruses can cause roseola: Human herpes virus (HHV) type 6 and type 7. These viruses belong to the same family as the better-known herpes simplex viruses (HSV), but do not cause the cold sores and genital herpes infections that HSV can cause.

The rash of roseola develops once the fever has resolved and the child no longer appears ill. The pinkish-red spots will turn white when you touch them and they might have a lighter ring around them. The rash usually spreads to the neck, face, arms, and legs and can last from a couple of hours to up to two days. It is usually not itchy.
Roseola typically resolves itself on its own. Medication to reduce the fever is generally prescribed as is rest and plenty of liquids.
It can take a week or two from when a child is infected with the virus, until her symptoms develop. That was certainly true in our case. Damn that hospital ER!
For more information about Roseola, watch this video from Dr. Dina.
Roseola image(s): Dr Dina Kulik, YouTube
*My uncle was fine :)
Please note: The information presented here should not be used in order to diagnose illness. Always seek appropriate medical care and meet with your doctor in person.
I'm not what one would call skilled when it comes to sewing, but I do love colourful fabric - which is easy to see when you sneak a peek at the stash in my house.
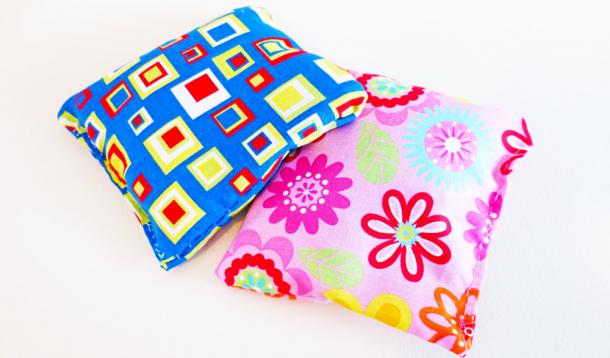
Still, I've always loved the concept of crafting items out of cotton, linen and polyester. And so, when my daughter started talking about buying some bean bags after having played a game of bean bag toss at a friend's house, I took it as an opportunity to sit down with her, fly by the seat of my pants and co-create a few sacks full of legumes.
She and I had collaborated once before on another sewing project - a pig made of old nylon hosiery and buttons (thanks to The Wonderful World of Jillian Jiggs), but this time, I decided she should do the lion's share of the work.
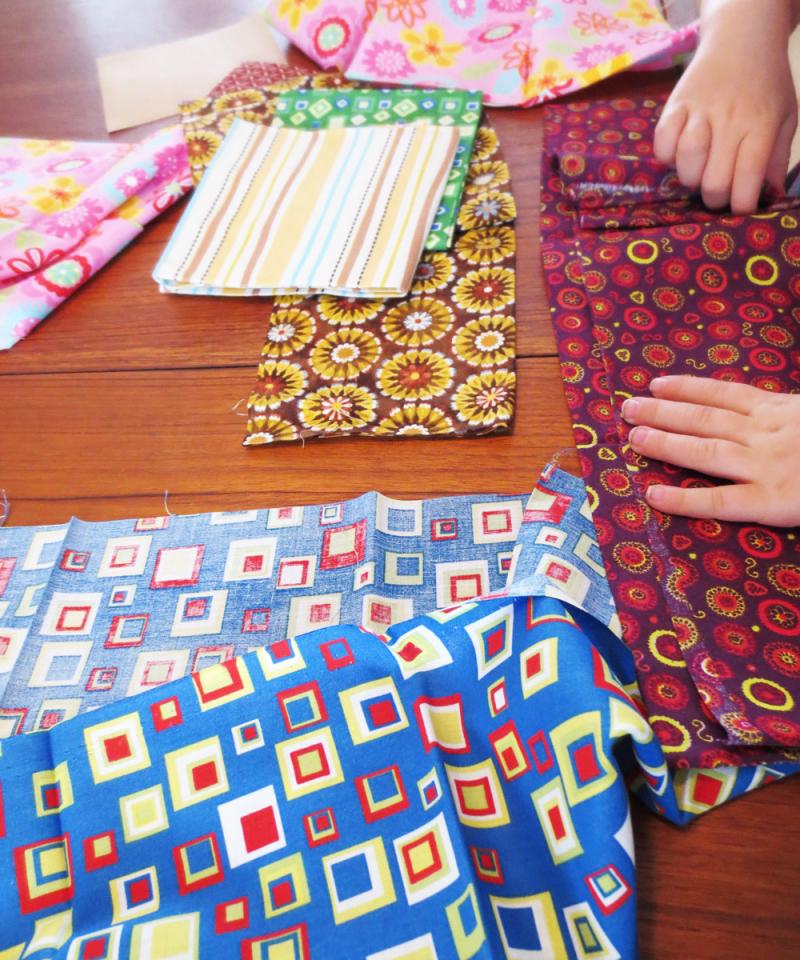
First, we emptied a basket of fat quarters. That's fancy talk for "fabric pieces."

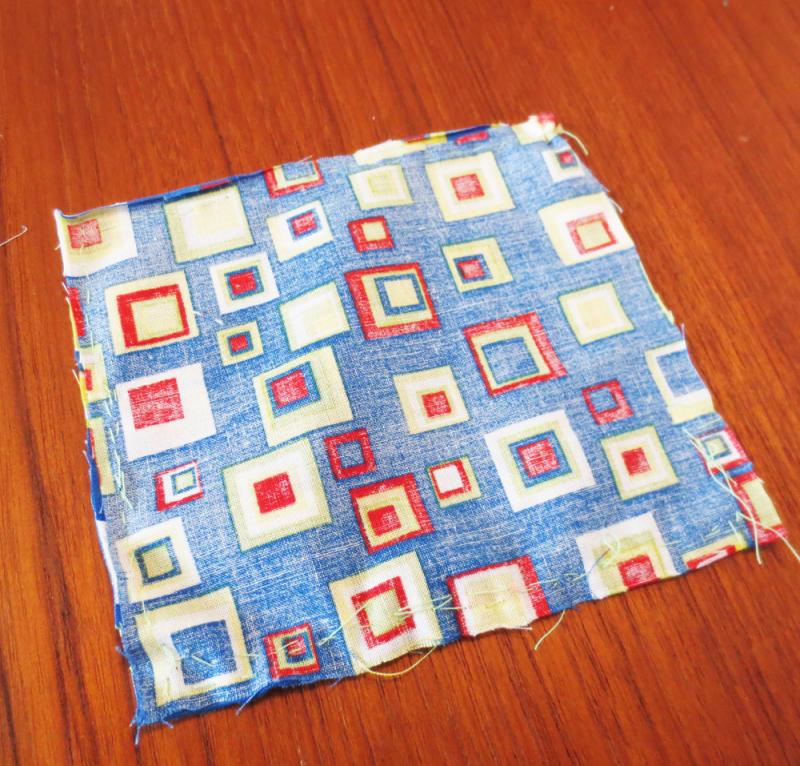
We looked at our fabric choices and decided on a pattern.
Using the folds as a guide, we cut out a piece of material that looked like it would make a nice sized beanbag.
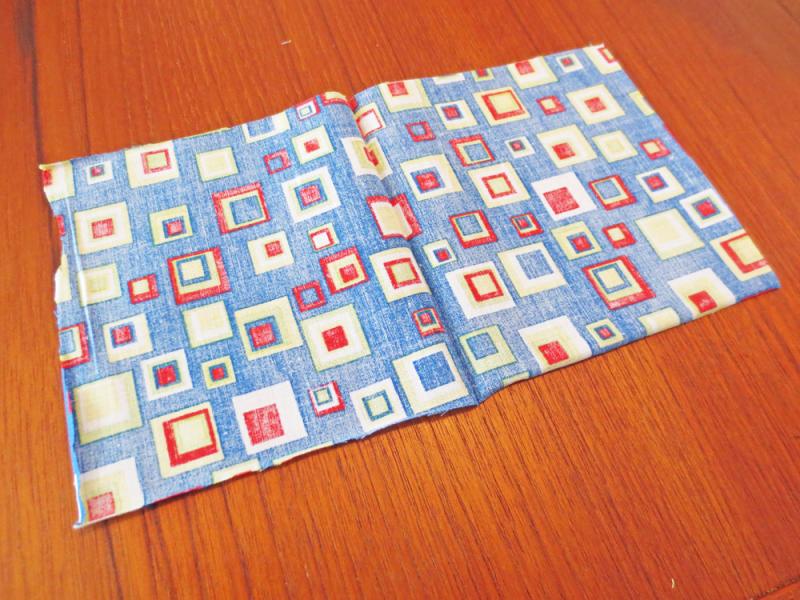
After folding the material (finished sides together) I showed my daughter how to thread a needle and sew a simple stitch. Since I really don't know how to sew, the goal was not perfection, but rather just to attach the fabric together enough so whatever we filled the finished bags with wouldn't fall out.
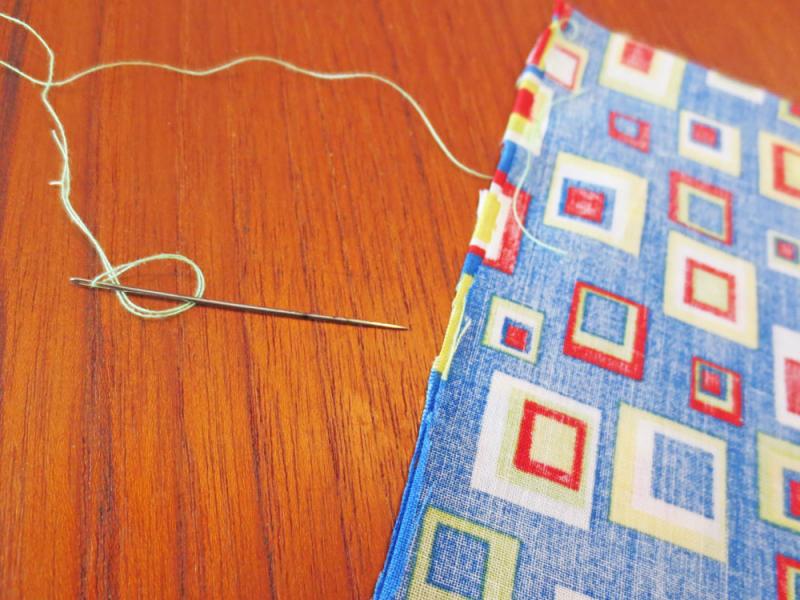
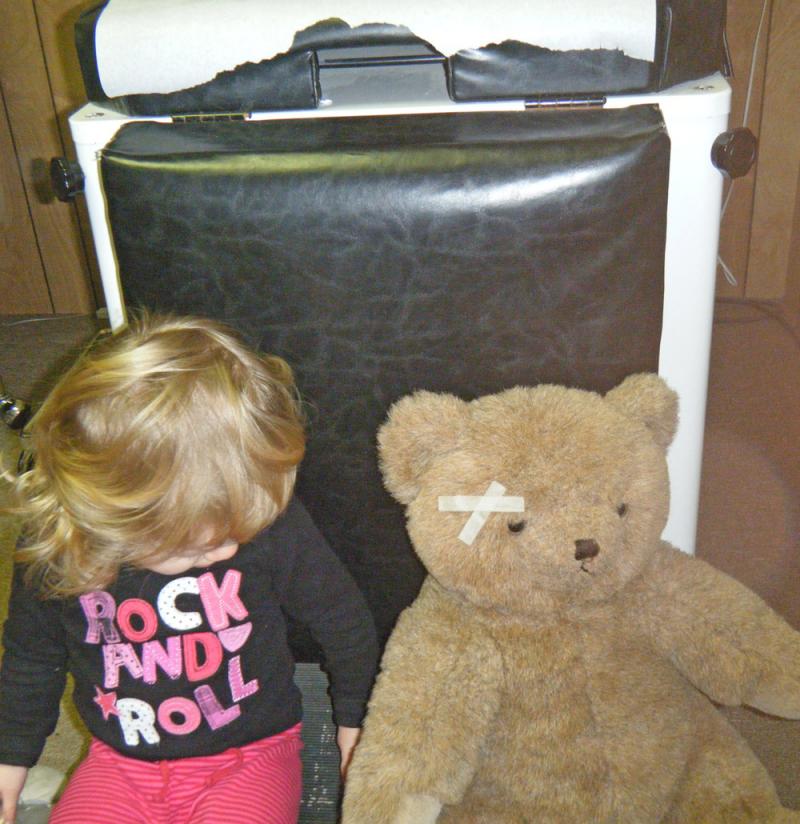
She seemed to catch on pretty quickly and with a little help she worked her way along the edges of the soon-to-be bean bag and yes, that IS a Band-Aid on her finger. No one ever said needles were soft.

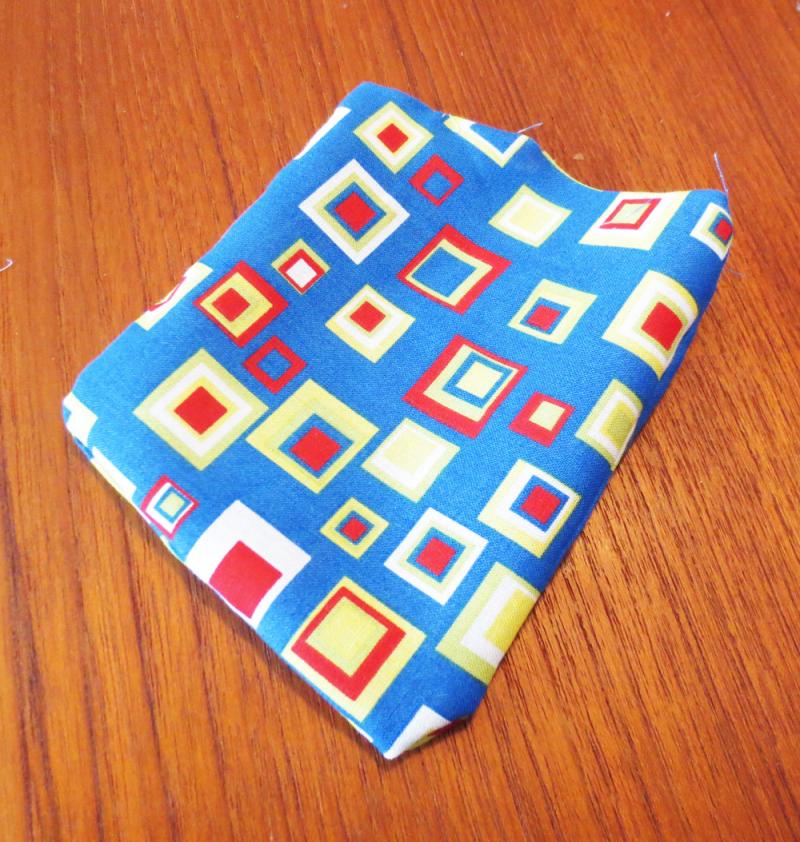
Soon, we ended up with this. Two edges were sewn, one was folded and the other was left open. The imperfect stitching mattered not, because no one would ever see it.
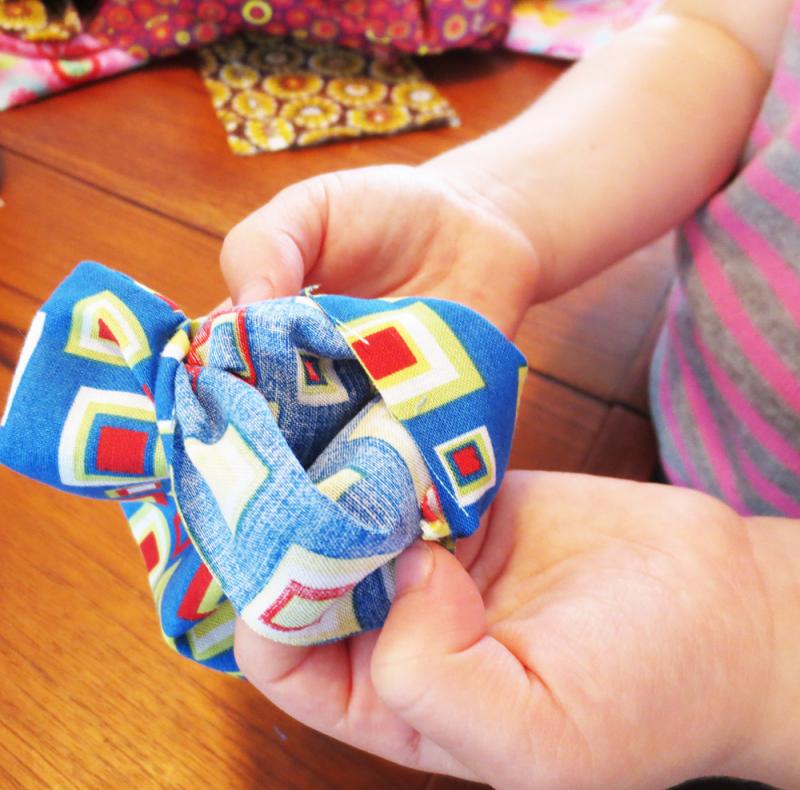
Before folding the bag right side out, we did a quick stitch along a portion of the open end, leaving enough space for the filling.
For the filling, we chose lentils, since that's what we had in the house. Rice would have also worked well, as would any other dried bean or legume.
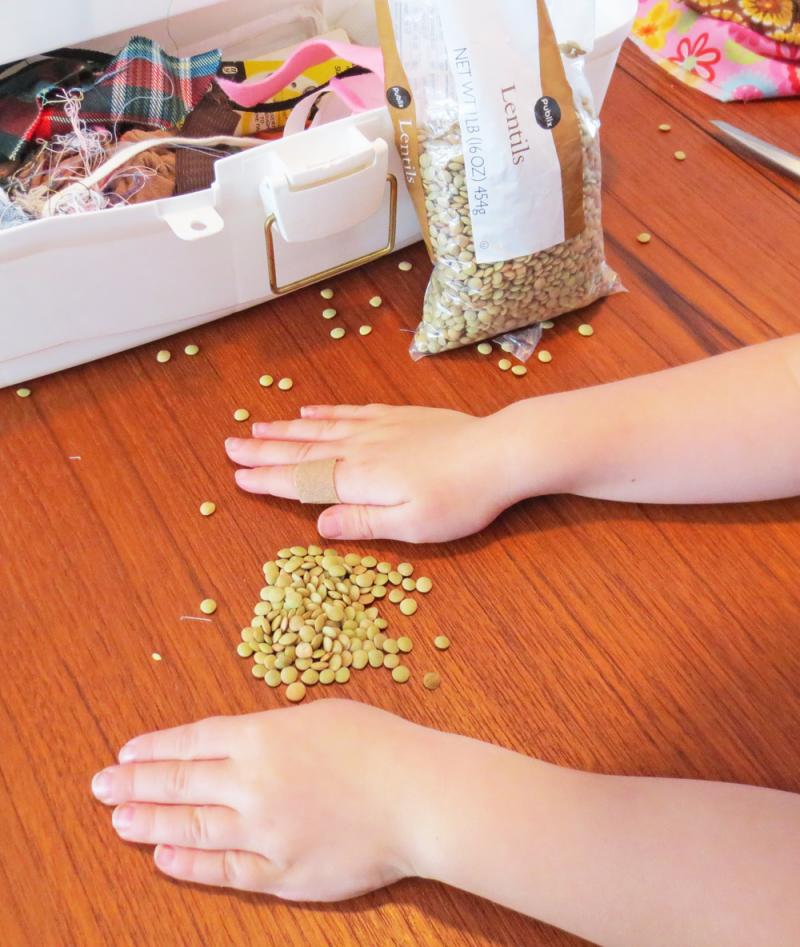
Some people might have placed the lentils in a zip baggie before adding them to the bean bag, but we aren't some people.
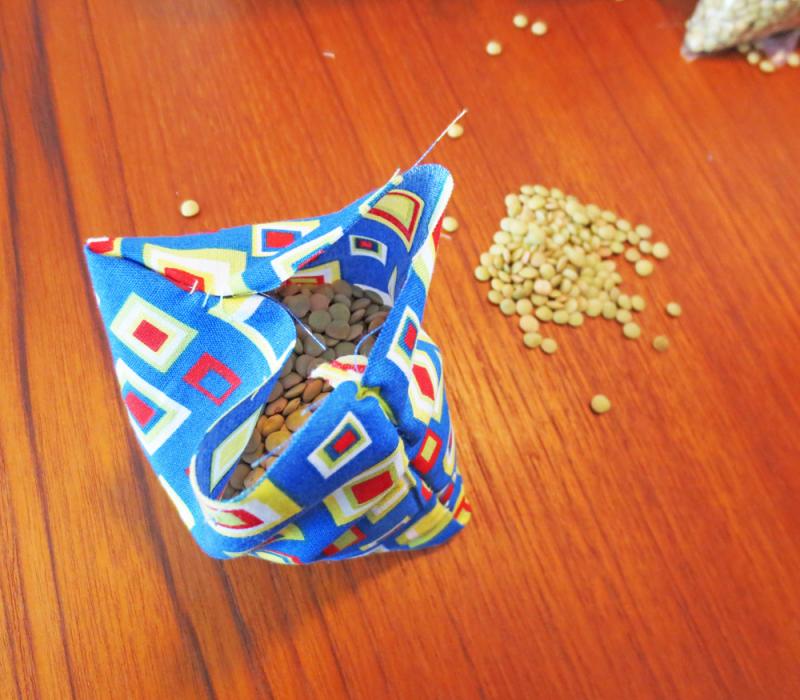
Once the bag was filled, we sewed the edge closed and just like that, we had a bean bag. It wasn't perfect, but it was ours and it was spectacular. In fact, we loved it so much, we made another one.

Try it yourself and if you're looking for some fun things to do with your newly made bean bags, check out this post by Meaningful Mama or this one from Playworks.

![]() RELATED: You Can Make These Coasters Using Instagram Pictures
RELATED: You Can Make These Coasters Using Instagram Pictures

