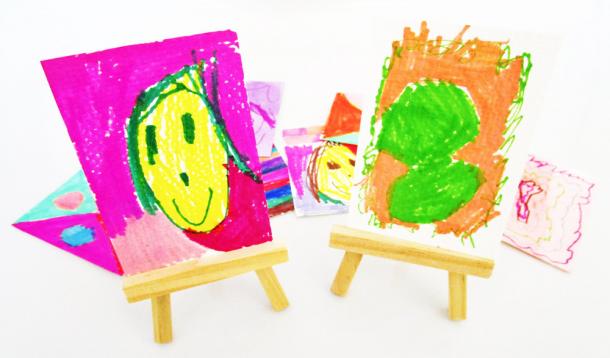
Artist trading cards (or ATCs) are little works of art designed to spread happiness and joy.
The movement isn’t new. Swiss artist M. Vänçi Stirnemann initiated the project in 1997 and since then, thousands of people from around the world have created and traded ATCs online and at in-person events.
The rules for decorating artist trading cards are few. In essence, as long as the size is 2 ½” x 3” (64 mm × 89 mm), anything goes.
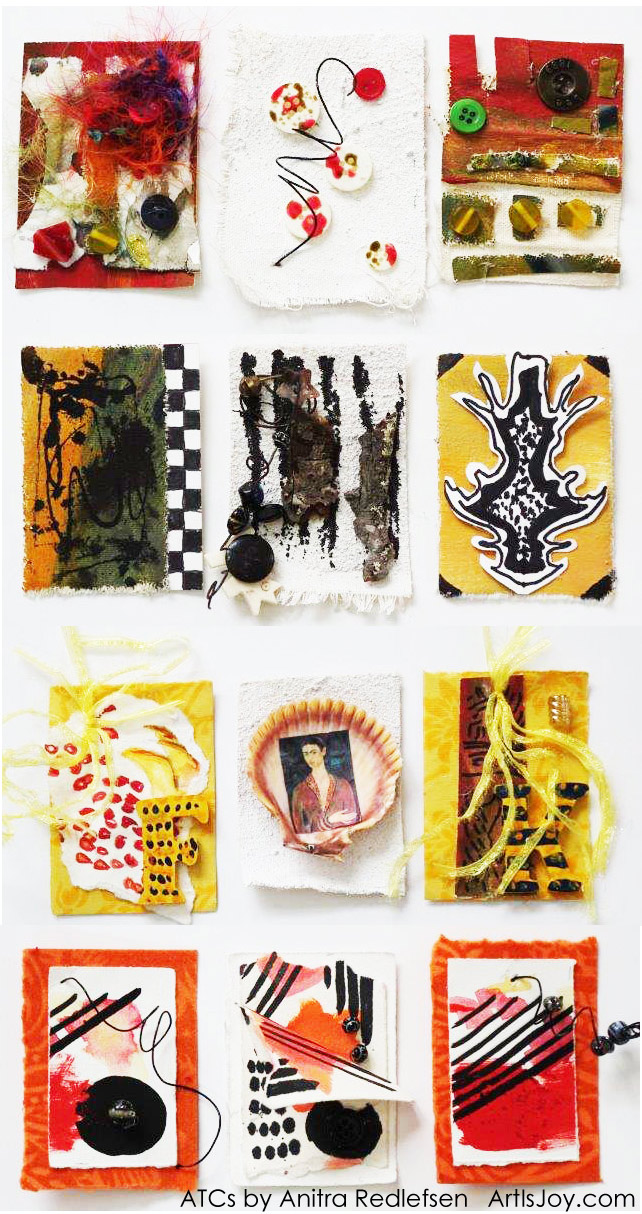
These cards - created by artist Anitra Redlefsen - have been embellished with canvas, buttons, wire, sticks, feathers, yarn, paint, ink, seashells, beads, and wood. Aren't they gorgeous?
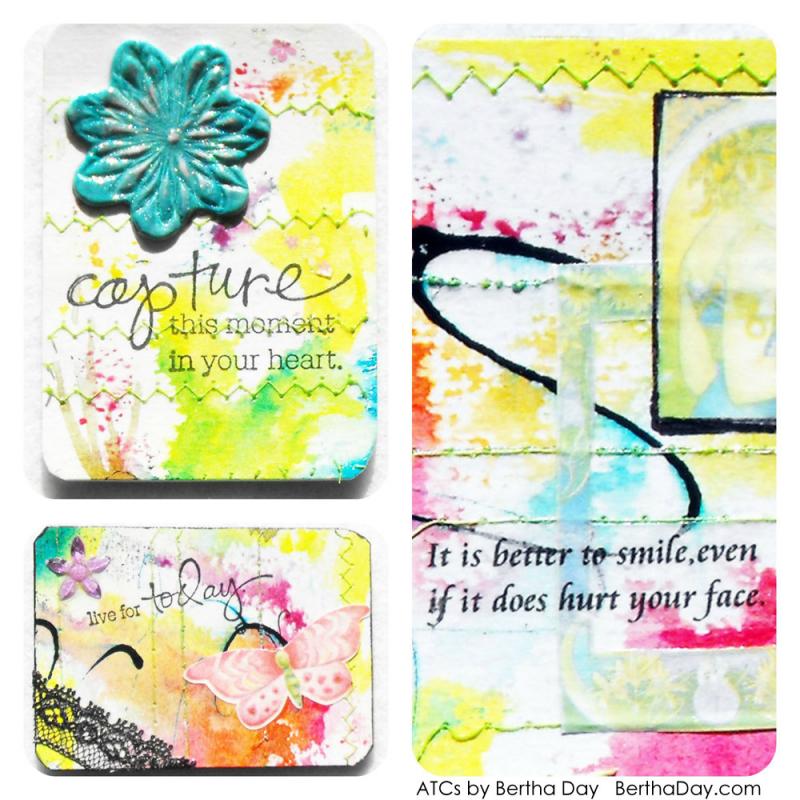
Then, there are these lovely beauties created by artist Bertha Day using paint, lace, fabric and thread. I love the quotes and sayings.
In the past, I've designed coffee-themed artist trading cards using coffee instead of paint to make the images and let me tell you, they smell terrific.

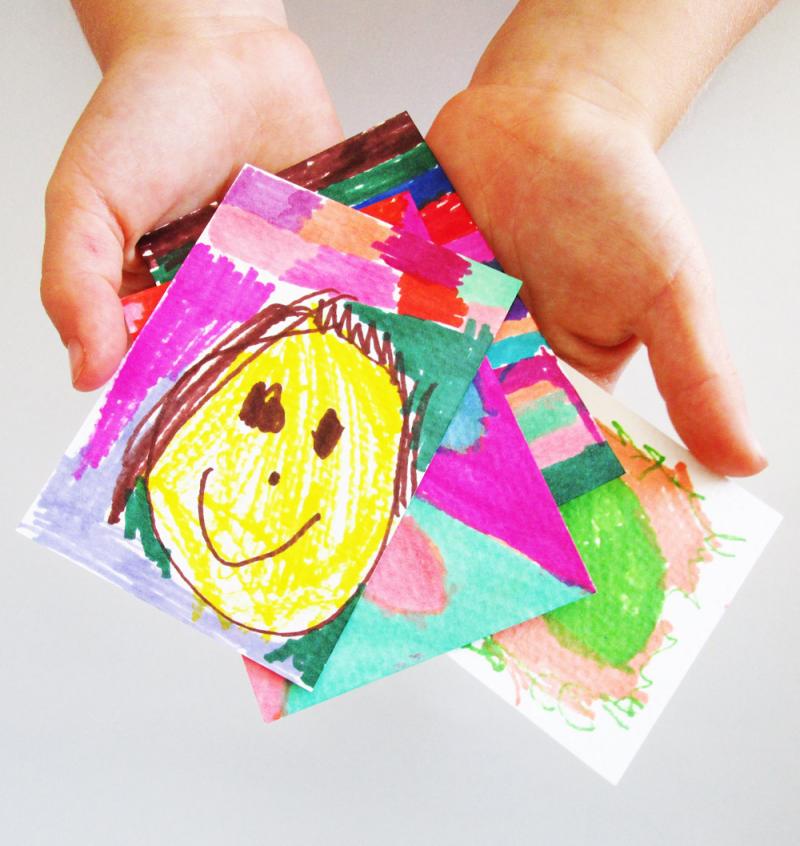
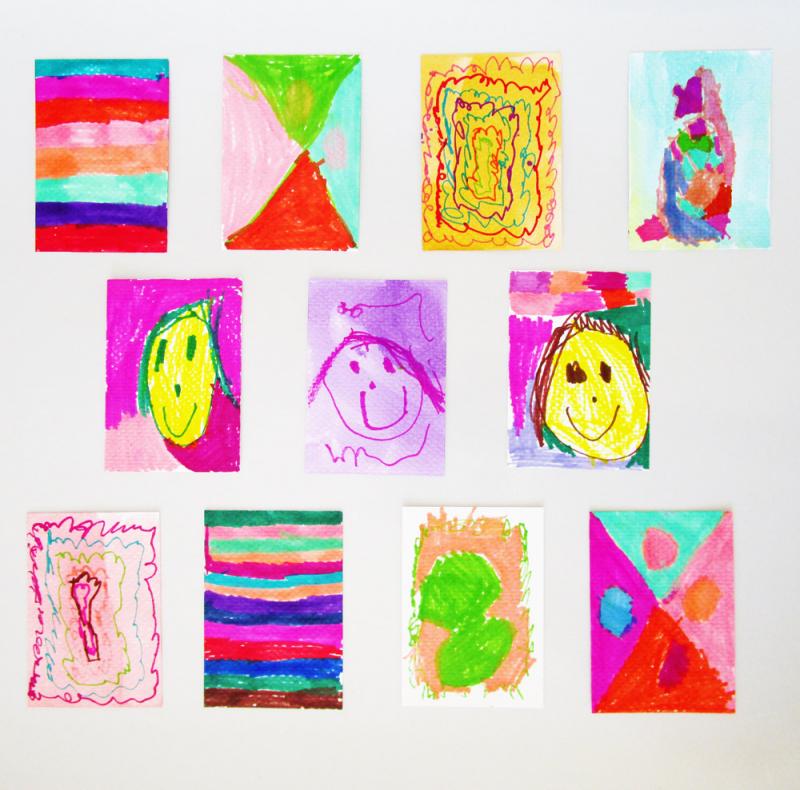
But... it wasn't until my daughter started snatching and decorating my blank ATCs that I really realized just how appealing they are for kids. I mean check it out. Their small size makes them perfect for little hands.
When I was a kid, I collected, traded and played games with baseball cards. I also hoarded novelty erasers that were shaped like cameras, soda pop cans and Cabbage Patch Dolls and I filled photo albums with colourful stickers - many of which smelled of strawberries and vinegar.
If ATCs had been all the rage during my tween years, I probably would have channeled at least some of my creative energy into embellishing them to use as currency with my friends at school (who had killer eraser collections).
Making ATCs is easy, mostly because anything goes. But if you and your kids need some inspiration, you can try these ideas on for size…

1) Glue buttons on the cards and connect the dots with markers.
2) Draw a picture with crayons and lay a watercolour wash over top for a crayon-resist picture.
3) Poke holes in the card and run some yarn through the openings.
4) Create a watercolour wash and when dry, add some embellishments with marker.
5) Make a drawing using pencil crayons.
6) Dip a cotton swab into paint and make a dot design.
7) Glue tiny pieces of paper together to make a collage.
8) Make miniature holiday cards.
9) Get out the sewing machine and run some thread.
10) Glitter!
And so on…
You can make your own artist trading cards, or you can buy them in ready-made packs. Strathmore is my go-to brand of choice and at around $2.00 for a pack of 20 (depending on paper/canvas quality), you can't go wrong.
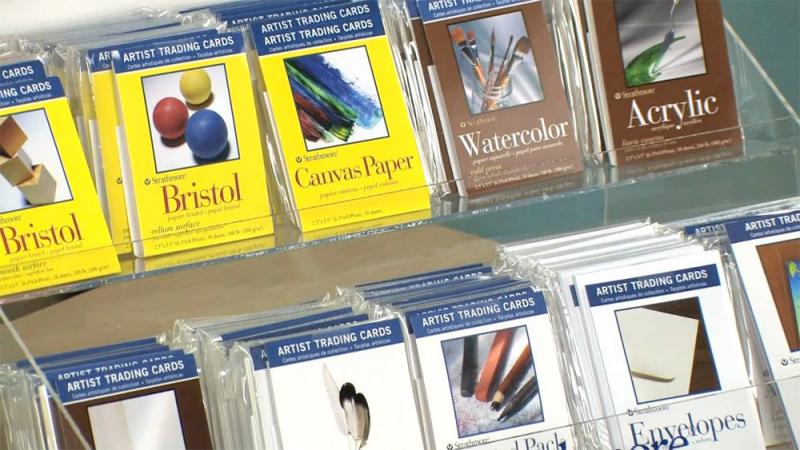
Photo source: Dick Blick.
You can also purchase accessories like little bags, easels and magnetic frames to store and display the ATCs.

So what are you waiting for? Encourage your kids to get creative with artist trading cards!

A brief note: To clarify, purists believe that Artist Trading Cards should never be sold but rather should should only be gifted or traded. However, some artists have chosen to sell their ATCs. In that case, those cards are referred to as Art Card Editions and Originals or ACEOs. It’s a complicated business.

Are you a habitual scribbler?
I am - blank spaces on my to-do lists, calendars, and notebooks are often decorated with arrows, swirls, stick figures, and cubes. It’s an involuntary act that’s been with me since my early days in the classroom – tracing lines on my desk – while I desperately tried to concentrate on the material delivered by my teachers.
As it turns out, my penchant for doodling wasn’t a hindrance. Rather, it helped me navigate my way through school. Recent studies have proven that scribbling aids memory by keeping the mind from wandering.
Information like this makes me smile and it's something to keep in mind the next time you find a tangle of scribbles in the margins of your child's spiral notebooks.
Scribbles are how we share ideas, give directions, recount events, plan projects, and pass the time while on hold with technical support.
For kids, scribbles are to writing what babbling is to talking. For older children and adults, doodling is a way to let loose, communicate and experiment in a fun, non-threatening way. Making time for scribbling is like giving yourself permission to mess up because - let’s face it - perfection is overrated.
Just ask my six year-old daughter who - not long after her first birthday - stood in our kitchen (crayon in fist) making bold lines on a sheet of paper. With each deliberate mark came a delightful squeal. It was one of the first times she had scribbled and the experience was filling her with intense joy and the urge to dance and though she could have no way of knowing it, those first experimental strokes were a very important part of her early development.
At the end of the day, every fully expressed thought begins as a few quick marks on paper and whether deliberate or accidental, a scribble is enough to spark a creative revolution.
Scribbling together is easy, even for parents who say, “I can’t draw a straight line.” It builds trust and tolerance as it teaches kids (and moms and dads) to accept one another’s differences. Guaranteed, you and your children will find yourselves wanting to direct one another as you doodle. That’s okay, as long you are both okay with commentary. If not...REFRAIN! The key when scribbling is to not make assessments. What you do does not have to look like anything. Unless you want it to.
To get started, here's what you need to do:
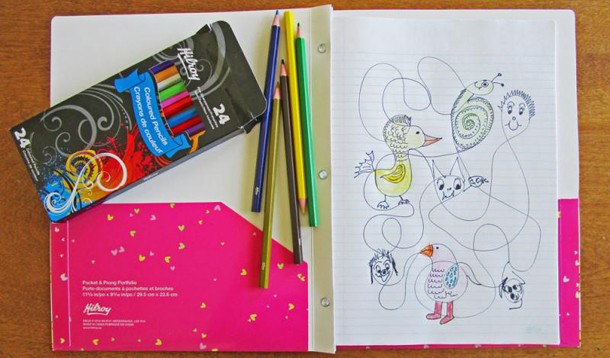
Step one: Gather some great supplies like Hilroy notebooks, pencil crayons, watercolour paper, watercolour pencils and markers.
Step two: Sit down with your kid.
Step three: Scribble together. And if you’re not sure how or where to start, here are some fun suggestions.
The premise here is simple. Draw a shape using a Hilroy notebook and coloured pencils and see what develops.
1. Draw a random shape.
2. See if the shape reminds you of something. In this case, a wonky bump on a circle looked like a nose, which led to the creation of a person.

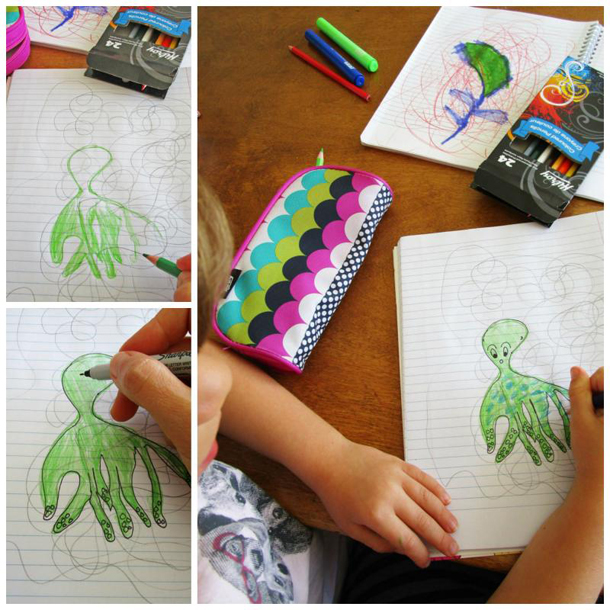
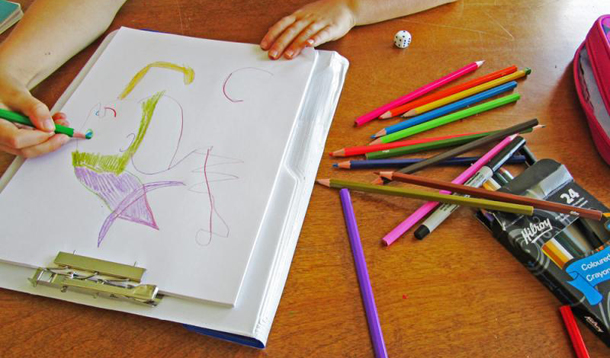
1. Grab a notebook and coloured pencils. You'll also need some magic markers.
2. Close your eyes and start scribbling. The first thing you'll notice is that when your eyes are closed, you will draw FAR more lines than when your eyes are open. That's your brain, taking a break from worrying about the outcome.
3. Now take a look at the scribbles to see if anything "pops" out at you. If and when it does, outline it.
My daughter instantly saw a pear peeking out of her doodle and proceeded to highlight it with markers.

Then, she spied an octopus in my scribbles. Between the two of us, we helped "Oscar" jump off the paper.
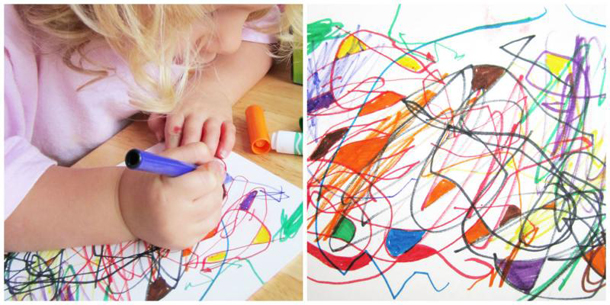
1. Grab your coloured pencils and a notebook.
2. Begin by scribbling a continuous line using a dark pencil or a permanent marker.

3. Then, see if anything peeks out at you. Take turns with your child to see what each of you can find. Then, embellish your finds with colours!
From the time she was able to understand, I’ve let my daughter know that mistakes can be beautiful. In fact, they are a necessary stop on the path to learning, which is why around here; we often refer to them as happy accidents.
1. Create some lines, shapes, doodles and squiggles using watercolour pencils on watercolour paper.
2. Dampen the shapes with water as you start to lose control. Sharp shapes will become wandering blobs and crisp lines will travel where they wish. Embrace the journey because you never know where it might take you!

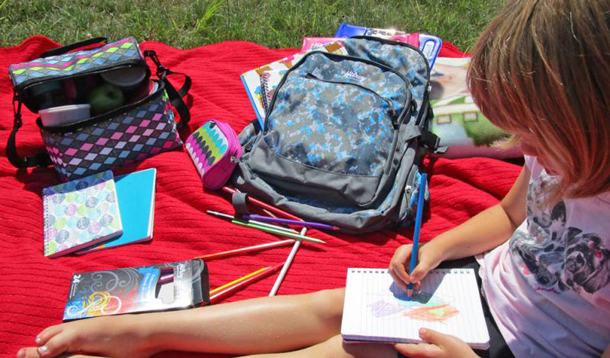
My daughter and I adore this game because we never know what we will end up with. To play, you need writing utensils, paper and a hard surface. Using a Hilroy ClipNote Clipboard is a good idea, because then you can do this activity on the go - in the backseat of the car, on an airplane or while waiting at the doctor's office. An optional twist involves using a die or a set of dice. Roll a six and you make six scribbles. And so on.
1. The first player rolls the die and makes that many marks on paper.
2. The next player takes a turn and at some point, an image may appear. Or, it may not. The idea is to "go with the flow" and not panic if things don't work out as you expect. Allow yourself to make mistakes.
Before you know it, we ended up with a character named "Razzmatazz." Never in a million years could my daughter and I have predicted we would draw a dancing elf, but by doodling together, we created something never seen before. And that is how little scribbles can become big ideas.

Sure, there are lots of computer apps that allow kids and adults to doodle and scribble on the screen, but nothing compares to the powerful and unpredictable things you can create with a pencil and a piece of paper. And the best part is, your imagination is portable so you can take it anywhere.
It all starts with a scribble. Where will your imagination take you?
This is proudly sponsored by our friends at Hilroy.
www.hilroy.ca
Celebrating scribbles, sketches, ideas – and all of the amazing things you can start with a Hilroy.
Connect with them on social media to get inspired by how others are harnessing the power of pencil and paper.
Twitter: @hilroycanada
Instagram: @hilroycanada
Facebook: hilroy.ca
Paige didn’t go to my school, but we rode on the same school bus and we shared a bus stop. Paige didn’t have a home-haircut. She went to a salon and smelled of hairspray. Paige didn’t wear t-shirts and jeans. She wore blouses and slacks. Paige didn’t have a pool that had to be deflated and dismantled at the end of the summer. She had an in-ground, indoor swimming spa.
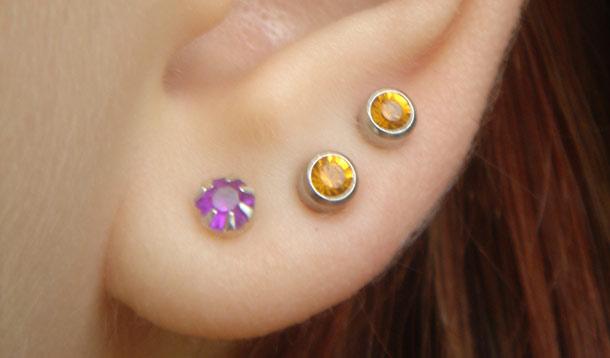
But most of all, Paige had pierced ears.
I still remember the day I noticed the tiny sparkles embedded in her tiny earlobes. I was six years-old and bursting with excitement at the thought of asking my mother if I could have my ears “done,” just like Paige.
I was barely off the school bus when the question fell out of my mouth. Mom’s answer was swift and final, "Not until you’re older.”
For the next number of years, I walked around with clip-on earrings, some the size of small compact cars. Meanwhile, my parents used their subscription to National Geographic as a teaching tool as they pointed out images of Mursi women of Ethiopia who adorned themselves with clay lip plates, Padaung women of Thailand who elongated their necks with brass rings and Maasai men and women of Kenya who stretched their earlobes with beaded earrings.
The takeaway was this: Cultural traditions are fantastic, but body adornment is permanent. And, the decision to embellish is best left until adulthood, or age 13. Whichever comes first.
The week of my birthday, my mom set up an appointment with our family doctor. The timing was perfect. I was in grade nine and my friends and I had immersed ourselves in - what we perceived to be - punk and new wave fashion. I was going to rock the gold sleeper hoops I had picked out at the neighbourhood jewelry store.
I sat in Dr. Baxter’s office - wearing Doc Martens and my dad’s old suit jacket - the smell of rubbing alcohol stinging my nostrils. After a local anesthetic was injected into my earlobe, I felt the pressure of a cold, metal needle slowly twisting and tugging its way through my skin. My doctor pursed his lips and sucked in – as he so often did – asking me several times if I was feeling any pain. The answer was no, even as he dabbed the blood off my cheek.
I left the medical building with rings in my ears, gauze in my fists and a small piece of paper with the words hydrogen peroxide scribbled in black ink. I furiously rotated those earrings for weeks, for fear of the skin closing over them every night after I went to sleep.
When the time came, I replaced the sleepers with real honest-to-goodness earrings. Pink ones. Purple ones. Silver ones. Dangling ones. It was fabulous, until it wasn’t because it didn’t take long for me to discover that my ears rebelled against anything other than pure, expensive, unattainable, might-as-well-have-cost-a-million-dollars gold.
Back in went the sleepers.
It was the memory of the pain and skin discolouration caused by cheap department store ear studs that prevented me from accepting a piercing invitation from a friend of a friend’s brother. She had dyed jet-black hair and leather pants and was one of several kids I knew who would happily pop safety pins into waiting ears, free of charge. Her technique involved a wine cork, a lighter and a sampler bottle of men’s cologne stolen from the cosmetics section at Woolworths.
Mercifully, 15 year-old me resisted the urge to use aftershave as an antiseptic.
The same cannot be said for 16 year-old me.
While in a Texas/Mexico border town with my parents and my best friend Darla during spring break, I came across a sign on a shack that read: EAR STUDS $5 (INCLUDES PIERCING).
Darla and I were sold. Somehow it didn’t penetrate our teenaged brains that entering a building - inside of which was a dirt floor and a guy named Bug - was a bad idea.
Bug shot a hole in my left ear before I even had a chance to sit down. The pain was exquisite and my shrieks were enough to send Darla for the door in a literal cloud of dust. I paid the $5 owed and spent the next several months trying to shake the infection, with the help of antibiotic cream prescribed by Dr. Baxter who had no words from that day forward.
Today, I’m a mother of a six year-old. She doesn’t know any girls like Paige and – so far - hasn’t asked to have her ears done. But, she has inquired about the holes in my lobes. Mostly she’s curious to know if it hurts to have your ears pierced and my answer is always the same, “YES. Way worse than any skinned knee you’ve ever had.”
The thought of my kiddo’s tiny, pristine ears hanging heavy with metal, makes me shudder. I have friends and family members who have had their children’s ears pierced – some as young as babies. Fine, whatever. To each his (or her) own. But for me, I refused to make a decision about my daughter’s appearance that would stick with her for the rest of her life, before she could even speak.
Her body. Not mine.
If tomorrow she came and begged me for tiny diamond studs, I would repeat the words my mother spoke to me thirty-something years ago. I mean really, my kid loved Dora the Explorer and Calliou just a short time ago. Does she really have any clue at this stage about what she'll want when she’s a grown-up?
The answer is no. And that's why temporary tattoos exist.
Meanwhile, there are lots of fantastic ways little ones can experience the thrill of pierced ears, without actually piercing their ears. And they are way cooler (and less pinchy) than the clip-on earrings I wore as a child.
BinkDKids make water transfer decals that last for days and give the illusion of pierced ears.
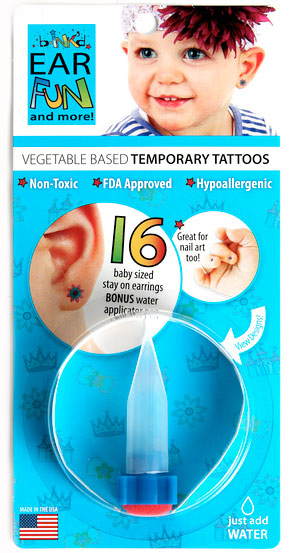
Image: BinkDKids
And, slip-on earrings by Lisadora are cool alternatives that look like the real thing.
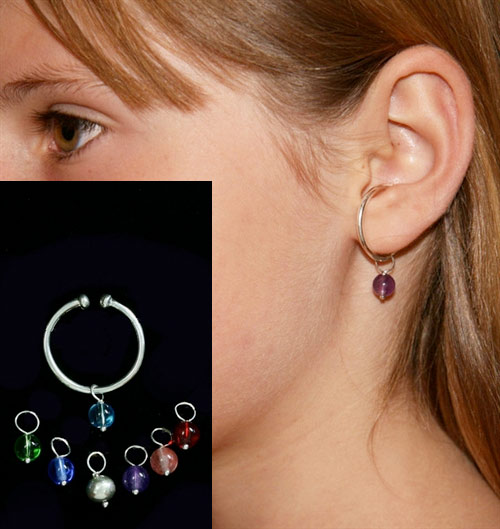
Image: LisaDora
By the way, in case you’re wondering... the only earrings I wear today are small gold hoops in the two original holes surgically created by my doctor. Meanwhile, my Texas shotgun hole closed up long ago at the back of my ear, yet the front has remained open, sometimes prompting the question, “What is that goo coming out of that spot in your ear?”
Glamourous, no?
Image Source: FreeImages.com/Lucy Bonakovska

