I love to tie dye t-shirts with my kids but the truth is, it's quite messy so when I StumbledUpon Sharpie tie dye t-shirts, I was quite excited. The only problem in all of the tutorials I came across you would wrap a portion of the t-shirt around a plastic cup, make a design, wrap another portion around a cup, make a design, and so on. The end result was a t-shirt filled with mini tie dye circles. They were very pretty but to me tie dye shouldn't be constrained so I decided to create my own free form version.
Items needed:
Sharpie Permanent Markers
Isopropyl Rubbing Alcohol
Medicine Dropper
Cotton T-shirt

1. Slide t-shirts onto cardboard (I used our craft placemats) otherwise the ink will bleed through to the back of the shirt.

2. Draw your design

Son No. 2 Design

Son No. 1 Design
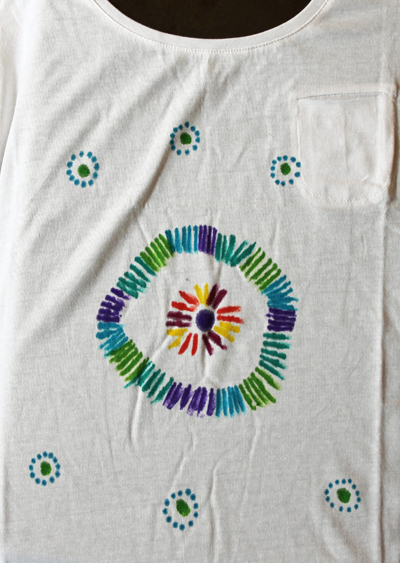
Mine
3. Once the designs are drawn we slid an old cookie sheet inside the t-shirt to begin the process of adding the alcohol. If I were to do it again, I would skip this step. Essentially it is so the design doesn't bleed through to the back of the shirt. In retrospect, I think it would be great to have the design on both sides.
4. Using the medicine dropper, squeeze out about ten drops in the centre of your picture. Depending on the size of the image you'll need more or less and you can adjust as you go along.
5. Let dry (we used a hair dryer to dry them more quickly).
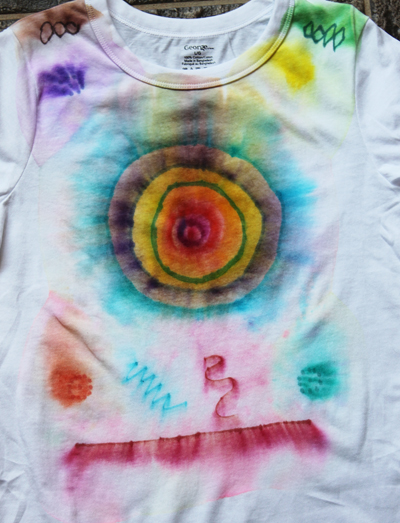
6. Wear your amazing art!

Son No. 2 Finished T-shirt
Son No. 1 Finished T-shirt

My finished t-shirt