I love Christmas. It is by far my favourite holiday. I love decorating my home, shopping for presents and celebrating with family.
One of my absolute favourite things about Christmas is wrapping presents. I have a basement full of holiday wrapping paper but I have had a really hard time finding pretty 'grown up' paper, so I thought I would create my own. Last year, I got crafty with brown paper packages so this season, I wanted to try something a bit different.
As you may know, I have developed an addiction to Royal Design Studio's stencils. I have stenciled everything from a bookcase to a rug. I thought it would be fun to take the gorgeous Skylar's Lace stencil and create some pretty wrapping paper.
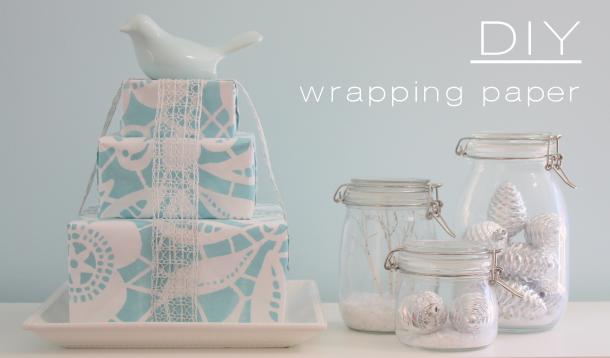
This is what I came up with:

What you need:
 stencil craft paint foam roller & paint tray white craft paper painter's tape
How To:
1. Roll out the paper onto a flat surface and tape the stencil in place over the paper. Test the tape first to make sure it will not tear the paper. If it does, simply tape it to the floor to the side of the paper. Seriously, how gorgeous is this stencil?!

2. Simply roll the paint over the stencil.

3. Let it dry...and don't panic! It will look a bit bumpy at first, but when it dries, it will be smooth:

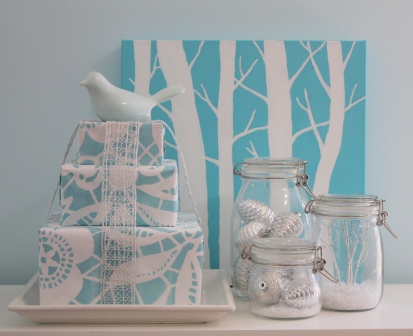
I wrapped three presents and stacked them to create a centrepiece. I love that it looks like a tiered wedding cake. I added the bird topper for a bit of whimsy and wrapped them all together in the textured silver ribbon.

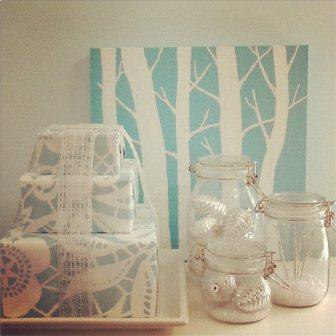
I created the faux snow globes last year for this YMC DIY video. They could not be easier: fill the bottom of each one with fake snow and add ornaments or small trees. They can be on display all winter.


How are you decorating for the holidays this year? I'd love your tips!
I linked this up to Centsational Girl's Holiday Craft Link Party!

