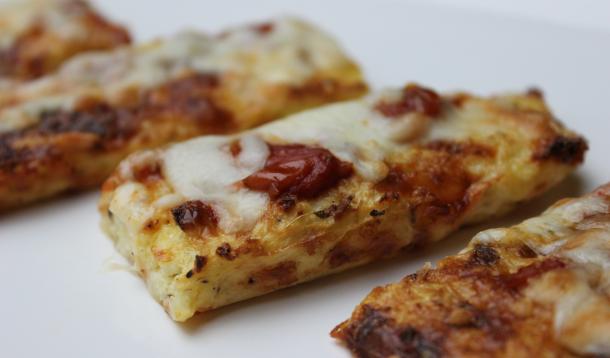
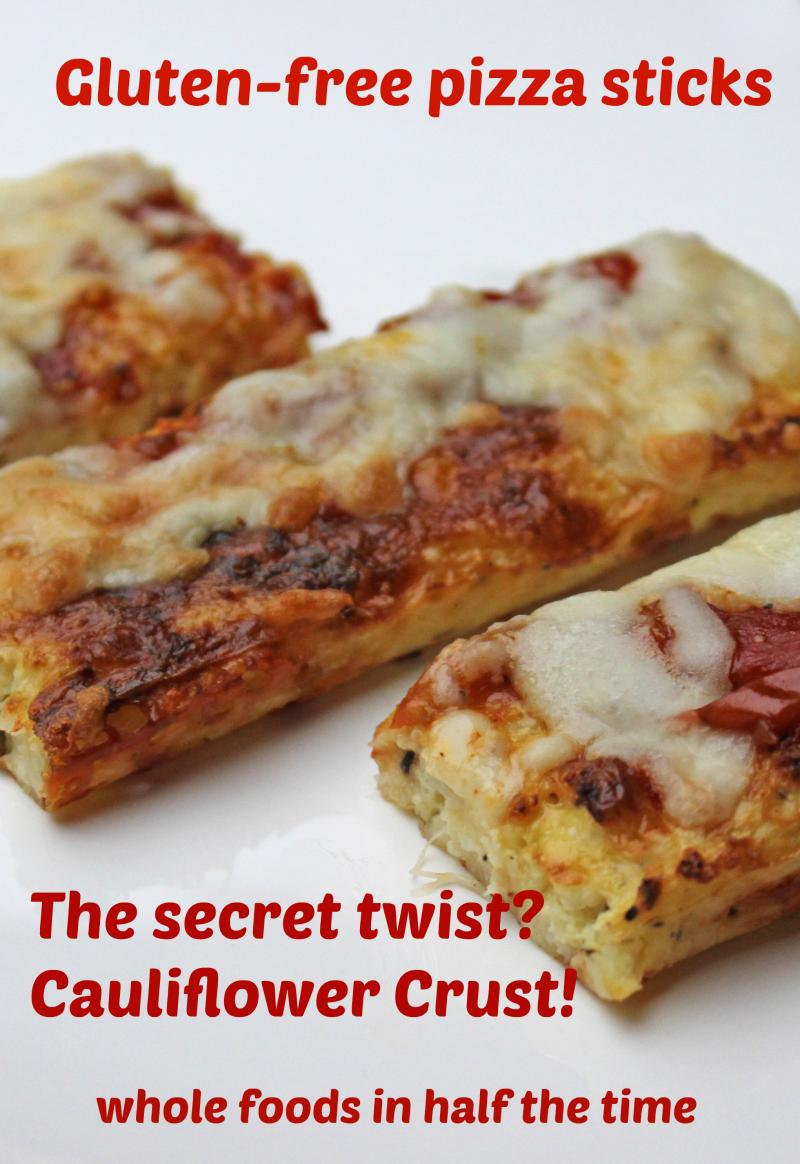
I was one of the people in full panic mode when cauliflower prices skyrocketed last winter. I love this humble vegetable and serve it often. While my husband is also a big fan, our kids are definitely not. I’ve tried lots of different recipes over the years and this is the first one that had them reaching for seconds….and thirds. Of course, the fact that I didn’t tell them the pizza crust was made with cauliflower may have had something to do with it. They loved these pizza sticks and I loved that they were enjoying something nutritious. Did you know cauliflower is packed with tons of Vitamin C, antioxidants and lots more goodness? All the more reason to get a little sneaky the next time you want to serve up pizza sticks.
Ingredients
Directions
 Preheat oven to 425F. Line a baking sheet with parchment paper and set aside.
Chop approximately 3/4 of the head of cauliflower into florets about one inch in size. Put them into a food processor and pulse until cauliflower resembles grains of rice. Alternatively, chop very finely by hand with a large, sharp knife. Measure out 3 cups of 'riced' cauliflower; prepare more as needed to reach the 3 cup mark.
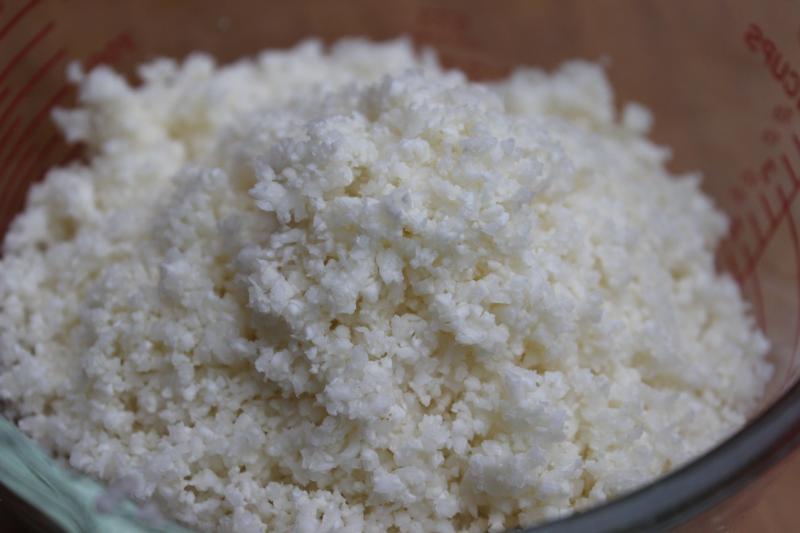
Put the riced cauliflower in a microwavable container and cover with a lid or plate. Microwave on high for 5 minutes, stirring once during cooking time.
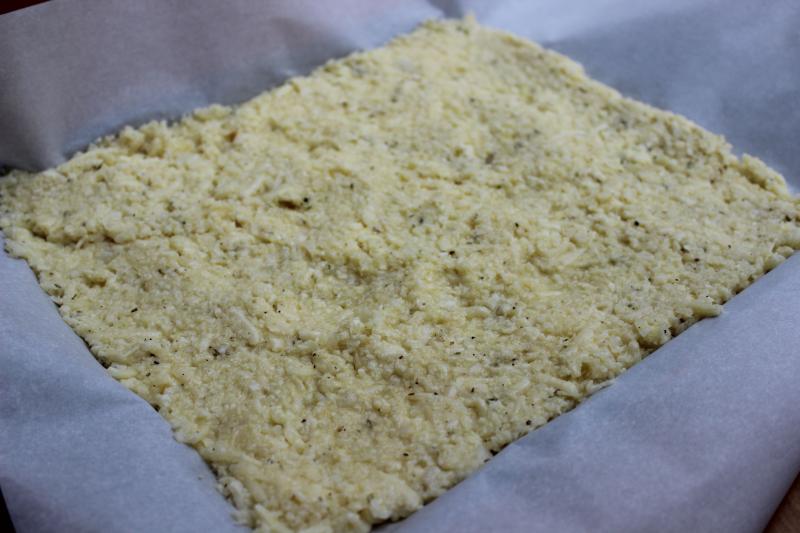
Place the cooked cauliflower in a large bowl and add the beaten eggs, oregano, garlic, salt, pepper and 1 1/3 cups of the grated mozzarella. Mix together until well blended.
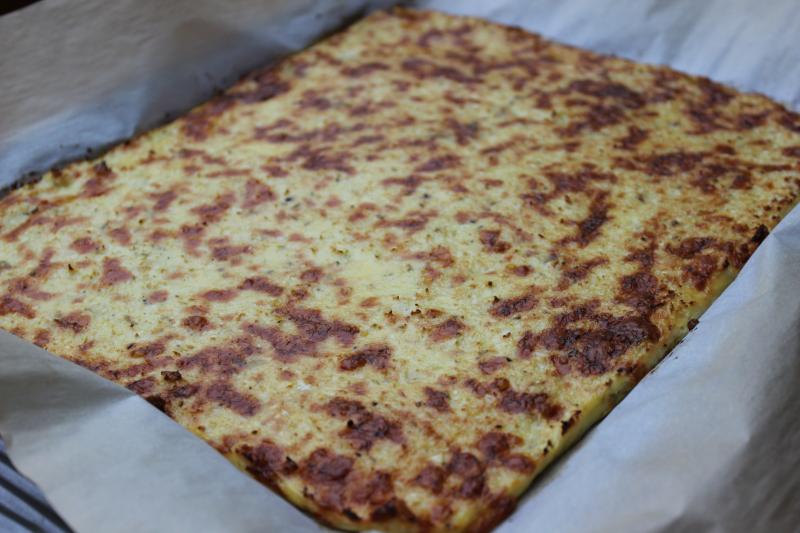
Turn the mixture out onto the parchment-lined sheet, shaping into a rectangle approximately 8 x 10 inches and about 1/2 inch thick.
Bake the crust for about 20 minutes; it should be golden brown.
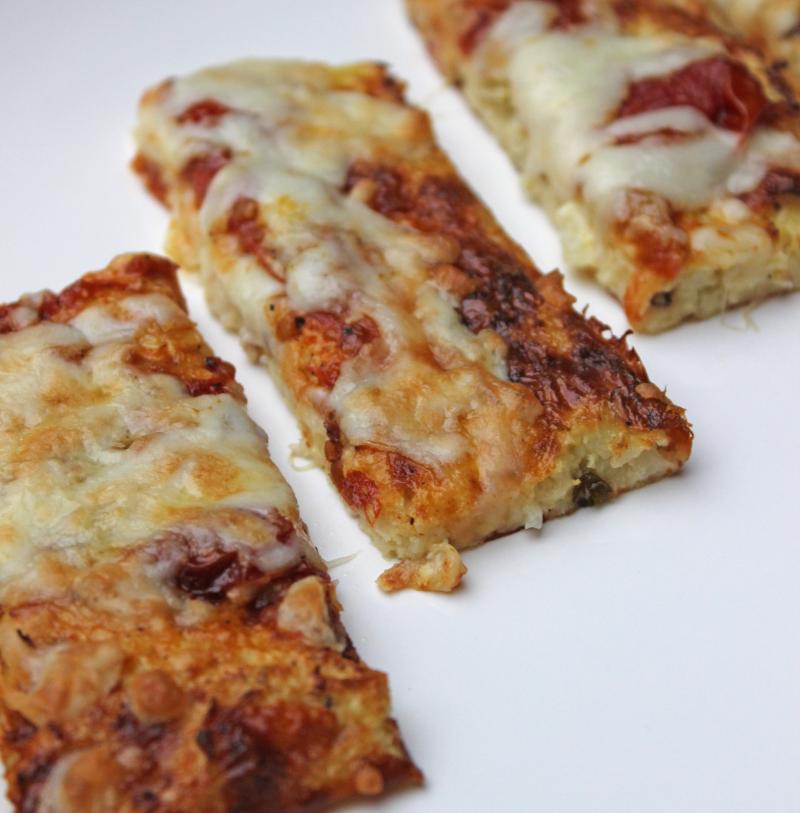
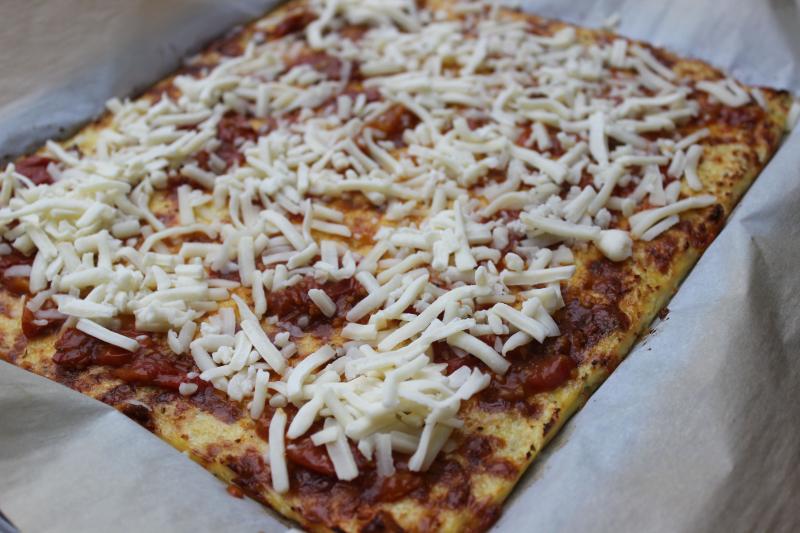
Remove from oven. Brush with pizza sauce and sprinkle with remaining mozzarella cheese.
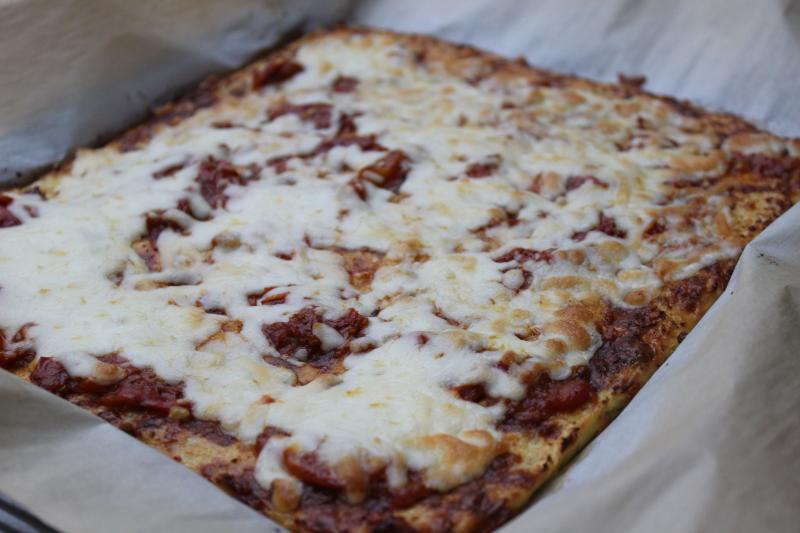
Return tray to the oven for another 5 minutes or until cheese has melted.
Slice into 12 sticks and serve warm.
Serves 3 - 4
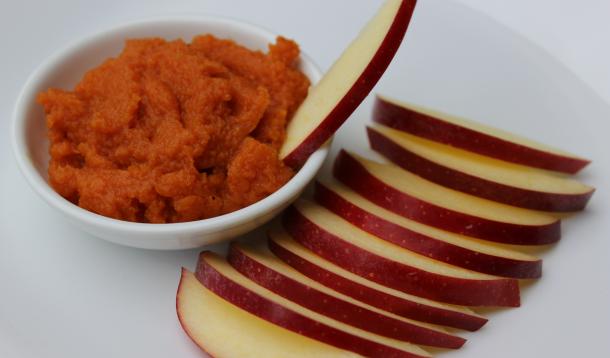
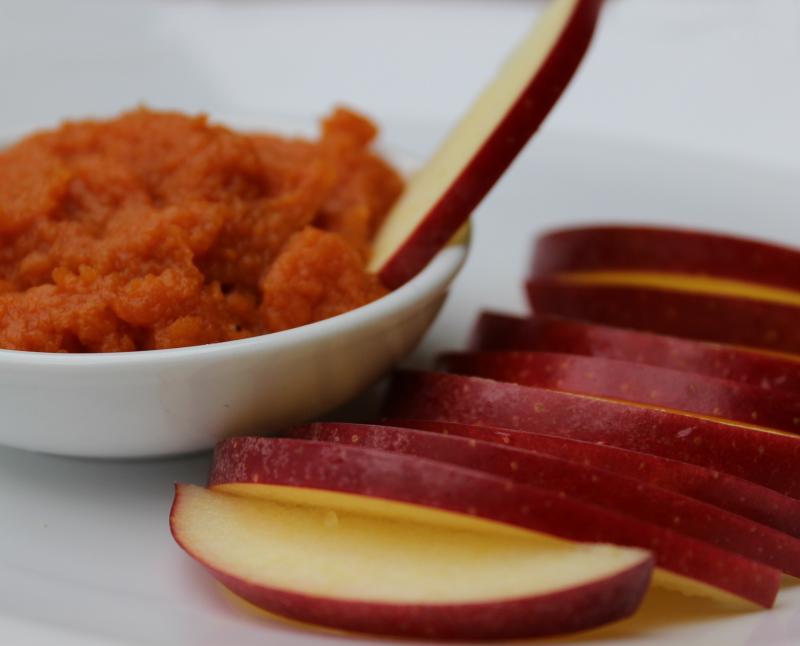
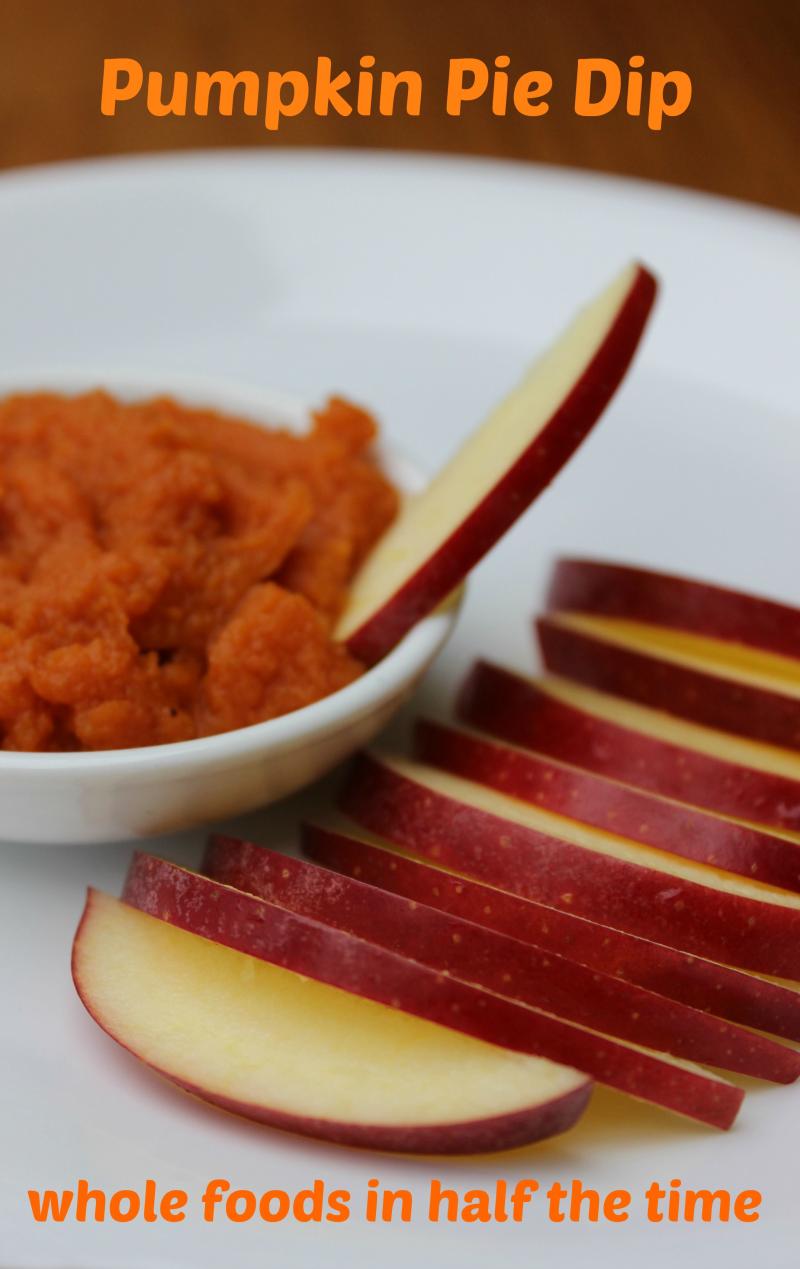
The only thing I don't love about Hallowe'en is the sight of smashed pumpkins rotting in the street. While I don't carve masterpiece jack-o'-lanterns like some of my neighbours, I still hate to see something edible going to waste. I came up with this dip as a way to carry the delicious flavours of pumpkin pie into November while at the same time recycling my Hallowe'en pumpkin. I'm always on a quest to get my family to eat more fruits and vegetables and I am pleased to report that the adults in our house enjoy this dip as much as the kids! Although we'd probably all prefer to be scarfing down candy, I am glad to serve up this healthy option as an snacktime alternative. It makes a great lunchbox filler too!
Ingredients
Directions
Put pumpkin puree, yogurt, maple syrup and spices in a small bowl; stir until well blended.
Serve with sliced apples (or pears) for dipping; it's also delicious with pretzels!
Dip can be made ahead and refrigerated for up to 48 hours.
Makes about 2/3 cup of dip.
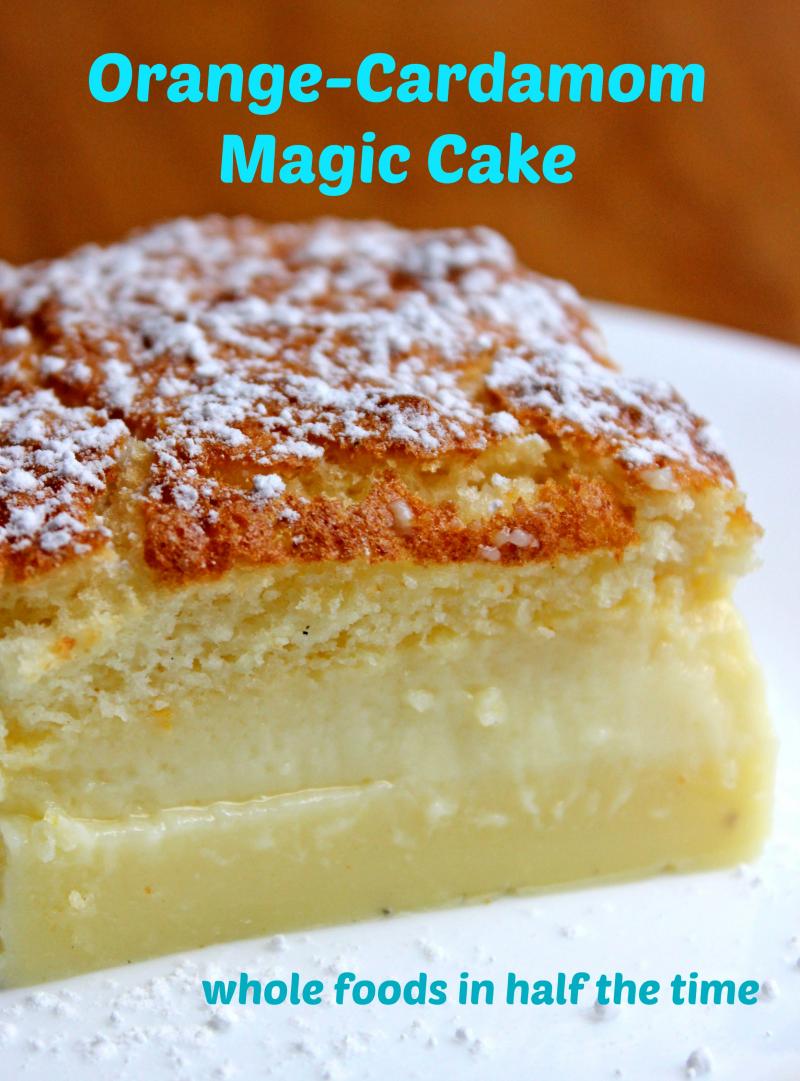
![]() RELATED: Magic Cake – a Delicious Sweet Surprise From the Oven
RELATED: Magic Cake – a Delicious Sweet Surprise From the Oven
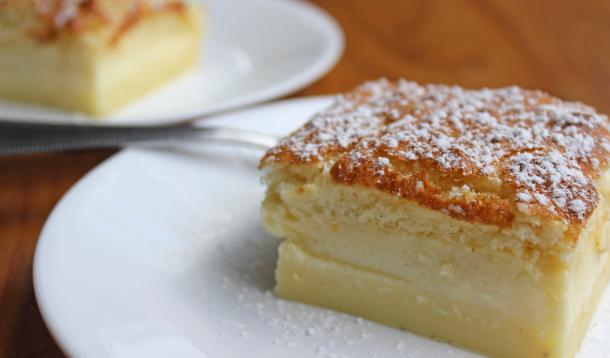
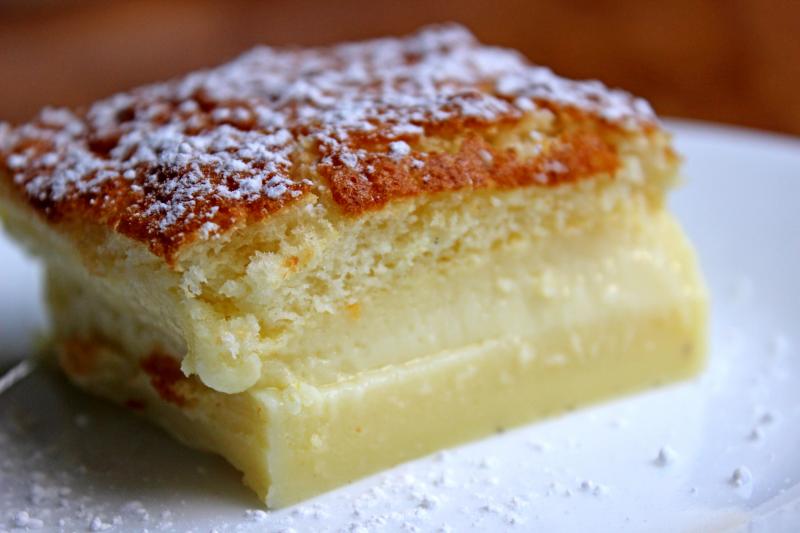
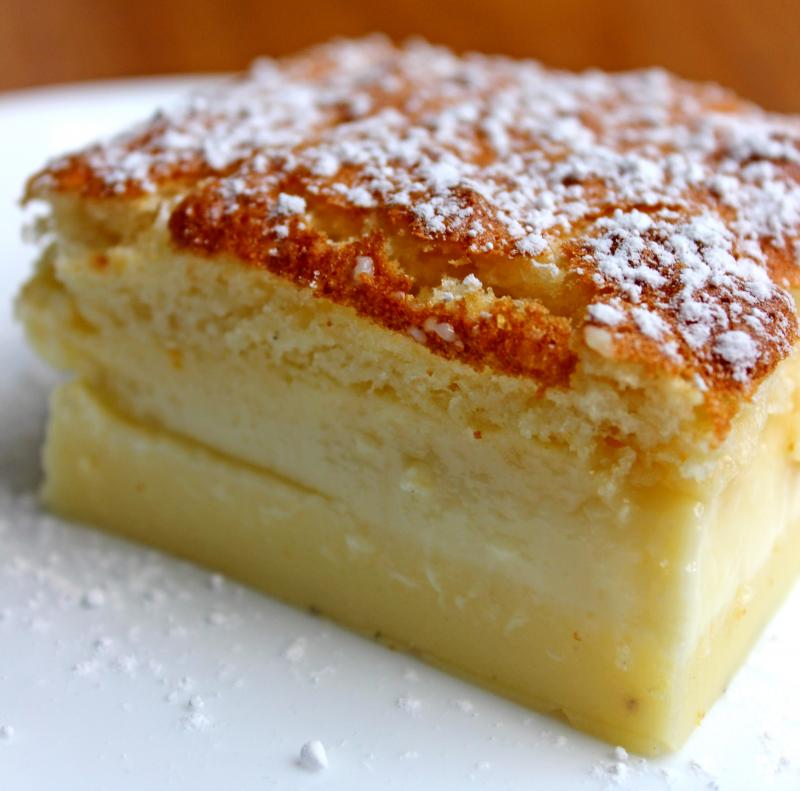
Have you heard of magic cake? It’s a sweet sensation that’s been generating quite the buzz, for a couple of great reasons. It’s light and lovely (my favourite kind of dessert, so it can be enjoyed even after a big meal) and super easy to prepare. The magic part: as it bakes, the batter separates into three distinct layers. There’s a fluffy cake layer on top (almost like angel food cake), then a custard layer in the middle and a denser layer on the bottom. It’s like three delicious desserts in one! In the unlikely event your cake doesn’t get completely devoured right away, you can store leftovers in the fridge for up to 2 days, or freeze for up to a month. I love this orange-cardamom version, inspired by the flavours of India, but you can substitute freshly squeezed lemon juice for the orange to make a lemon-cardamom version, or omit the cardamom and use 1/4 cup strong coffee (at room temperature) for another delicious variation.
Ingredients
Directions
Preheat oven to 325F. Line an 8 inch x 8 inch baking pan with parchment paper and set aside.
Separate eggs carefully. Put the whites in a medium sized bowl and beat with an electric mixer until stiff peaks form. Set aside.
In a large bowl, vigorously whisk the egg yolks with the sugar and cardamom until the mixture is fluffy and light in colour. Add melted butter and continue whisking until well incorporated. Add flour and whisk until a smooth batter forms.
Add the orange juice and whisk to combine, then add the milk slowly, whisking constantly, until the mixture is well blended.
Add the egg whites to the egg yolk mixture, a third at a time. Gently combine them into the batter with a whisk, repeating each time you add more of the whipped whites. Do not overmix – you want to see blobs of egg whites in the mixture. Note that the batter will be quite a bit runnier than most conventional cake recipes - this is part of what makes it magic!
Pour batter into prepared baking pan and bake for 50 to 60 minutes or until the top is lightly golden and the cake is firm to the touch around the edges but still slightly jiggly in the middle. Depending on how true to temperature your oven is, the baking time may vary so start checking the cake at the 45 minute mark.
When cake is baked, remove pan to a wire rack and let cool completely. Cut into squares and dust with icing sugar to serve.
Makes 9 portions.
![]() RELATED: A Jaw-Droppingly Delicious Cookie And Cake Collision!
RELATED: A Jaw-Droppingly Delicious Cookie And Cake Collision!

