
It's definitely easier to feed your kids while you're out and about once they're old enough to enjoy packable foods like cut up fruits and veggies, sandwiches or muffins, but for little ones it can be little trickier.
One of my biggest challenges as a parent was figuring out how to manage homemade baby food on camping trips since my kids absolutely refused to eat commercial baby food. Even if they had tolerated the store-bought stuff, glass jars are a nuisance to transport and I worried about keeping the partially-consumed jars adequately cold in our camp cooler. The solution proved to be very simple: I dehydrated my homemade pureed fruits and vegetables, then packed little containers of the powdered food which I could reconstitute in small quantities as needed. This method works with many different kinds of cooked fruits and vegetables.
I’ve tried sweet potatoes, squash, pumpkin, peas, carrots, pears, apples, peaches and plums and all were successful. If you don’t have (or can’t borrow) a food dehydrator, you can use the lowest heat setting on your oven instead. As I dehydrated all the things, not only did I learn that this was a super convenient method, I discovered dehydrating foods at home minimally affects their nutritional value. If you’re travelling, camping, or just on the go all the time, this is a great way to be sure you have a nutritious supply of homemade baby food on hand that doesn’t need refrigeration.
Ingredients
Directions
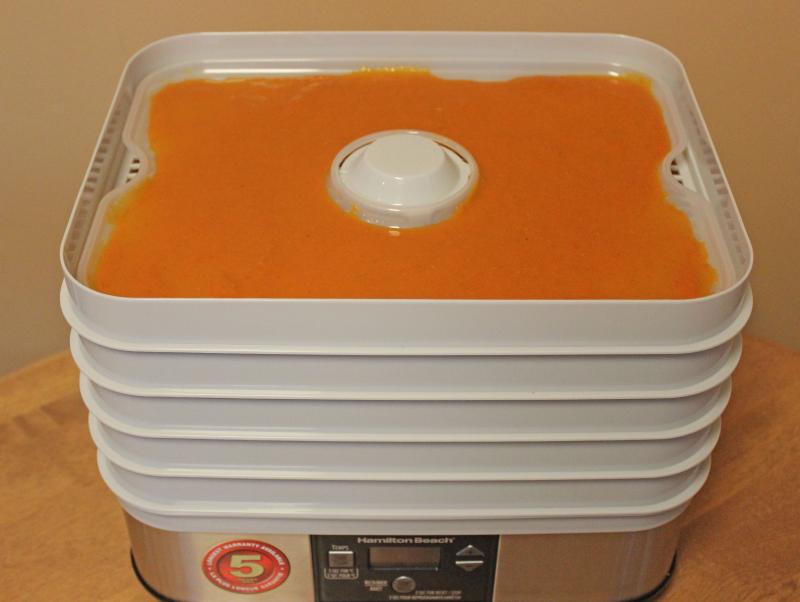
 Combine puree with just enough water to make a solution that’s pourable (similar in consistency to regular yogurt).
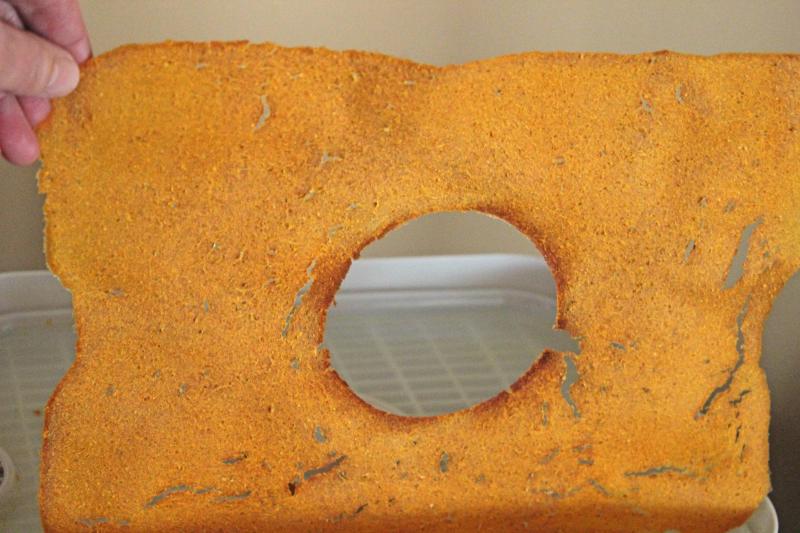
Spread the mixture in a thin layer on a fine-meshed dehydrator tray. Dry for several hours at 140F until the puree is paper thin and completely dry.
Alternatively, spread the puree and water mixture on a sheet of parchment paper placed on 10 x 12 baking sheet. Place in your oven set to its lowest heat (usually 170F) for several hours until paper thin and completely dry.
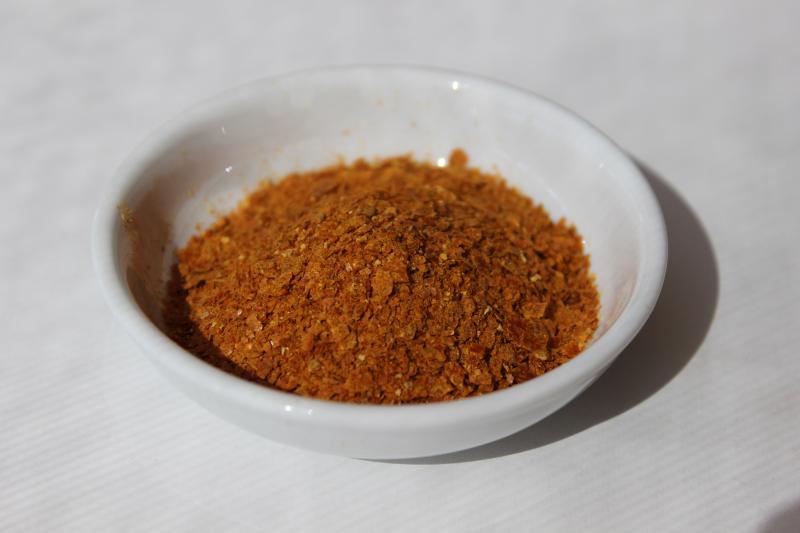
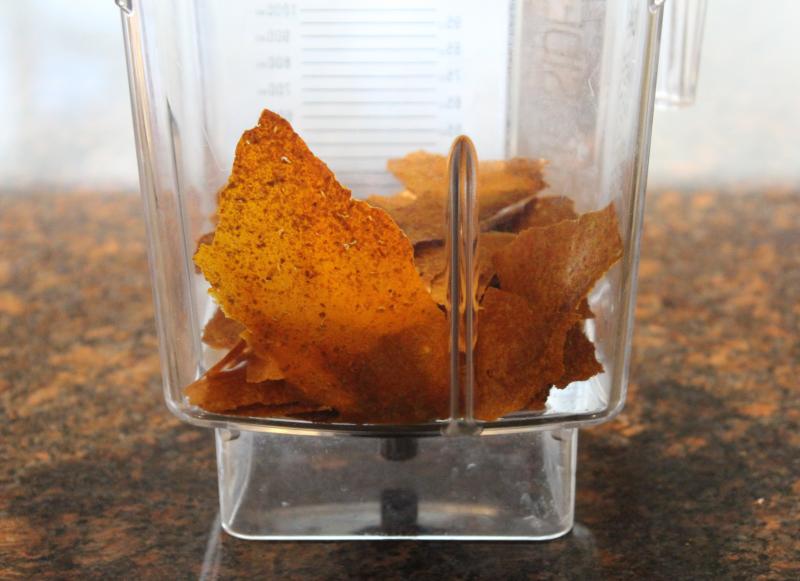
Pulverize the crispy dried vegetables in a blender to form a fine powder.
Store powdered food in airtight containers.
When ready to feed your child, rehydrate a tablespoon or two of the powdered food with breast milk or water and you’ve got a nutritious meal that’s ready whenever and wherever hunger strikes.

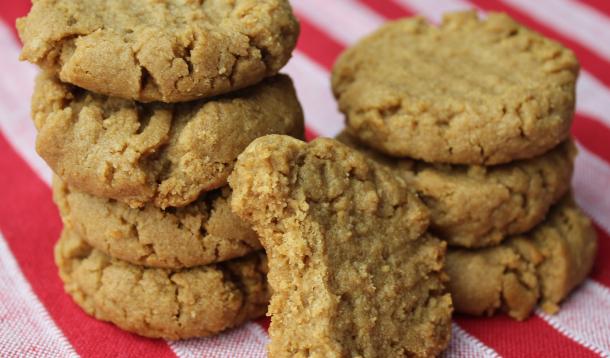
I am amazed how many people I meet every month who are avoiding gluten, whether by choice or out of necessity. I often ask them what they miss most now that they’ve cut gluten out of their lives and to my surprise, many people name cookies rather than bread as their biggest craving. Thankfully, it’s super easy to made delicious flourless cookies. I’ve got a fantastic gluten-free chocolate-walnut cookie recipe that’s frequently requested by a friend’s son and now I can’t wait to deliver him a batch of these peanut butter beauties. In addition to being gluten-free, they’re also dairy free yet thanks to the peanut butter, they have a rich, delicious flavour that doesn’t leave you with the feeling that something is missing. Note that it’s best to use regular ‘grocery store’ peanut butter rather than natural or homemade as these products don’t yield consistent results like the conventional kind does. Also be sure to measure carefully as it is essential for success with flourless recipes. If you’re like me and think that the scent of freshly-baked cookies is the greatest thing ever, you’ll be glad to know that you can freeze the dough balls and just bake up a few at a time so your house can smell awesome every single day.
Ingredients
Directions
 Put all ingredients in a mixing bowl and blend well with a sturdy spoon until evenly combined. The mixture will be very soft but will firm up as it refrigerates.
Using two small spoons, your hands or a small cookie scoop, shape the dough into balls about an inch or inch and a quarter in diameter.
Place the dough balls on a platter or small cookie sheet. Cover with plastic wrap and refrigerate for 3 – 24 hours. If storing longer before baking, transfer to an airtight container and freeze.
When ready to bake the cookies, preheat oven to 350F. If using frozen dough, remove from freezer to partially thaw while oven heats up.
Place the dough balls on a parchment-lined baking sheet.
Flatten the tops with the palm of your hand so the dough balls are less than 1/2" high. Using the tines of a fork dipped in white sugar, press down twice on the top of each disc of dough to make cross-hatched marks.
Bake for 8 minutes, or until edges are looking dry and tops are barely set. The cookies will firm up as they cool so don’t be tempted to overbake them.
Allow cookies to cool on baking sheet for 10 – 15 minutes before serving. Don’t transfer them to a rack as they may break; these cookies are definitely more delicate than flour-based cookies but oh, the flavour!
Store cookies (if you don’t eat then all right away) in an airtight container at room temperature for up to 1 week or in the freezer for up to 6 months.
Makes approximately 18 – 20 cookies


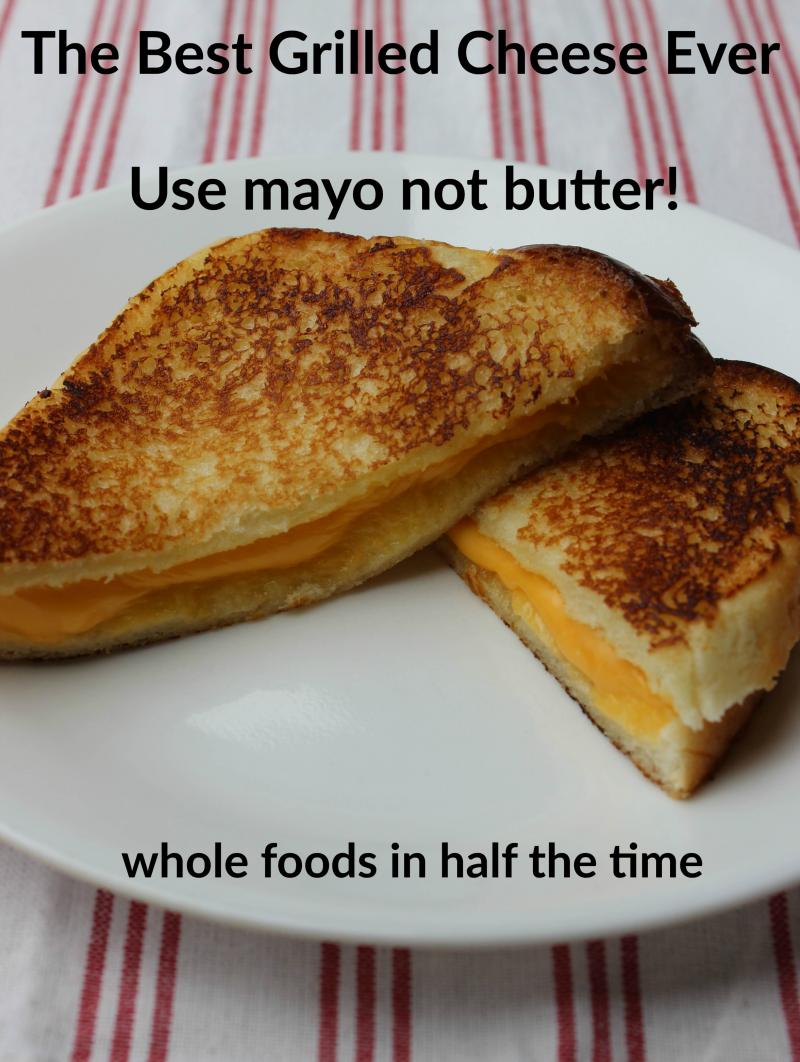
Most families count grilled cheese among the meals in their regular repertoire. It's fast, easy and everyone loves it. But what if I told you that one simple change can make your grilled cheese MORE delicious and LESS greasy?
Now that I have your attention, here you go. It's this simple: spread the outsides of your bread with mayonnaise instead of butter, then cook as usual in your frying pan or sandwich press.
Trust me. Mayonnaise is the best thing to happen to grilled cheese since ... well .... sliced bread! Try it and let me know what you think. Personally, I'm never going back to butter.
![]() RELATED: Avocado, Bacon, and Havarti Grilled Cheese Sandwich
RELATED: Avocado, Bacon, and Havarti Grilled Cheese Sandwich

