
I don’t like to dispense parenting advice unless I’m asked a direct question, but there is one tip I’ll gladly dish out to just about anyone. It’s this: always, always, always have barf buckets in your car. Why do I know this? Because when you’re on a 16 hour drive with not one but two kids who have strep throat, you’ll probably need barf buckets. Repeatedly. Similarly, stash a few under your kids’ beds because if you have two kids sick at home with strep throat, they both might be too weak to make it to the bathroom. Who knew nausea was a common side effect of strep throat?
I’ll never forget the first time it swept through our house. The kids were little – 4 and 6 at the time – and one morning, both complained of a sore throat. I didn’t think too much of it until they rapidly declined. Within a few hours, they had fever, nausea, swollen lymph nodes, were absolutely exhausted and had completely lost their appetites. The curious thing was that neither had a cough or runny nose. I had no idea what was wrong.
I asked several friends who had a little more experience than me with sick kids and got the same advice all around: go to the doctor. We did; she took a throat swab and after about 30 hours of anxious waiting, we learned both kids had strep. Thankfully our doctor had given us prescriptions for antibiotics so when her office called with the positive test result, I went to the pharmacy right away. Within 24 hours, the kids were feeling much better and were safely able to go back to school.
I learned a lot about strep in the five or so years in which my kids had it several times. I know, I said I don’t dispense advice, but here you go:
Experts advise that strep will likely clear up on its own after about 4 days, even without antibiotics, but if you’re not averse to them, antibiotics will certainly speed up recovery and have your patient feeling better in about 24 hours. Even though your child may be feeling better, the other benefit of antibiotics is that they’ll reduce transmission of the bacteria to others and they can prevent complications.
What complications, you might ask? It turns out that group A streptococcus (GAS) is a very common bacteria. Many people carry it in the throat or on their skin without getting sick. It is not only the cause of strep throat; it and can also cause impetigo (which my son had once; it was unpleasant), scarlet fever and rheumatic fever. In rare instances, GAS will cause more serious illnesses, including pneumonia, meningitis, blood poisoning (bacteremia), streptococcal toxic-shock syndrome and flesh-eating disease. That’s why we chose to go the antibiotic route every time our kids tested positive for strep. It’s important to remember that, as with any antibiotic prescription, be sure to finish the entire prescription, even if your child is feeling better, to reduce the change of antibiotic-resistant bacteria developing.
What happens if you decide to follow the “wait and see” approach? Without antibiotics, strep throat will eventually get better on its own but in the meantime, the bacteria can spread to the heart, kidneys and bloodstream, causing the aforementioned complications. It’s also really important to be vigilant even after a bout of strep has cleared up, as there can also be subsequent unexpected neurological complications.
Is recurring strep a more serious problem? It can be. If a child has six or more severe throat infections in one year, your doctor might suggest a tonsillectomy. Kids can still get strep throat after having their tonsils removed. But for some children with recurring strep throat, a tonsillectomy can reduce the frequency and severity of strep throat infections. In our family’s case, our doctor warned us of the possibility of tonsillectomies down the road but also suggested patience and sure enough, our kids, like many others, stopped having strep throat as they got a bit older.
My last piece of advice from the trenches? Strep is highly communicable. As with all illnesses, make sure you all practice good hand washing habits AND you don’t share hand towels. Even more importantly, don’t share the same tube of toothpaste! That one took us a while to figure out. I think it was the third, or maybe the fourth time both kids had strep that the lightbulb turned on. Now, everyone in our house has their own tube and I am convinced it’s kept us from sharing a lot of germs.
![]() RELATED: Why Strep Infections Just Got Scarier
RELATED: Why Strep Infections Just Got Scarier

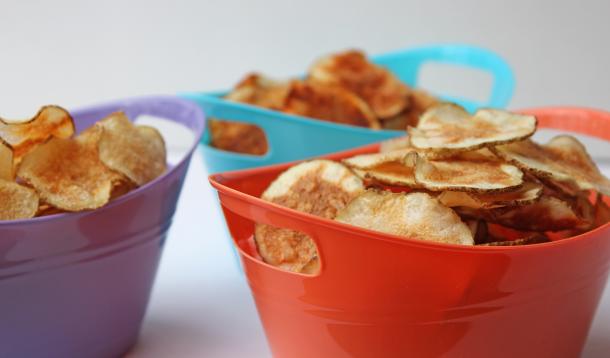
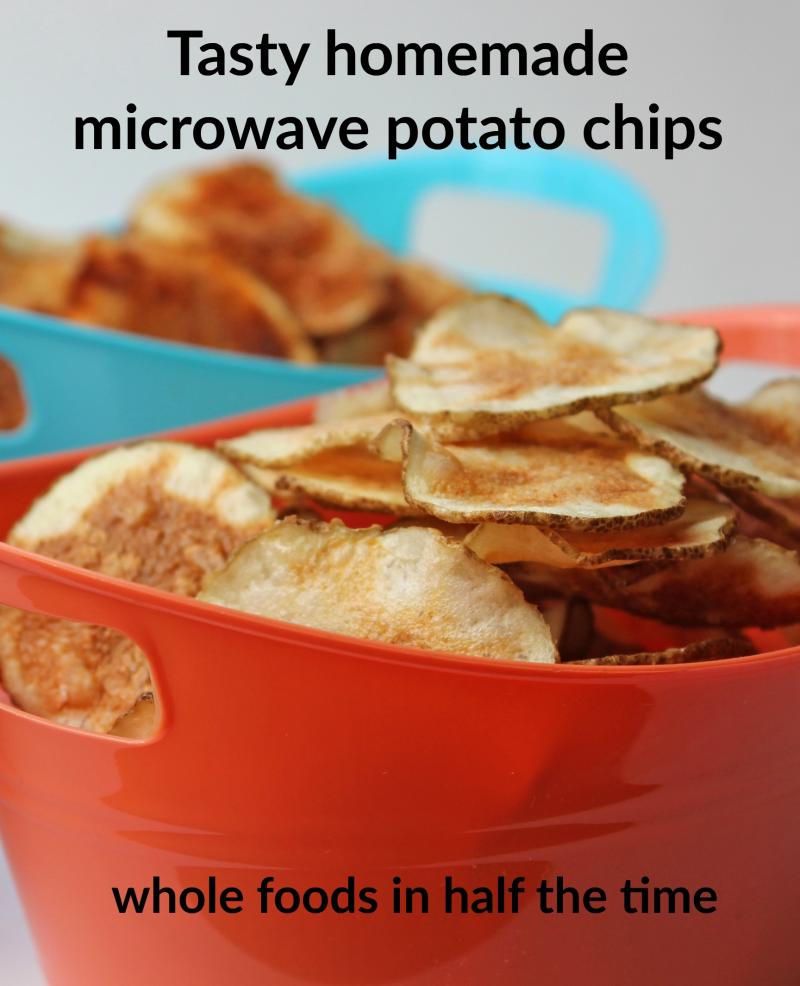
I’m pretty sure my kids could mount an impressive argument in favor of chips as a food group. We love ‘em over here, but there are occasionally issues of … ahem … self-control. (Points reproachful finger at husband and son). My solution is to serve up small batches of delectable homemade chips which are not only fresher, tastier and chemical-free, they’re also ridiculously easy to make – a great kitchen project to enjoy with kids! All you need is a mandolin (or sharp knife and steady hand) to create uniform, thin potato slices; soak to remove excess starch, and then, in less than ten minutes of microwaving time you’ll have delectable, low-calorie snacks.
One of the things I love most about this method is that you can cook up just one potato at a time, so you won`t have the rest of bag winking at you seductively from across the room. For fat-free chips, omit the oil; they’re almost as tasty and 100% guilt-free!
Ingredients
1 medium potato (I like russets), plus...
For regular chips:
Cold water
1 tsp canola oil
Salt
For salt & vinegar chips:
Cider vinegar (approximately 1 cup / 250 mL)
Salt
For barbeque chips:
Cold water
1/4 tsp onion powder
1/4 tsp garlic powder
1 tsp smoked paprika
1/8 tsp Chili powder
1/2 tsp white sugar
1/2 tsp salt
Directions
 Slice the potatoes as thinly as possible (1/8 inch or .4 cm).
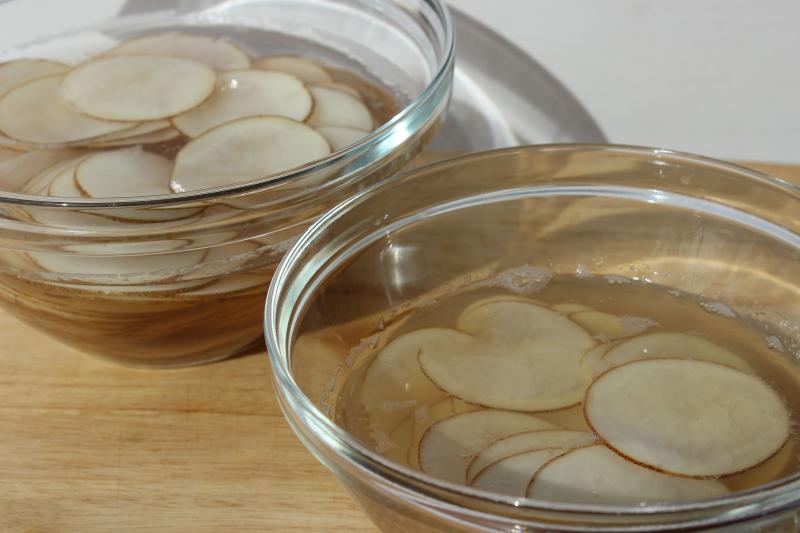
Put the sliced potatoes in a medium bowl and cover with water (or vinegar, for salt and vinegar chips).
Soak the slices for 45 – 60 minutes.
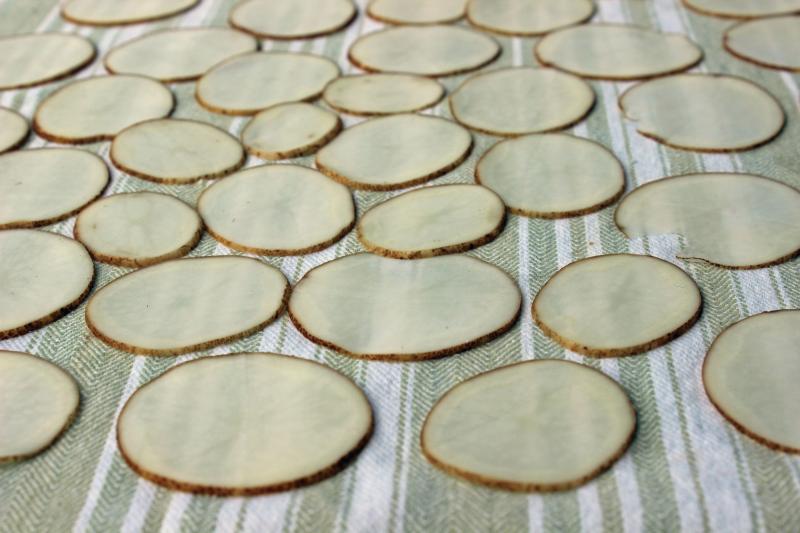
Put the potato slices in a sieve or colander and drain liquid. Lay the potato slices out in a single layer on a clean kitchen towel (or paper towel) and pat the tops dry.
While slices are drying, rinse out the bowl and dry it well.
Put the dry slices back in the bowl and drizzle 1 teaspoon of canola oil over top. (Note that this step is optional.) Rub oil into potatoes with fingertips so they are evenly coated.
Lay the slices out in a single layer without any overlap on a sheet of parchment paper the same size as your microwave turntable. For ease of transfer, put the parchment on a pizza paddle if you have one, or remove the turntable from the microwave, place it on the counter and put the parchment on it.
For regular or salt & vinegar, sprinkle lightly with salt. For barbeque chips, combine seasoning ingredients and sprinkle over potatoes. Note that you may not need all the seasoning mix depending upon the size of your potato (but save any extra as it’s a great BBQ rub).
Carefully transfer the parchment paper and seasoned potatoes into the microwave, close the door and cook on high power for 4 minutes.
Using tongs, carefully flip the potato slices over (they’ll be very hot).
Microwave on high for 2 more minutes. Check and remove any chips that are uniformly golden brown and place these on a wire rack to cool.
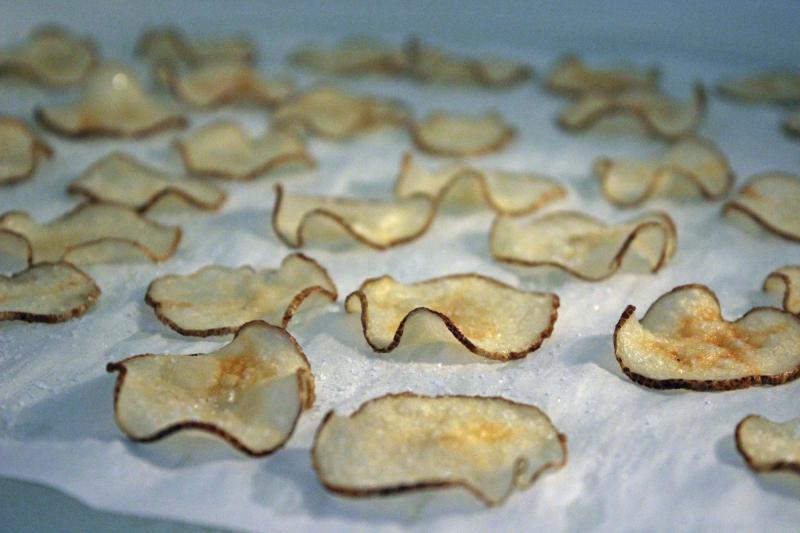
Continue microwaving the potato slices in 30 second increments, removing cooked chips after each interval and placing them on a wire rack to cool.
Be sure to watch the potatoes carefully as they cook so they don’t burn. You’ll need to keep an especially close eye on the barbeque chips as it is a bit harder to tell when they are browned because of the seasonings.
Depending upon the power of your microwave, the entire cooking process can take from six to ten minutes.
Notes:
Each batch makes approximately 1 1/2 cups of chips (depending upon size of potato).
![]() RELATED: Ditch The Potato Chips: Dill Pickle Zucchini Chips Recipe
RELATED: Ditch The Potato Chips: Dill Pickle Zucchini Chips Recipe
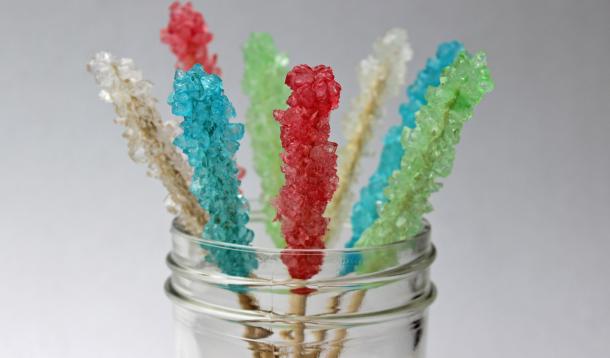
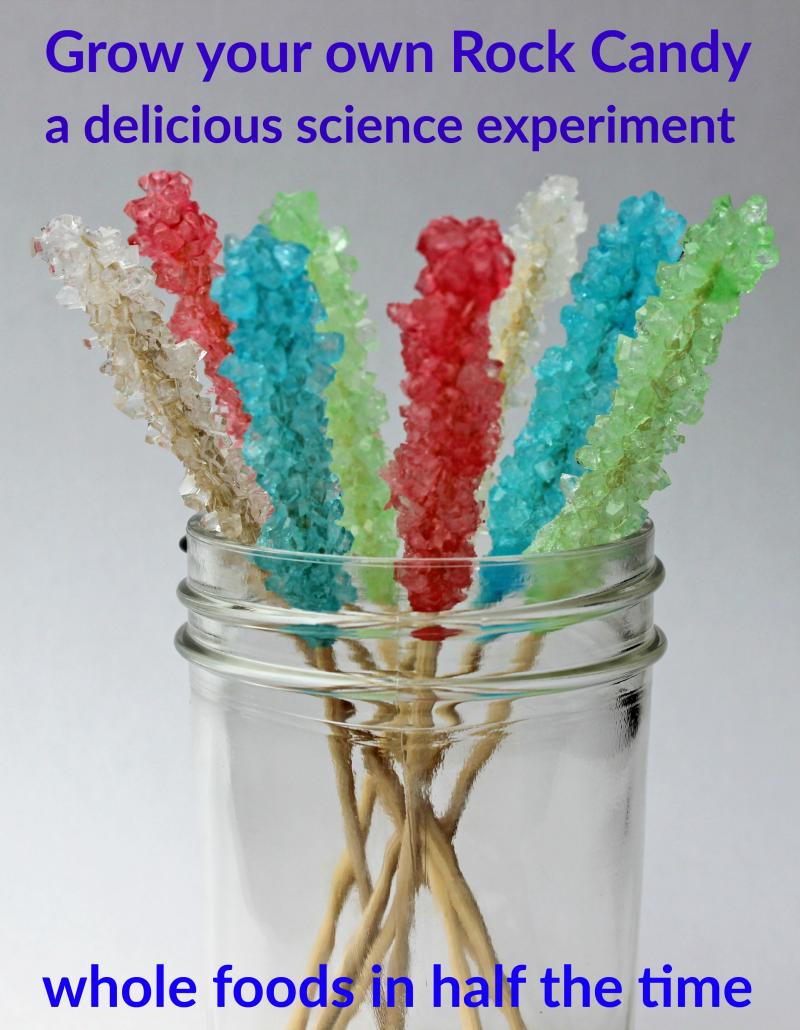
If your kids are like mine, their favourite cooking endeavours probably involve sweet stuff. At our house, cookies came before casseroles, cakes before cauliflower. As they got older, they became quite intrigued with aspects of food science, especially the chemical reactions involved in baking. This tasty experiment requires just a little prep time followed by a lot of patience but kids will have a great time watching the crystals grow and, of course, sampling the finished product. It would be a great project for a school break or for homeschoolers. Kids can do most of this on their own but adults should help with creating the super hot sugar syrup and pouring it into the jars.
Equipment needed:
Ingredients
2 cups water
4 1/2 – 5 cups granulated sugar
Food colouring (optional but fun)
Directions
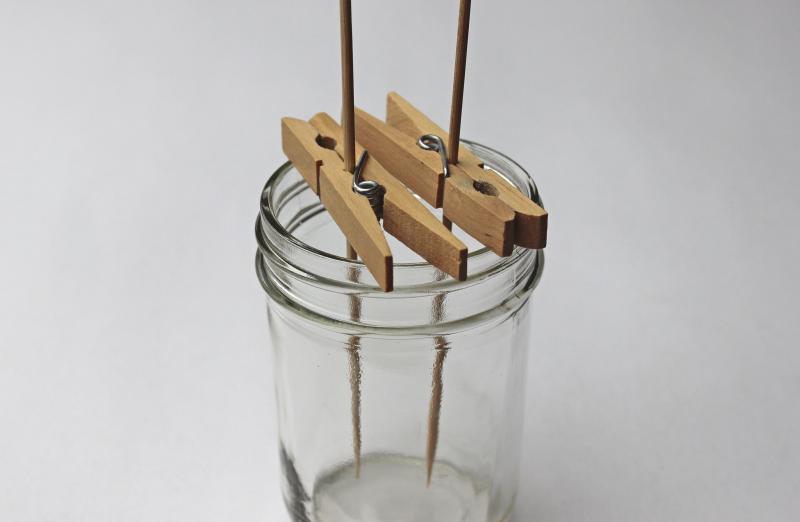
![]() Clip wooden skewers into the clothes pegs and adjust as needed so that the pegs will rest across the top of the jars and a portion of the skewer will hang down inside. You can have two pegs / skewers per jar. You want the skewers to stay away from the sides of the jar and each other, and there should be about 1 inch of clearance between the skewer and the bottom of the jar.
Clip wooden skewers into the clothes pegs and adjust as needed so that the pegs will rest across the top of the jars and a portion of the skewer will hang down inside. You can have two pegs / skewers per jar. You want the skewers to stay away from the sides of the jar and each other, and there should be about 1 inch of clearance between the skewer and the bottom of the jar.
![]() Remove the clothes pegs and skewers peg from the jars and set aside.
Remove the clothes pegs and skewers peg from the jars and set aside.
![]() Pour the water into a medium, heavy-duty pan and bring it to boil.
Pour the water into a medium, heavy-duty pan and bring it to boil.
![]() Pour 1 cup of sugar into the boiling water, stirring until it dissolves.
Pour 1 cup of sugar into the boiling water, stirring until it dissolves.
![]() Keep adding sugar, 1/2 cup at a time, stirring after each addition until it dissolves. After 4 cups, make remaining additions by tablespoonsful rather than half cups. Stop adding sugar when no more will dissolve (my batch took 4 1/2 cups plus a tablespoon). This will take time and patience as it takes longer for the sugar to dissolve each time. Once no more sugar will dissolve, remove the pot from the heat and allow it to cool for at least 20 minutes.
Keep adding sugar, 1/2 cup at a time, stirring after each addition until it dissolves. After 4 cups, make remaining additions by tablespoonsful rather than half cups. Stop adding sugar when no more will dissolve (my batch took 4 1/2 cups plus a tablespoon). This will take time and patience as it takes longer for the sugar to dissolve each time. Once no more sugar will dissolve, remove the pot from the heat and allow it to cool for at least 20 minutes.
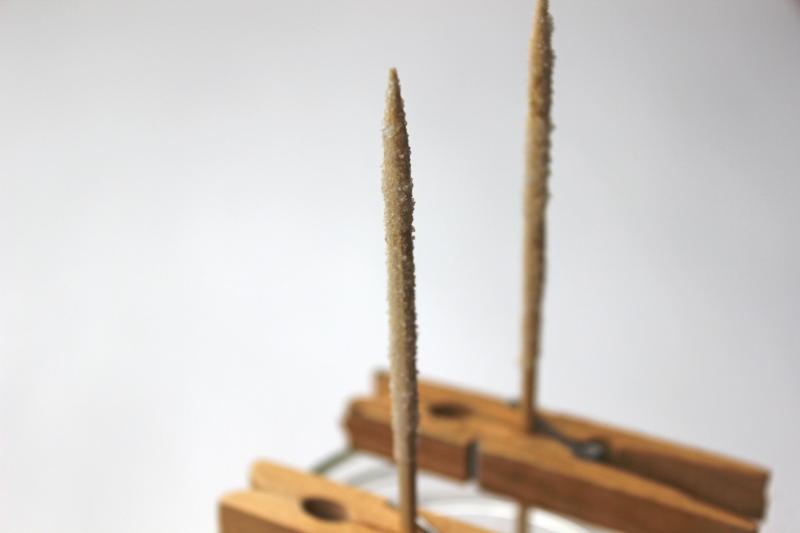
![]() While the mixture is cooling, tilt the pot and dip the bottom portion of the skewers in the syrup then roll them in granulated sugar to put some ‘seeds’ on the sticks. This will help kick-start the sugar crystal growth.
While the mixture is cooling, tilt the pot and dip the bottom portion of the skewers in the syrup then roll them in granulated sugar to put some ‘seeds’ on the sticks. This will help kick-start the sugar crystal growth.
![]() Invert the coated skewers on the jars to let them dry thoroughly while the syrup continues to cool.
Invert the coated skewers on the jars to let them dry thoroughly while the syrup continues to cool.
![]() Remove the inverted skewers and add a generous amount of food colouring (10 drops for liquid colour) to the jars, leaving one natural for contrast, if desired.
Remove the inverted skewers and add a generous amount of food colouring (10 drops for liquid colour) to the jars, leaving one natural for contrast, if desired.
![]() Pour the sugar solution into the jars, filling to within 1/2 inch of the top. Stir gently to blend the food colouring.
Pour the sugar solution into the jars, filling to within 1/2 inch of the top. Stir gently to blend the food colouring.
![]() Carefully add two skewers, coated ends down, to each jar, resting the clothes pegs across the mouth of the jars. Be sure they are hanging straight down the middle without touching the sides or each other.
Carefully add two skewers, coated ends down, to each jar, resting the clothes pegs across the mouth of the jars. Be sure they are hanging straight down the middle without touching the sides or each other.
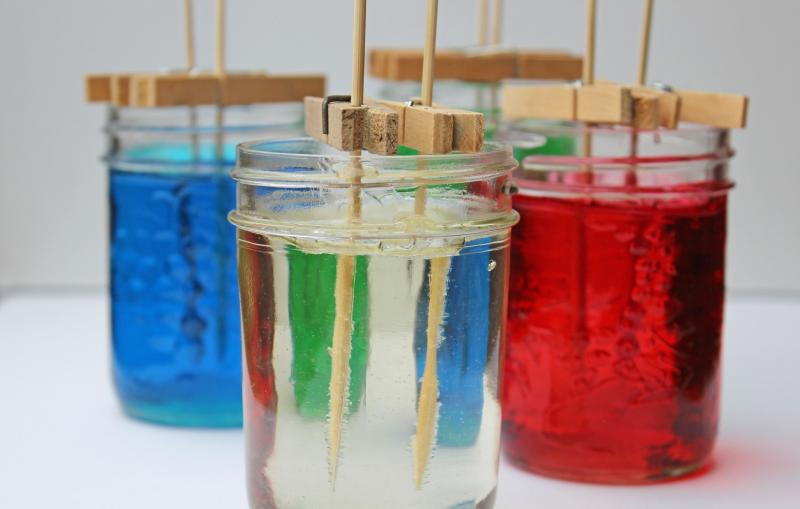
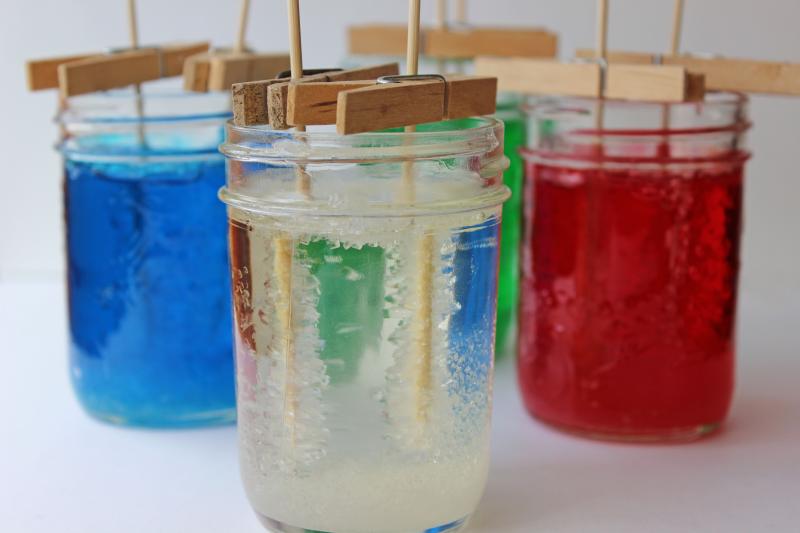
![]() Put the jars in a safe place where they will not be disturbed but where you will be able to patiently watch the crystals grow over the next 7 days.
Put the jars in a safe place where they will not be disturbed but where you will be able to patiently watch the crystals grow over the next 7 days.
![]() Crystals will also form on the bottom, sides and even the surface of the jars; this is normal. You will be able to easily shatter (and eat!) the solidified sugar layer on the top of the jar to extract the skewers when you are ready.
Crystals will also form on the bottom, sides and even the surface of the jars; this is normal. You will be able to easily shatter (and eat!) the solidified sugar layer on the top of the jar to extract the skewers when you are ready.
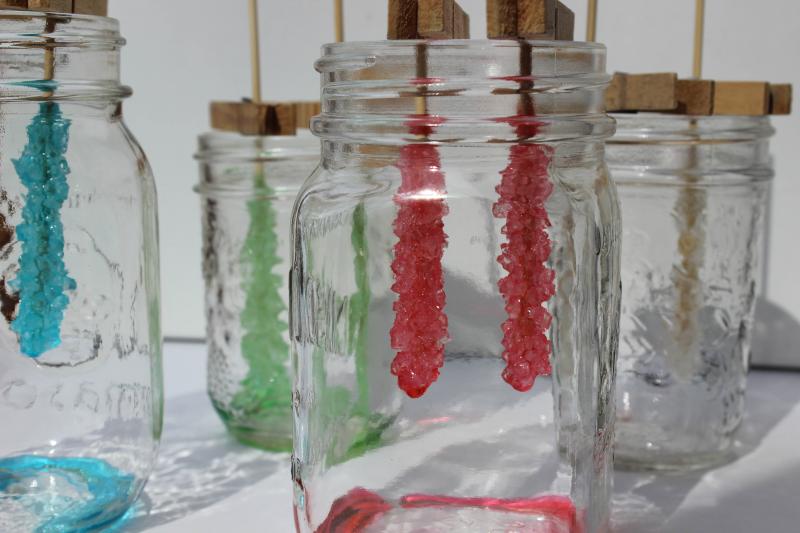
![]() After a week, remove the skewers and place them in clean jars to drip and dry for an hour or two, then enjoy! Any leftover candy can be covered with plastic wrap and stored.
After a week, remove the skewers and place them in clean jars to drip and dry for an hour or two, then enjoy! Any leftover candy can be covered with plastic wrap and stored.
What’s the science?
The solution you have made is a super-saturated solution, meaning the boiling water has absorbed more sugar than it would have absorbed at room temperature. As the solution cools, the water saturation point of the water will become lower, so the liquid will no longer be able to hold the amount of sugar. The dissolved sugar will be therefore be unable to stay in liquid form, and will instead crystalize on the skewer. If you have a magnifying glass or microscope, take a look at the crystals you’ve grown before you eat them!
![]() RELATED: How to Make Maple Taffy at Home
RELATED: How to Make Maple Taffy at Home

