Nothing’s more comforting than a steaming hot bowl of homemade soup. For me, it conjures up happy childhood memories while also making me feel very good about using up odds and ends of food in my freezer. I’ve been known to eat soup for breakfast, lunch and dinner and it’s one of the most-requested dishes I provide to friends, especially when they’re under the weather. Many of my creations don’t follow a specific recipe; I’m often a ‘handful of this, handful of that’ cook when it comes to soup. That being said, I do follow a couple of very strict rules when preparing the broth base for my soups.
The only way to get maximum flavour is to start with the oven. In the case of meat broths, I usually wait until I’ve accumulated a nice collection in my freezer of either beef bones, several chicken carcasses or the remains of one turkey before I make broth. Put the bones (frozen are fine) into a roasting pan and cook at 375F for about 45 minutes until the bones are golden brown and juices have accumulated in the bottom of the pan. The process for vegetable broth is the same – I use the freezer to save up peels from carefully-scrubbed vegetables as well as little odds and ends of leftover cooked vegetables. Remember that these won’t be the vegetables that you serve in your soup, so it’s perfectly ok to use the peels and odd bits. I usually add a fresh onion, coarsely chopped, and a couple of cloves of peeled garlic to my roasting pan full of vegetable scraps. Drizzle them lightly with olive oil and toss, then roast for 30 minutes at 350F until the vegetables have browned and begun to caramelize.

Once you’ve roasted your vegetable scraps or meat bones, put them in a pot that’s at least two times their size. You want room for everything to jostle around and release flavour while it’s simmering. Press down on the bones to compact them a bit (especially important with chicken/turkey carcasses) then add water – but ONLY just enough to barely cover the roasted ingredients. This is crucial; too often people add lots of water because they’re eager to make a lot of soup, but then they end up with watery broth that doesn’t taste like much of anything. For meat broth, add a few aromatics such as a chopped onion, peeled garlic cloves and some celery leaves so you get a greater depth of flavour. I prefer not to add salt or pepper to the pot because I’d rather season my soup later. Cover the pot and bring to a boil.

Just like slow-roasting brings out the best flavour in so many foods, broth needs time to simmer and develop the hearty, complex taste that will make your soup extra delicious. The roasting step helps accelerate the process a little, but don’t think you can get good flavour in just an hour. Once the pot is boiling, remove the pot lid and reduce the heat so the broth maintains a low simmer. Let it bubble away gently or at least three hours; up to five is great if you have time. Add a tiny bit more hot water if the liquid level drops below the top of the bones or vegetable scraps.
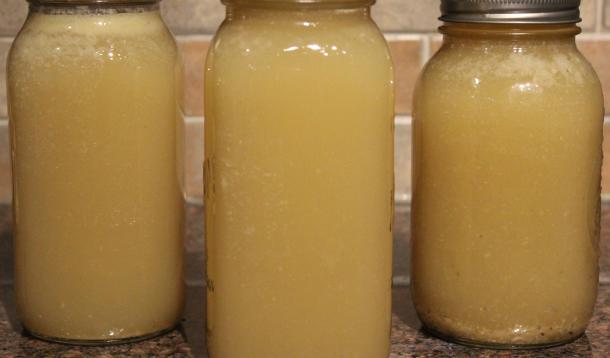
Once you’ve given your broth a long, slow simmer, you can strain out the solids (use cheesecloth if you want your stock to be less cloudy) and refrigerate or freeze until you’re ready to make soup. I recommend skimming off the fat that accumulates at the top of chilled broth before adding to your favourite soup recipe.

