My eldest daughter transitioned from breast milk to formula when she was around six months old. At the time, we were paranoid, first-time parents and wanted to do whatever it took to ensure the bottles were sterile before they touched her lips. But we didn't have any fancy gadgets or tools, so we found a method that worked well for us. We'd boil a big pot of water on the stove, throw the bottles in, let them boil, then carefully remove them and fill with formula.
It was working just fine until one fateful night when we learned just how dangerous our system really was. We were cleaning up from a dinner party and as we finished washing the dishes we put the bottles on the stove to boil. We both went upstairs to bed. At 3 a.m. I was awoken by the ear piercing sound of the smoke detector.
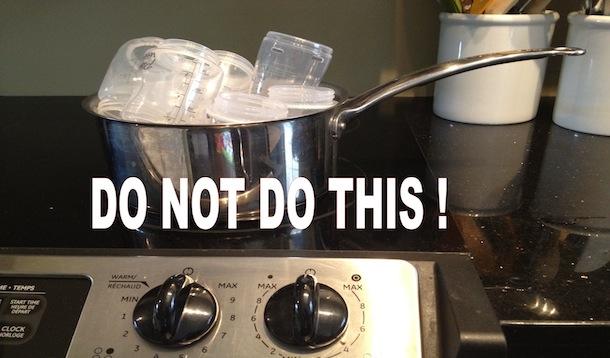
The bottles!!!
Thankfully, our element is one that automatically shuts off when it senses something has been on it for a long time. Or, what waited for us in the kitchen may have been a lot worse...
I bolted out of bed, grabbed our baby from her crib, and headed straight for the front door. The kitchen was full of smoke.
It burned my lungs and stung my eyes.
My husband ran to the stove, shut it off, and threw the pot filled with smoking, melting bottles outside. Thank God we hadn't started a fire...
Thankfully, a few hours later we'd managed to air out the house and put the baby back to sleep.
I was totally shaken up. And, obviously, we had to ditch that bottle-cleaning method! (By that time, our daughter was nearly one, so we switched to soap and hot water, then made the transition to the Playtex Straw Trainer Cup—which is so much easier to clean!)
Now that baby number two is starting to take one bottle of formula almost every day, it's time to figure out a better bottle-cleaning solution—one that won't burn our house down and isn't overly complicated.
If there's one thing that drives me crazy...it's dirty dishes left in the sink! Plus, there's nothing worse than realizing baby is hungry and racing around trying to sterilize a bottle and prepare it before she starts to freak out. From all the research I've done, it seems these six tips will make bottle cleaning much easier—and safer!

This is certainly the easiest cleaning method. A good bottle brush like the Playtex SmartBrush will ensure you reach into the bottle and clean it well. A detachable nipple brush lets you clean inside the nipple where the bacteria can hide. I really like having a separate brush for my bottles so I'm not transferring germs from my dish sponge. Our preference is to use a natural, unscented soap to clean bottles. I've decided that even if I'm going to sterilize my daughter's bottles, I'll use this brush with hot water and soap first, to clean out the formula residue.

For first-time parents and those, like us, who just want to know their bottles are super clean, the SmartSteam Microwave Sterilizer is a really good option. Since I'm not using my microwave much these days for food, I figure cleaning bottles is a fine way to put it to use. Make sure your microwave is large enough to hold this sterilizer; its size allows it to clean up to six bottles and 12 nipples in one shot. According to the Playtex Mommyville site, this sterilizer kills 99.9% of germs in two minutes. You simply place the bottles in the holder, put water in to the 'fill line', close it all up and microwave for two minutes. Give it a few minutes to cool off, open, and voila—clean bottles!
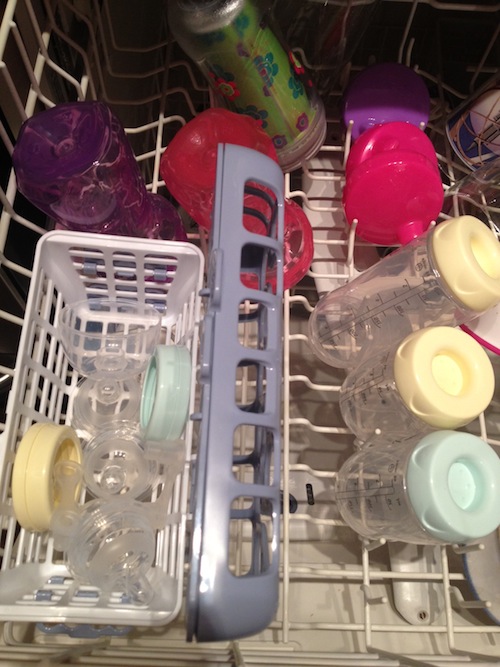
Because, it seems, we go through more dishes than the average family of four should, I'm running the dishwasher about as often as I'm running the laundry machine—which seems to be every day. The SmartSpace Dishwasher Basket allows you to place small items like nipples, vents, valves, and straws. You just pop this basket into the top rack of the dishwasher and fill it up. It will hold up to 12 nipples—which is great when baby is taking multiple bottles a day. Run the dishwasher on a hot cycle with steam dry for best results.
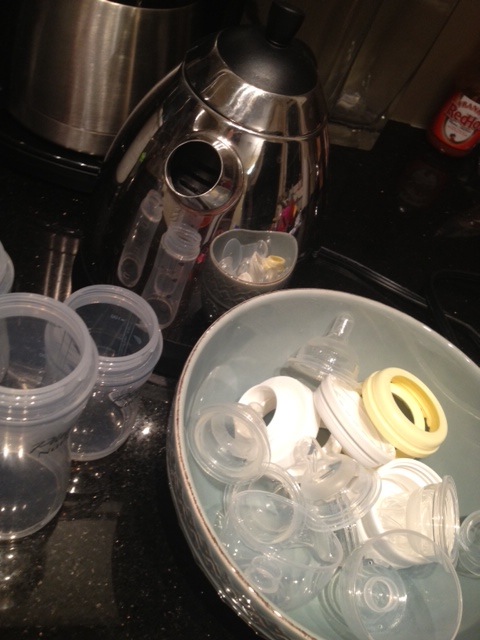
This is a modified version of how we used to do things. Instead of leaving a pot of hot water boiling on the stove (bad idea!) you can boil water in the kettle, turn it off, then pour the hot water over your bottles and nipples (better idea!). Place the bottle parts in a big bowl (this works well with the parts from a breast pump too) and cover with boiling water. Let stand for two to five minutes before removing. I like to do this after washing with soap and a bottle brush. To me, it seems like a good way to guarantee all of the bacteria has been killed off.

Before putting all of your bottles, nipples, and valves away, you'll want to ensure they're dry. The SmartSpace Drying Rack is the perfect solution. It comes with little pads that can be placed under the rack to keep your countertops dry. It separates into pieces, which makes it easy to store, and it holds everything from bottles and nipples to sippy cups, pacifiers, and even the bottle brush. Pop all of your clean bottles and parts on the rack, let them air dry, then put them away.
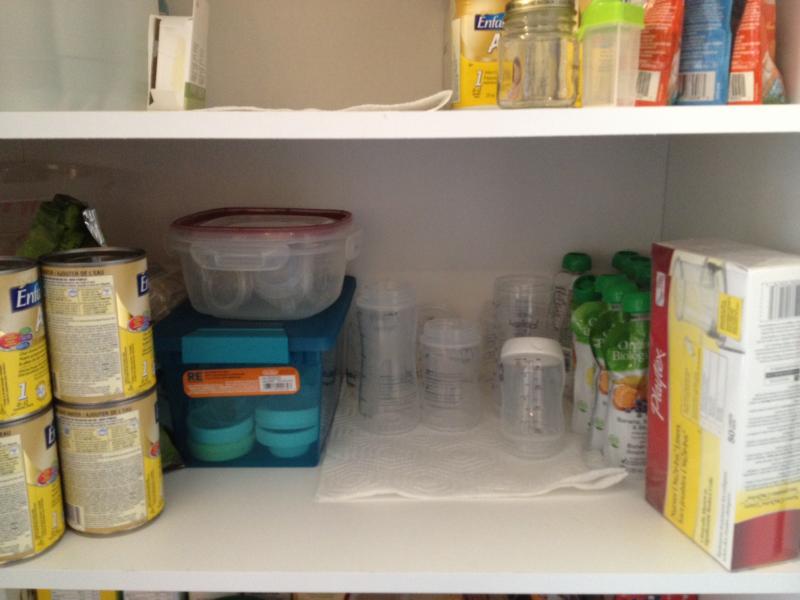
Finally, find a clean, dry place to store all of the bottle parts so they stay clean until they are ready to be used. I've finally re-organized my pantry (the truth is, we actually bought a second pantry to make room for all the baby/toddler stuff!) so I now have space for everything. I have all the nipples in a plastic container, all of the extra bottle parts in another container, and all of the bottles lined up on paper towel.
Lately, we've been using the Playtex Nurser with Drop-Ins Liners bottles. Our daughter happily takes this bottle and switches back and forth between breast and bottle with no problem at all. With these, you don't really have to worry about sterilizing the bottles because the Drop-Ins are sterile and disposable. We simply clean the bottle parts with soap, hot water, and the SmartBrush. Then, I sterilize the nipples with boiling water from the kettle.
There are so many choices that the best combination is really up to you. The key is to have clean bottles and nipples ready when baby gets hungry.
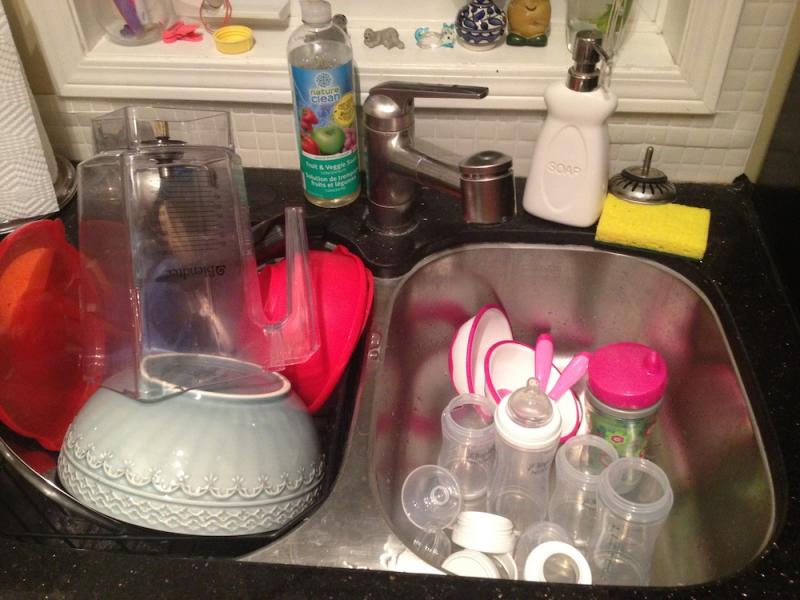
And, of course, to not have your sink ever look like this!
This is proudly sponsored by our friends at Playtex.
www.mommyville.ca
© 2014 Energizer. Playtex and other trademarks are owned or licensed by Energizer or its affiliates.

