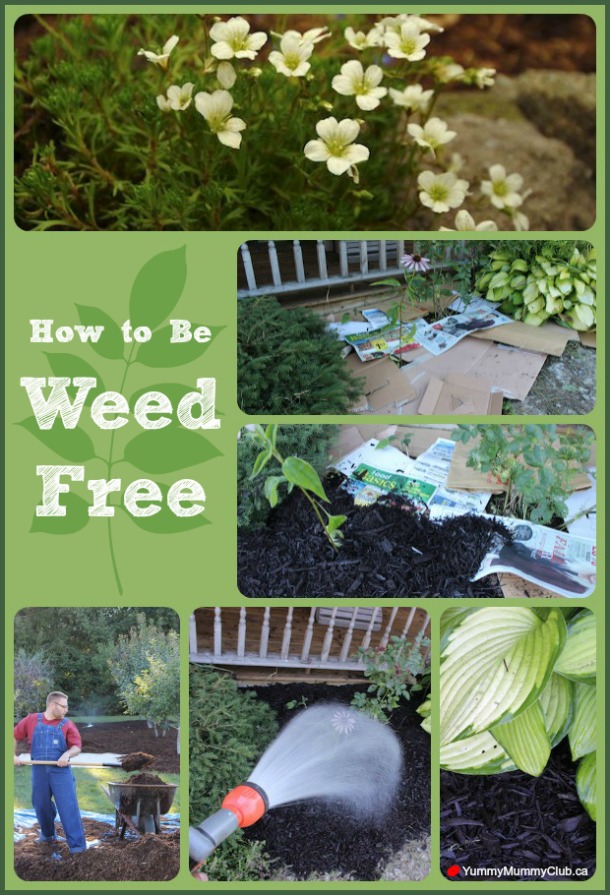
Can you imagine having a garden with zero weeds? Here’s how to get one!
Weeds are simply plants that grow in spots you don’t want them. Most of weeds need three things to grow; soil, sunlight and water. If you can take one of these three things away…voila! No more weeds. In this case, we are creating a barrier to block the sunlight.
Here are the products you will need.
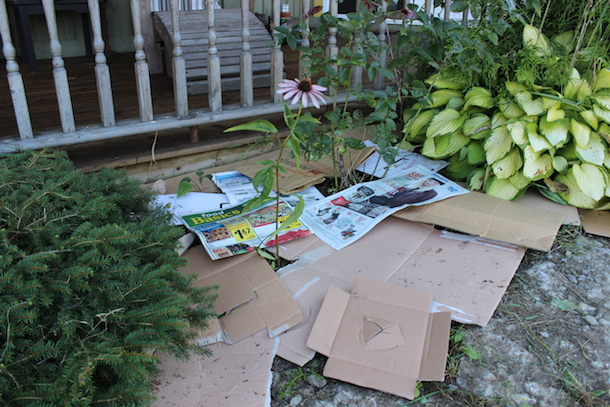
Step one – Start by creating a layer of cardboard covering all the soil and weeds. Work around the plants that you would like to save. If you are using newspaper, use at least 7 sheets to create your barrier. This fibre barricade will effectively block the weeds below from getting any sun. The cardboard can last up to 6 months before it naturally breaks down into the soil. (Newspaper lasts less).
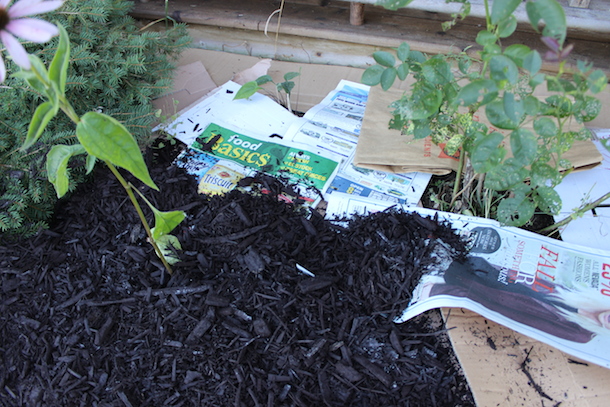
Step two – Completely cover the barrier with your choice of mulch. The mulch is used to hide the cardboard, but also to keep anything from blowing away or shifting. Make sure you put at least 3 inches of mulch down on the garden. As the barrier naturally breaks down into the soil, the mulch replaces it, preventing new seeds/weeds from getting started.
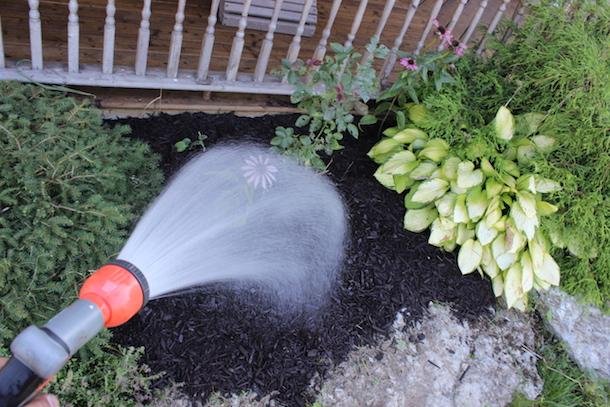
Step three – Thoroughly water your garden. The water helps the mulch stick to the cardboard and the cardboard stick to the soil below.

This system works anywhere that you have soil you want to cover up. You can bury your cardboard with either gravel or mulch. I’ve even tried adding new soil and sod on top to start a new lawn and that worked just fine as well. If after a few years the weeds are starting to creep their way back in, just add another layer of paper on top of the remaining mulch and start the whole process again.

For the record, I can’t personally take credit for this technique. Its been used for years by more generations than I can count because it really is this simple, and yet highly effective. I've even used this technique around my orchard and space where I'd rather not cut the grass...which is pretty much my entire property!
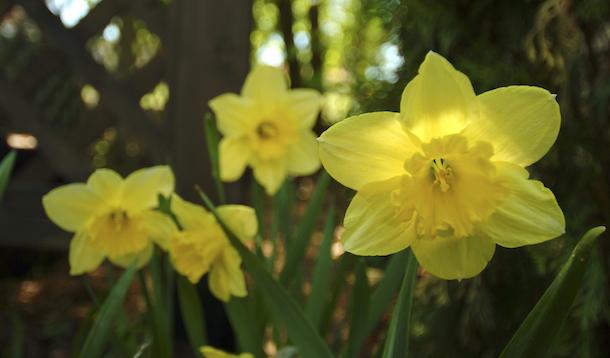
It’s bulb time - my favourite time of the year! Planting bulbs now is the best way to add spring curb appeal to your home. If patience is not your thing…then fall planting for spring blooms might be something your therapist should recommend because they are so worth it!

Here is my foolproof way to plant bulbs.
Whether you are shopping at a retail store or ordering online, make sure to look at the growing specs of all of the options. Don’t assume all tulips are the same! A few years ago I planted white tulips from big healthy looking bulbs. I didn’t realize that these tulips were giants, growing over 4’ tall. Unfortunately, I planted them in front of a basement window. (They have now been moved) Just like potted plants, bulbs have preferred growing conditions.

When planting your bulbs, I often group them in clusters in larger flat bottom holes that have good drainage. Bulbs can easily rot if they are in saturated soil. The depth of the hole should be about three times the height of the bulb.
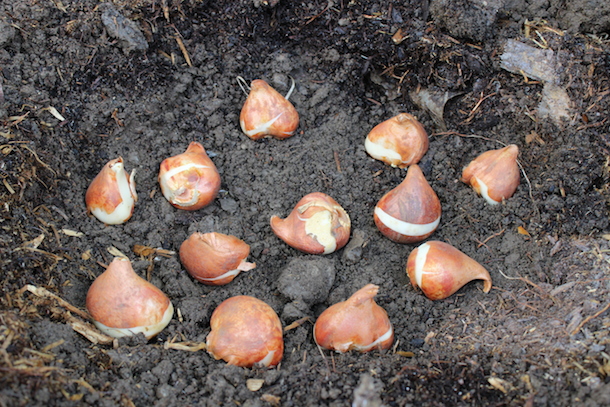
Bulbs prefer to be planted ‘Tips Up, Roots down’. I’ve found that if you lay some bulbs on their sides, it takes them a little longer to bloom because they have to grow just a little further. This is an easy way to extend the flowering time from two weeks to three!

Often, gardeners will add fertilizers, bone meal or other products at this stage to help growth or to prevent squirrels from stealing your tubers. Personally, I use leftover chicken wire with 1 or 2” holes. The tulips have no problem growing through the mesh and the squirrels are unable to get the bulbs out from under it.
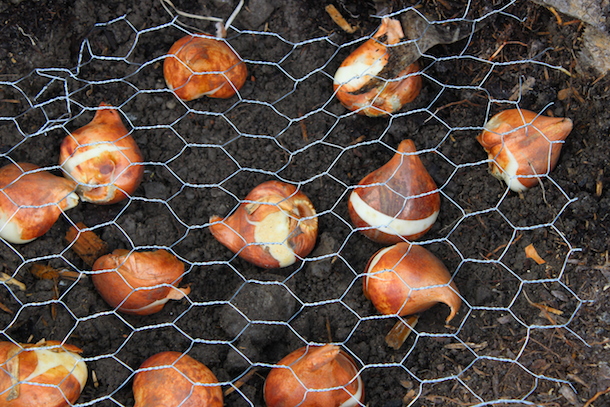
Bury your bulbs and chicken wire with soil, being careful to not pack it down too firmly. Once this is done, spend a few minutes to disguise your planted space. Squirrels are attracted to disturbed soil because they think a rival has hidden a nut in that location. I like to add mulch to the whole bed at this point to keep the little critters guessing.

Bulbs really are that simple, and so completely worth it! Try some daffodils or tulips by the front door for a pop of colour after a long winter.

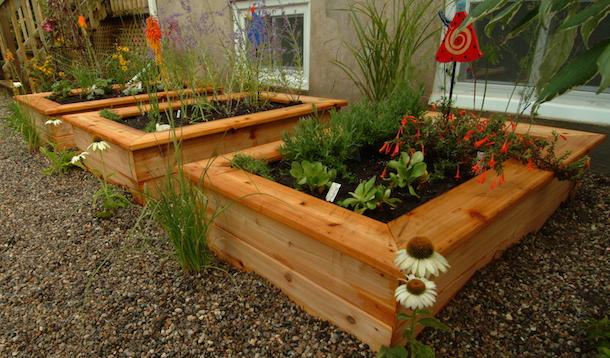
The most requested outdoor feature for the 2015 backyard was…(insert drumroll here) the raised vegetable planter. Are you surprised? With so many Canadians growing their own vegetables at home now, the raised planter has become the must-have item.
Believe it or not…fall is the perfect time to install one and here are all the reasons why you should go for it!

A large portion of weeds that live in our yards travel under the soil via rhizomes (rootlets). With a raised bed, you can place a liner at the bottom of garden cloth to completely prevent new ones invading your soil. Even the weeds that spread via seeds, like dandelions, have a harder time getting over the walls of your garden providing less competition for your veggies.
Vermin like gophers and ground hogs are limited in their ability to get into the beds because they don’t jump. A planter that is 20” tall is even effective in stopping some rabbits, as they are reluctant to leave the safety of the ground. If you have a real pest problem, consider putting your planters on legs!

While the soil in your yard might be great for trees and perennials, vegetables like to get special treatment. Filling your beds with a high-grade triple mix (topsoil, peat, and compost or manure) ensures that your tomatoes are getting the best. Another benefit to adding your own soil is that you can better control compaction, making it easier for the roots of the plants to access more nutrients and water and producing better returns for you!

Gardening where you can reach it without having to bend over! It’s a dream for anyone who has strained their back digging on their knees in a vegetable bed. Higher is definitely easier, but also consider that you can control the pathways in between the beds making them level and more stable for walking
No one can deny that a raised bed just looks good. They are neat and tidy with all of the soil contained in one space. Having multiple beds is perfect for those like me, who want organization even outdoors.

So why should you build one now? Everything is cheaper in the fall of course! Materials, soil, and mulch are all on sale right now! Also consider that over the winter, the soil in your bed will settle. This happens naturally with water and compaction. Its much better for your little plants to have the settling occur before you actually plant them.

