
It’s winter in Canada. It’s snowing outside. You’re cold. The kids are restless. And at this moment, the only thing carrying you through the day is the thought of Valentine’s Day candy.
Just me?
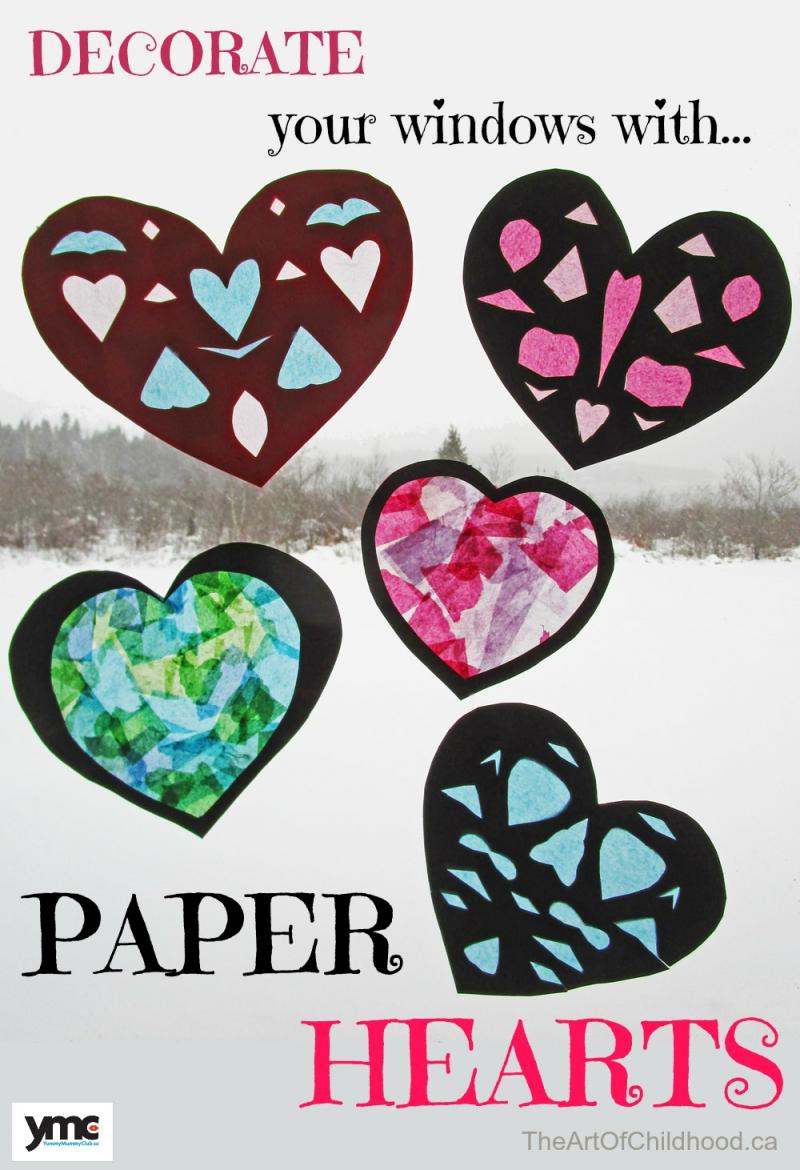
Excluding chocolate chews and cinnamon sweets, nothing says Valentine’s Day like windows plastered with paper hearts. I still remember loving the bright red and pink shapes that decorated the glass in my elementary school classroom.
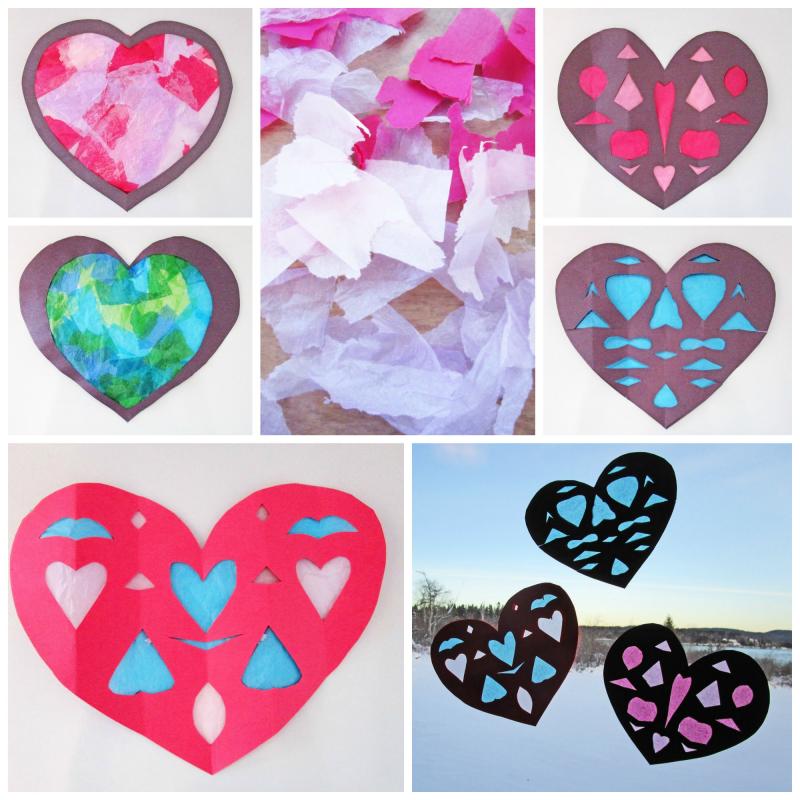
Today I relived the magic with my kiddo by making faux stained glass Valentine’s Day window decorations (while eating chocolate). They are fun to look at and super easy to make. Follow along as I show you two variations on a theme…
Here's what you need:
Here's what you do:
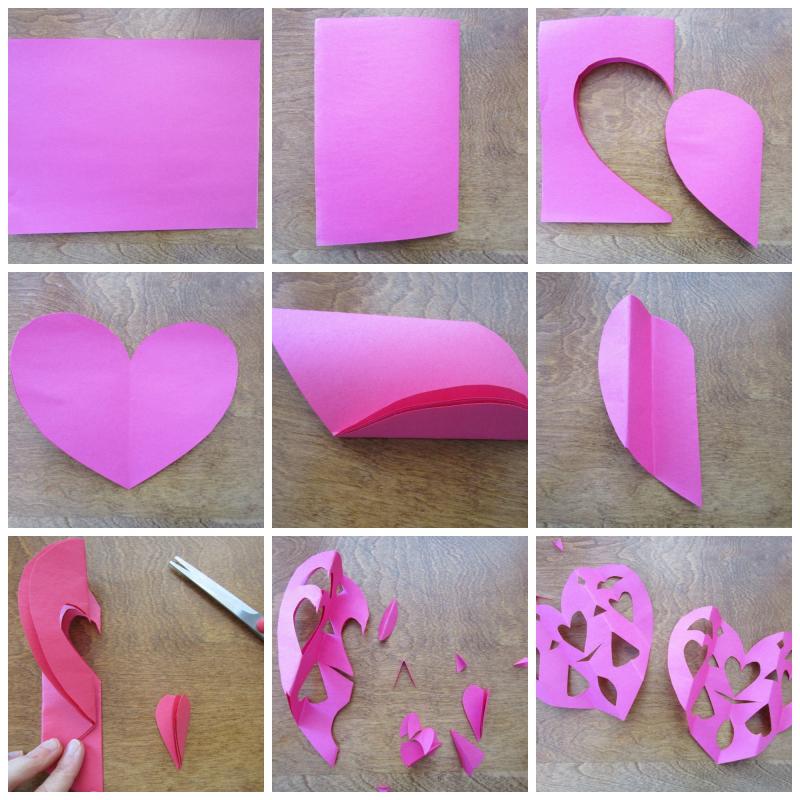
Fold two sheets of construction paper in half.
Cut a heart out of the paper.
Fold the heart shape twice (back and forth, like an accordion).
Cut shapes out of the folded heart. Think of this like making snowflakes in that you want to cut on the folds. Move the paper around so you are able to create designs all over.
Unfold the paper.
Eat chocolate.
Next...
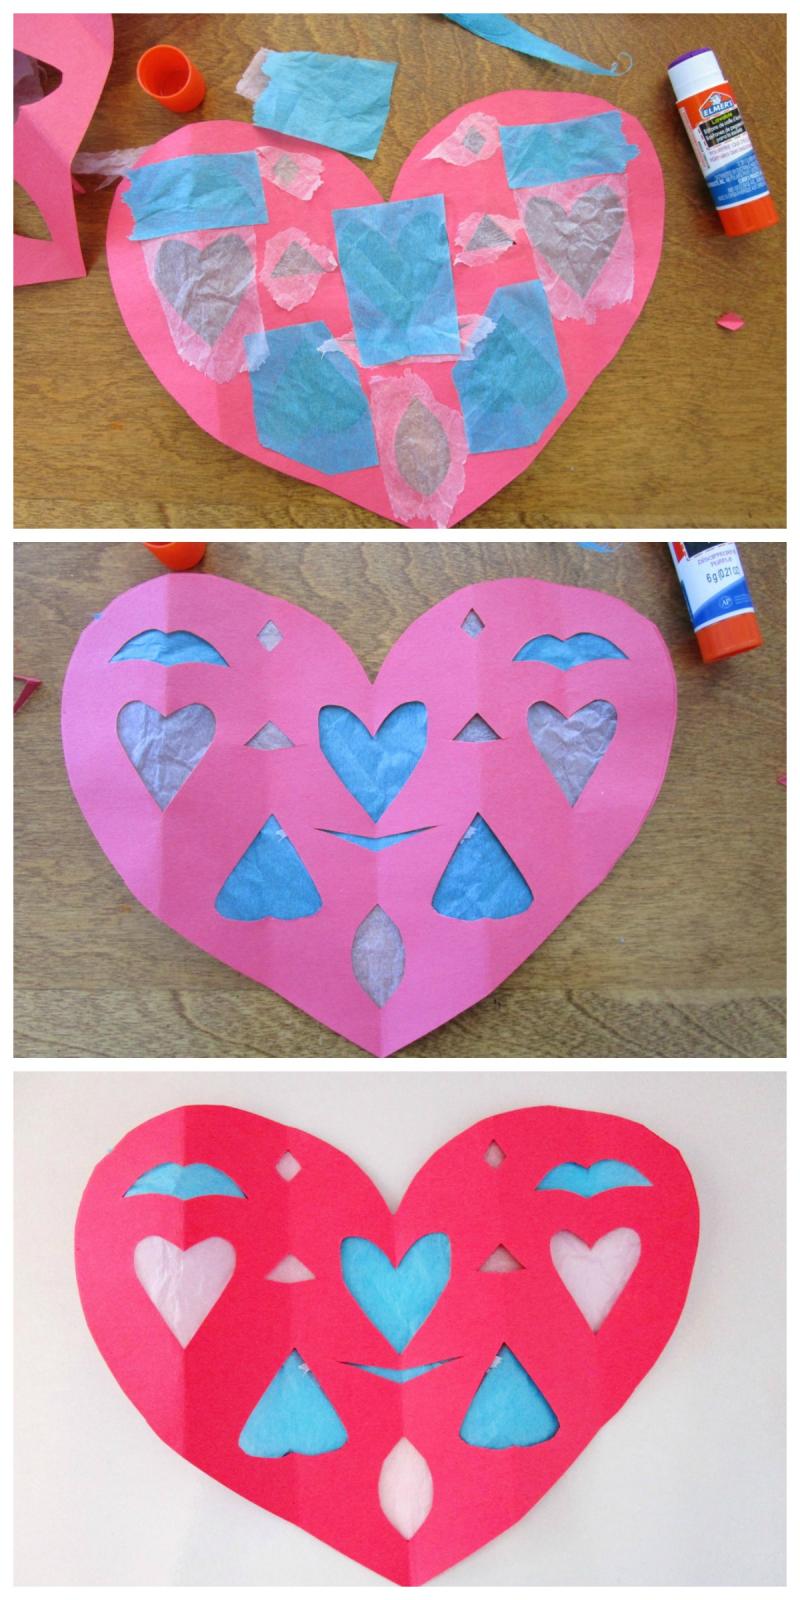
Tear up some tissue paper and glue pieces onto one of the paper hearts, covering the cut outs.
Glue the second paper heart on top of the first. In this way, the hearts will look finished on both sides.
Keep it simple...
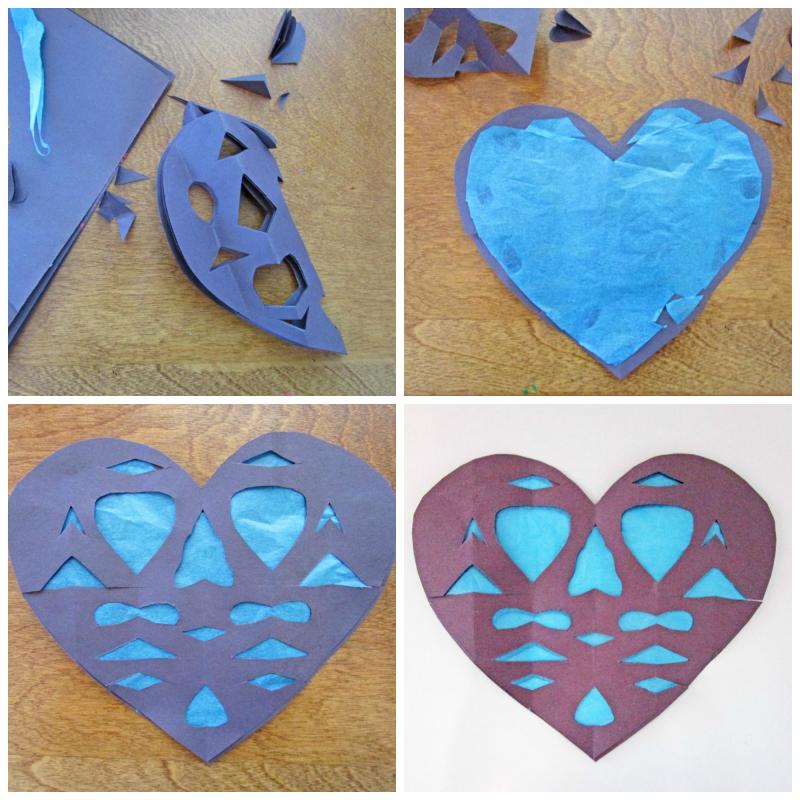
If you would rather not tear up little pieces of tissue paper, you can use one big piece instead. Like so.
Here's what you need:
Here's what you do:
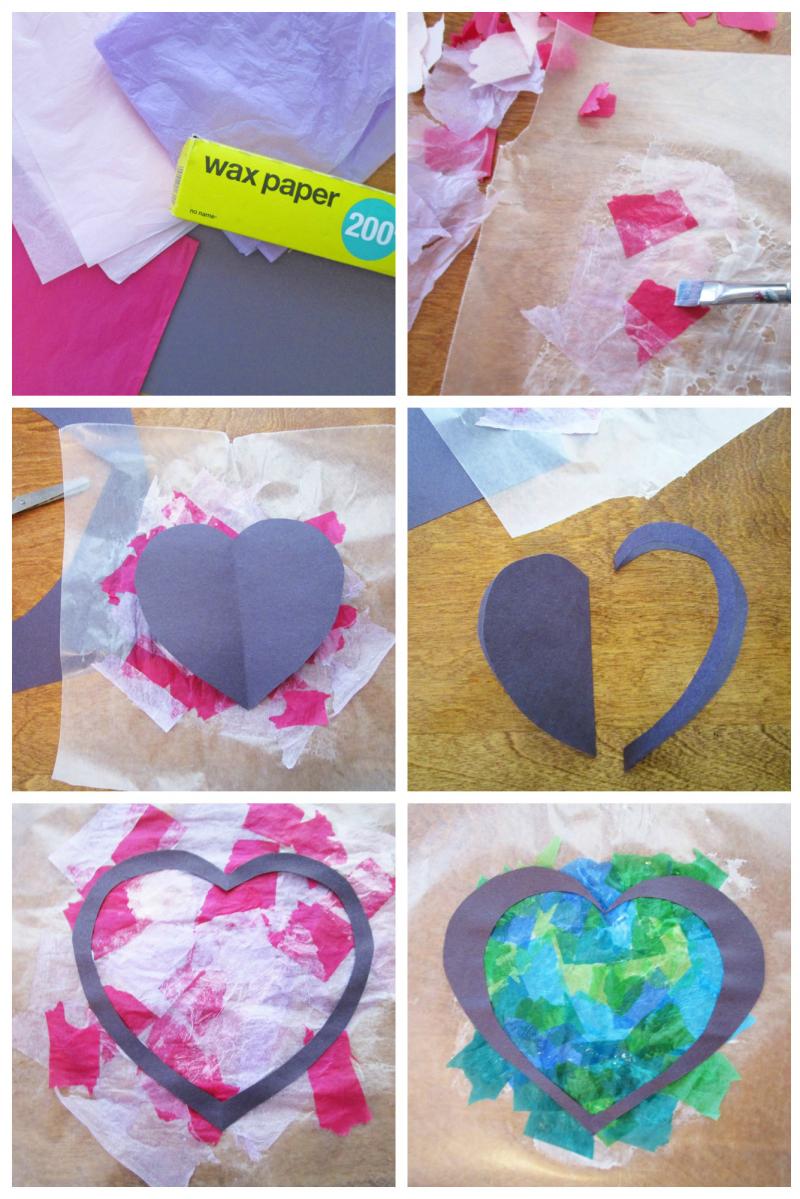
Rip off a sheet of wax paper.
Tear up some tissue paper.
Paint glue or Mod Podge® onto the wax paper and layer tissue paper until you are satisfied.
Cut out a construction paper heart.
Cut the inside out of the heart, leaving a thin outline.
Glue the paper heart outline onto the wax paper.
When dry, cut away the excess paper.
Eat more chocolate.
Pretty snazzy, eh?
![]() RELATED: Top 5 Homemade Valentines to Make with Kids
RELATED: Top 5 Homemade Valentines to Make with Kids
Years ago I had a gig as a music journalist and during that time spent many hours in hotel rooms, restaurants and bars talking with musicians - from unknown indie shoe-gazers to celebrated Grammy award-winners.
In the process, I posed a lot of questions to a lot of artists, but of all the queries I pulled out of my back pocket, this was by far my favourite:
“Where do you think creativity comes from?”
The answers ranged from “I don’t know” and “I wish I knew” to “collaborating with people smarter than me” and “alcohol”.
Still, on rare occasion, songwriters especially would shy away from the topic, citing superstition as the reason. They were convinced that if they spoke too much about the origin of their inspiration, it would disappear faster than the fruit plates in their riders.
When I was a young art school grad, I certainly believed this to be true. At the time I felt I had an elusive (invisible) muse named Georgio and the relationship I had with him, or her (or it), was tenuous, at best.
Fast-forward two decades… I’m older, slightly wiser and no longer a slave to an imaginary guide. I've had a few successes and many failures along the way and because I like you, I'm going to share what I've learned (so far) about being creative.
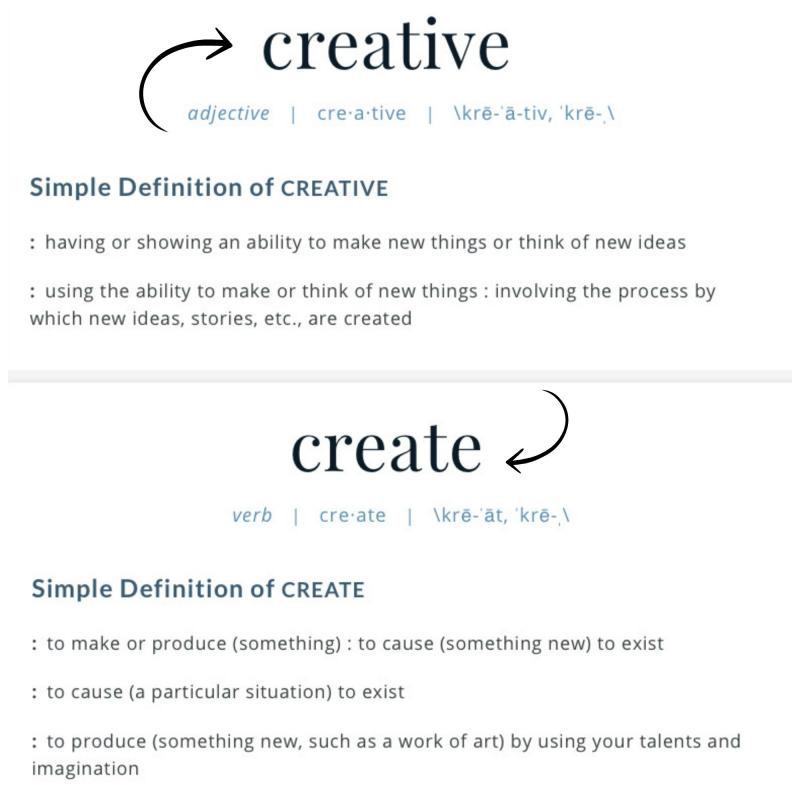
First, let’s define the word creativity.

If creativity is the ability to make new things or think of new ideas (notice there is no mention of perfection), then ANYONE is capable of creativity. That's science.
However, if you want to start being more creative, you need to first stop doing these 10 things…
Some people are great with numbers. Others have an ear for music. And while it’s true that certain folks seem biologically built to paint, sing, or write better than the rest of us, the truth is even they need to work at it. Ultimately, natural abilities begin as innate interests so if you start with what excites you, you’ll be ahead of the game.
There may come a day when you'll want to repurpose your old waffle maker into a soap dish, or make a fish sculpture using cupcake liners and forks. But today is not that day. Pinterest can be a wonderful place to hang out and feel inspired. But it can also trigger unpleasant feelings of inadequacy and self-loathing, which brings us to…
If you spend too much time looking at what others are doing, it becomes far too easy to say, “I can’t do that.” Fear has no place in your creative house, so kick it to the curb. Now.
Your favourite writer has probably been at it for many years and that neighbour of yours who paints realistic cows has likely gessoed over more than a few failed attempts. Comparing yourself to others is never a good idea. Don't do it.
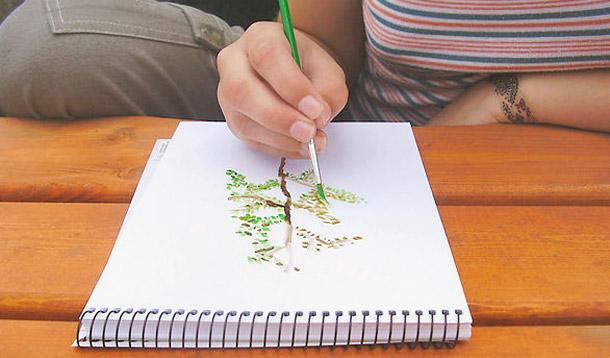
It’s a misconception that if you want to be creative, you need to wait for inspiration to strike. This is not true. Don’t wait for it. Do something. Now. Draw a line. Paint a brush stroke. Make a doodle. Write a sentence. Because in the words of Pablo Picasso: “Inspiration exists, but it has to find you working.”
If you make things, there will come a time (actually, many times) when you will hate what you do. There. I’ve said it and you’ve read it. Now, get over it. Like the old saying goes: Have the courage to write (paint, draw, sing) badly. It’s that simple.
I used to think I needed lots (and lots) of 24-pan watercolour trays and stacks of pretty writing journals before I could start working. I was wrong.
Similarly…
I’ve often found that my best work happens when I’m not worrying too much about what I'm doing. To be truly creative, you need to let go of preconceived notions. Only then will you make room for new ideas.
A coyote walked across my front yard the other day and as much as it freaked me out, it wasn't enough to stop me from heading outside. Seriously. Get out there. Walk. Run. Bike. It doesn’t matter just get up, open the latch and step into the uncluttered air. Like my 7-year old daughter says, “Let’s open the door so we can smell the sky.” But carry a stick because, coyotes.
Back away from your computer, close your laptop, put down your phone. Free up five minutes and begin. But not before you take in these words from Neil Gaiman: “Make glorious, amazing mistakes. Make mistakes nobody's ever made before. Don't freeze, don't stop, don't worry that it isn't good enough, or it isn't perfect, whatever it is: art, or love, or work or family or life. Whatever it is you're scared of doing, Do it.”
And... go! START.
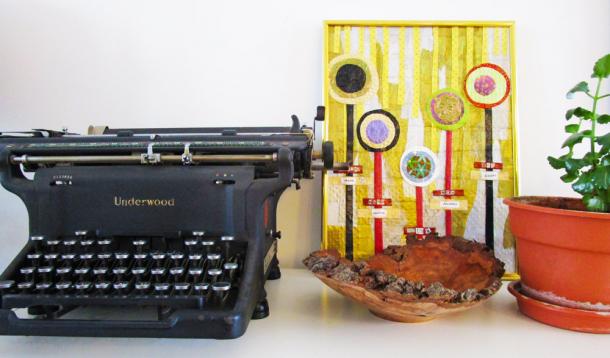
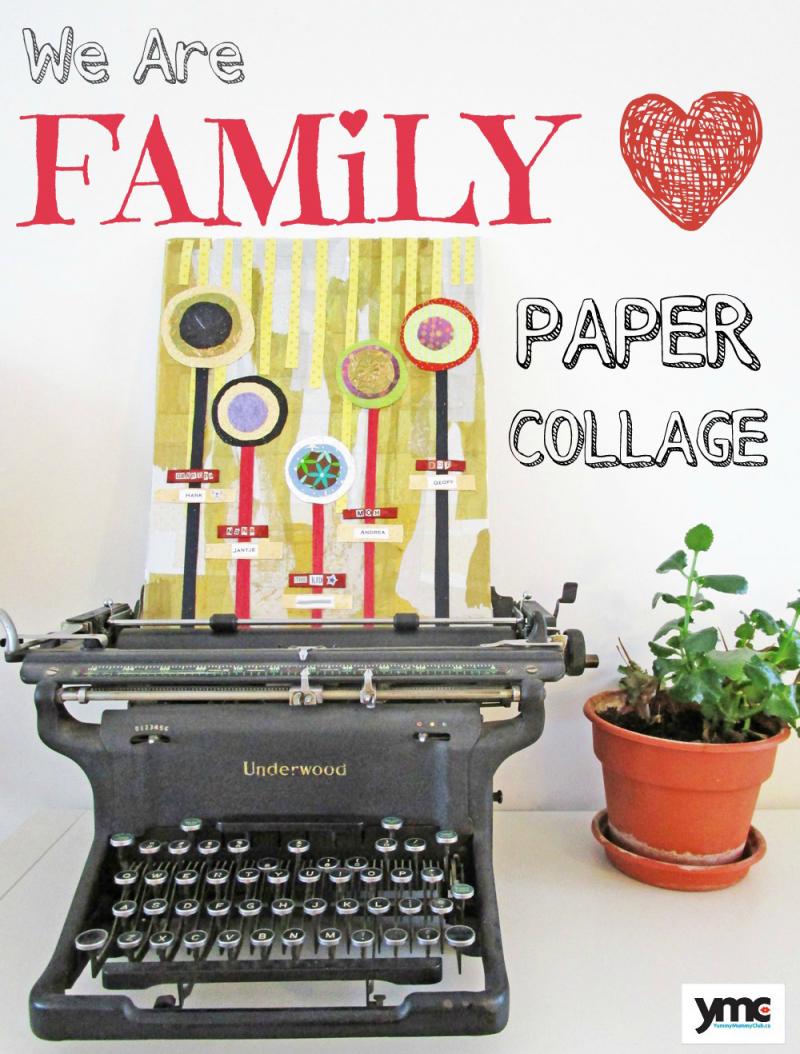
At our house, you won’t find family photos hanging on the walls. But you will find art. Lots and lots of art.
And although we (my husband, my mom, my kiddo and I) all make art on a regular basis, we rarely collaborate on pieces.
Until now.
Before he passed away, my dad became interested in genealogy and started piecing together a family history of sorts. I’ve always loved the idea of creating a family tree and have plans to (someday) organize the information my father collected to design something informative and decorative. However, until that day comes, I thought it would be fun to make a mini version - as a family - using materials we have kicking around the house.
To make your own collage - unique to your kin - all you need is a willingness to get messy, a desire to tear some paper, a few enthusiastic family participants and the following supplies...
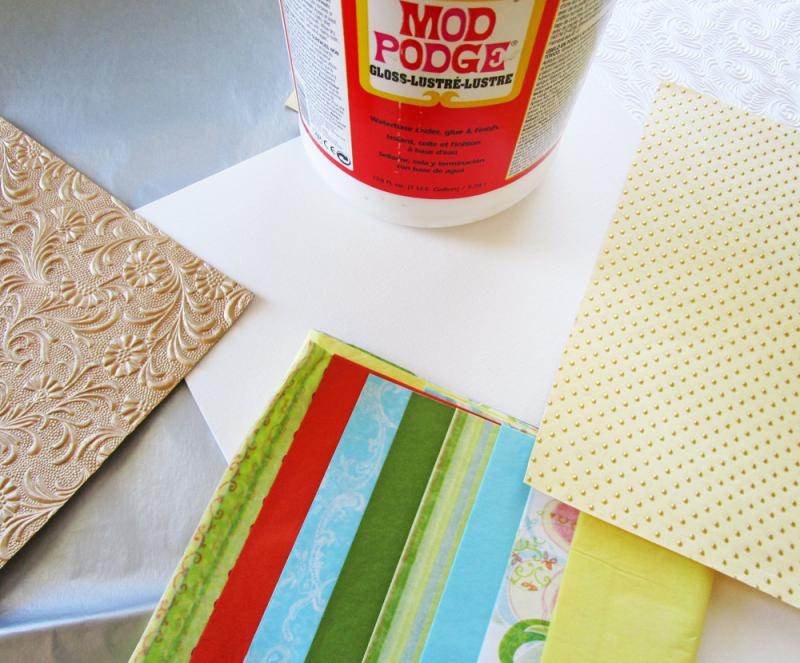
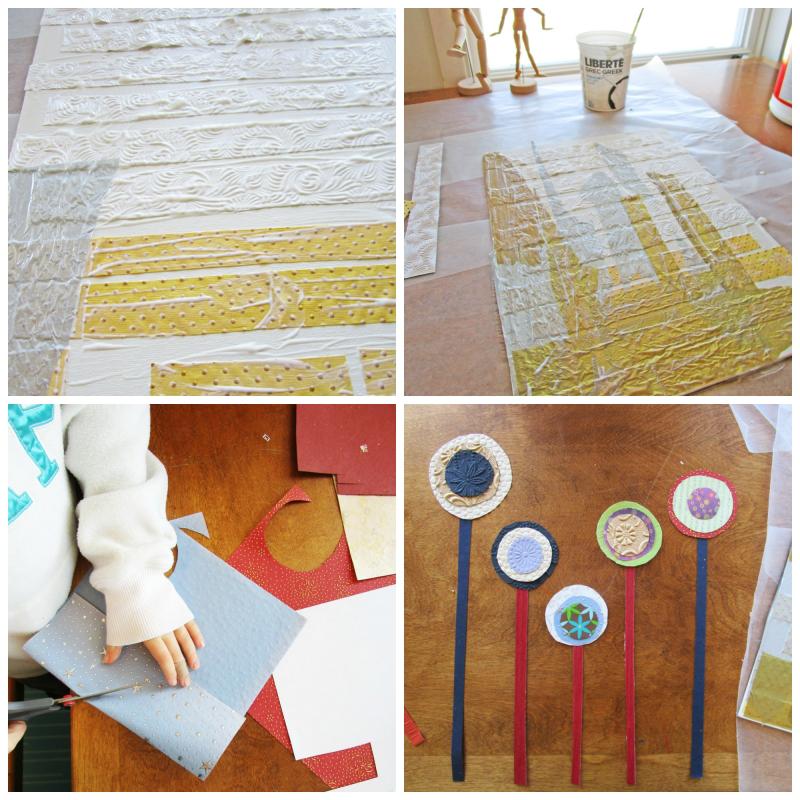
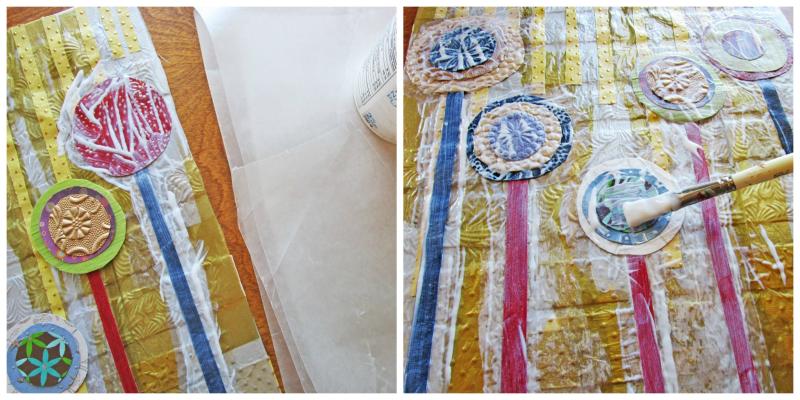
First, select some texture-rich paper and cut it into shapes. We decided on long and short rectangles, but that doesn't mean you have to.
Using an old paintbrush, slather the canvas with Mod Podge®, lay down the paper and paint more Mod Podge® on top. In this case, more is more. Don't be afraid to use LOTS of glue.
Once the first layer has dried, glue some torn tissue paper over top of the textured paper until you feel happy.
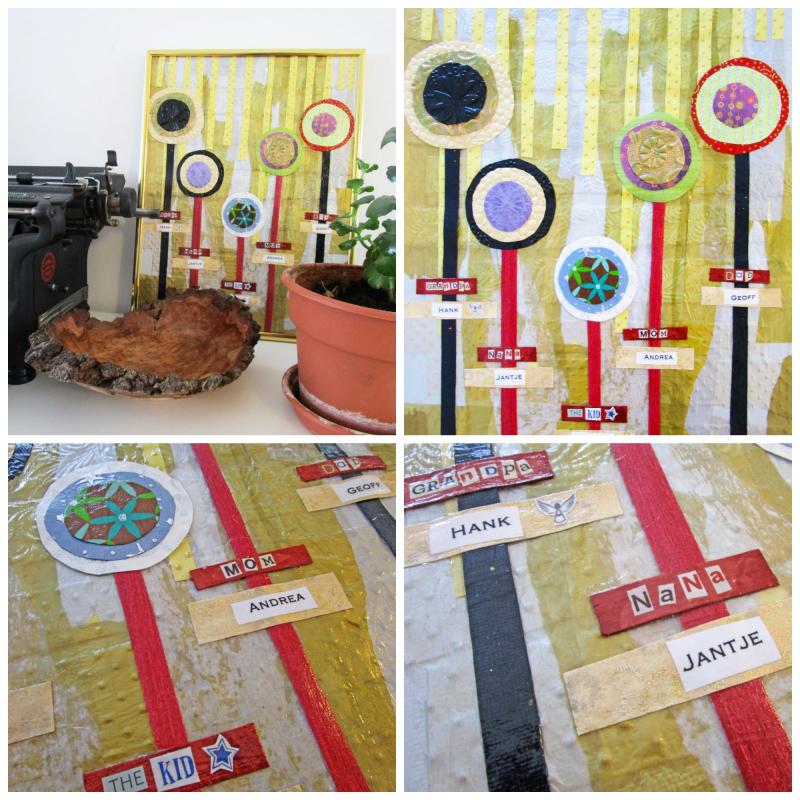
Next, each family member can start cutting out some shapes. Our collage features figures made up of long, narrow rectangles and three different-sized circles. I think they are reminiscent of people, or trees. My daughter insists they are lollipops.
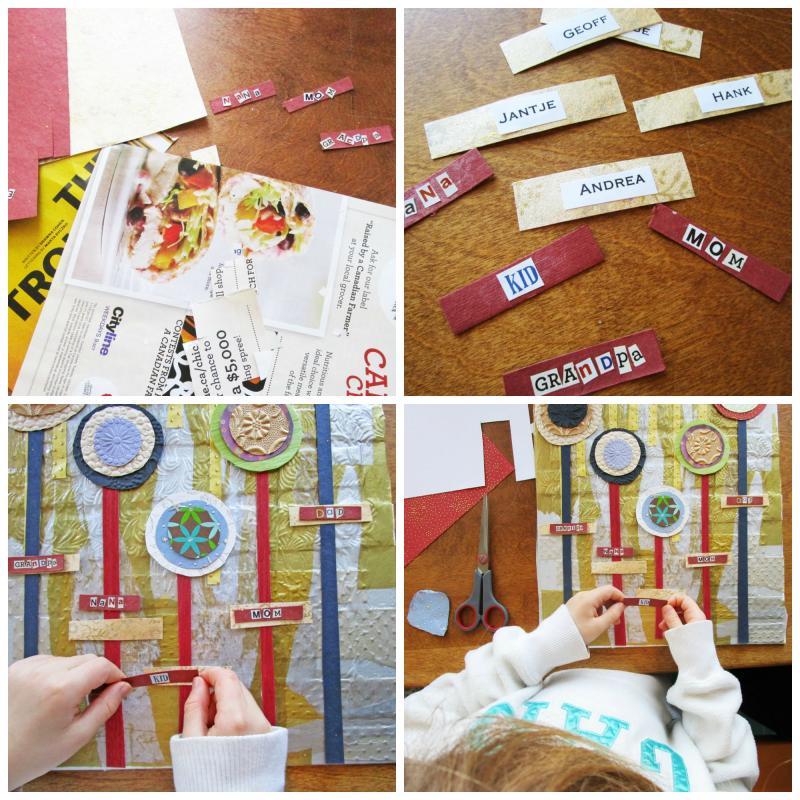
Meanwhile, someone can start cutting out letters from old magazines for everyone's titles. This is a pretty tedious task so I'll come clean right here and tell you that after we cut and pieced together several letters, I went to my computer and printed out the rest. These were all glued (using my kiddo's glue stick) onto rectangular pieces of paper.
I included my late father because - although he's been gone for seven years - I like to think he still drops in from time to time.
Then, everyone can start to place the paper cutouts onto the prepared background.
One at a time, remove the shapes, paint a layer of Mod Podge®, replace the shapes and finish with another layer.
Voila! A wonderful keepsake for you and your kid(s) that you will be proud to put on display. Unlike our family photos. Kidding. Not kidding.
Try it yourself...
![]() RELATED: Unravelling Family History: How Tech Is Making It Easy
RELATED: Unravelling Family History: How Tech Is Making It Easy

