Hearts appear often in works of art. And why not? They're easily recognizable as the universal symbol of love. Plus, they're just plain fun to make.
To celebrate Valentine's Day, I thought it would be fun to share a cool mixed media art project your kids can do alone, or side by side with you. I'm a big fan of mixed media and while it may sound complicated, all it means is that you are using more than one art medium - in this case, watercolour paint and markers (and paper too, of course).
![]() Top 5 Homemade Valentines To Make With Your Kids
Top 5 Homemade Valentines To Make With Your Kids
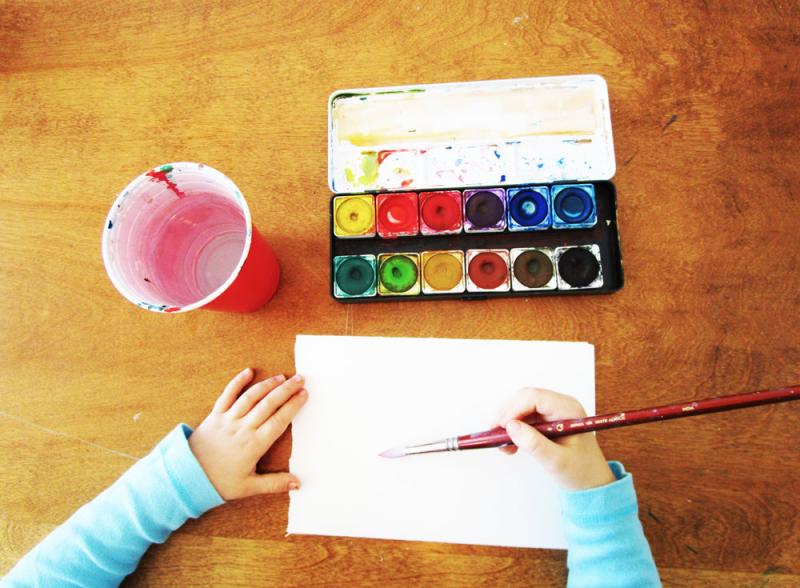
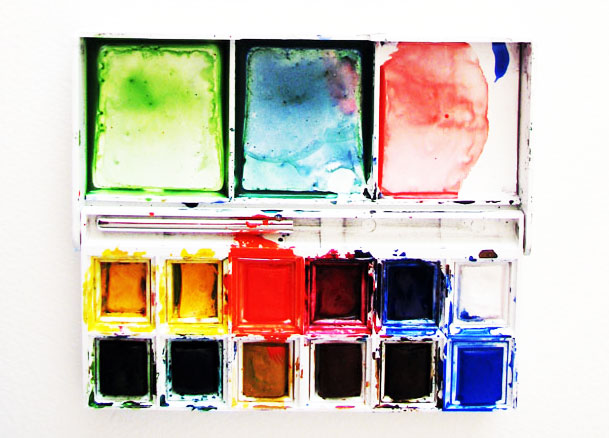
Before you begin, simply gather some thick paper (ideally watercolour paper, but Bristol/poster board is okay too), a tray of watercolours, a couple of paintbrushes, a container of water, a black Sharpie marker, a pair of scissors, and a glue stick.
If you've got no time to pull out the paints, skip the first three steps for a quick n' easy version of this project.
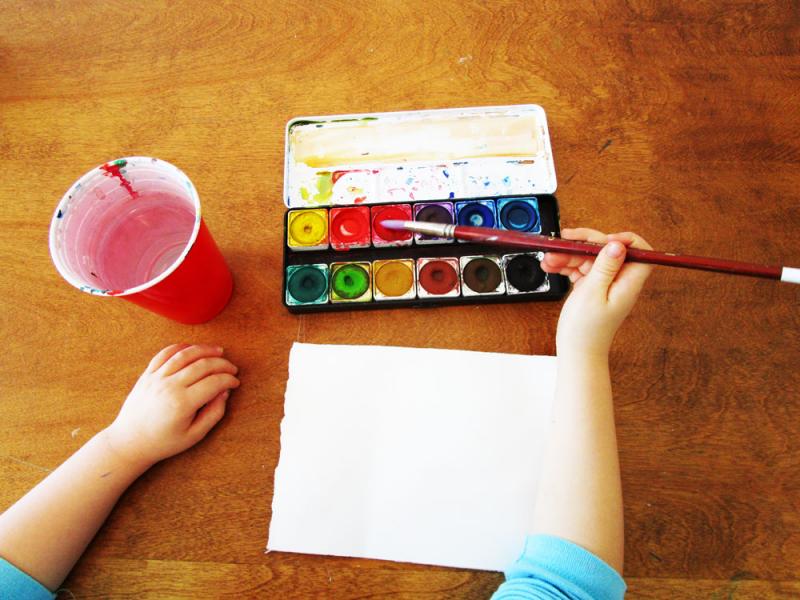
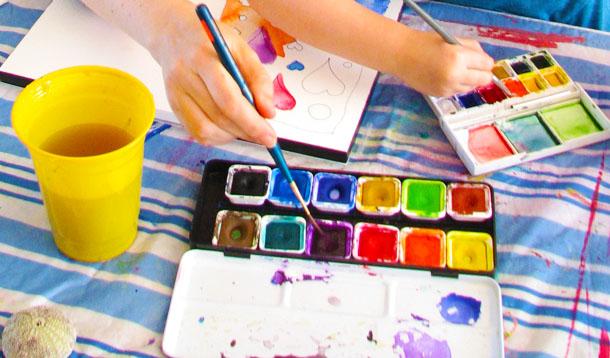
First, dip your paintbrush into the water and wet the paper. And when I say wet, I mean wet. We’re talking dripping.
Next, choose a colour and add it to the wet paper. Watch as the paint bursts and travels where you least expect it. Embrace the total lack of control.
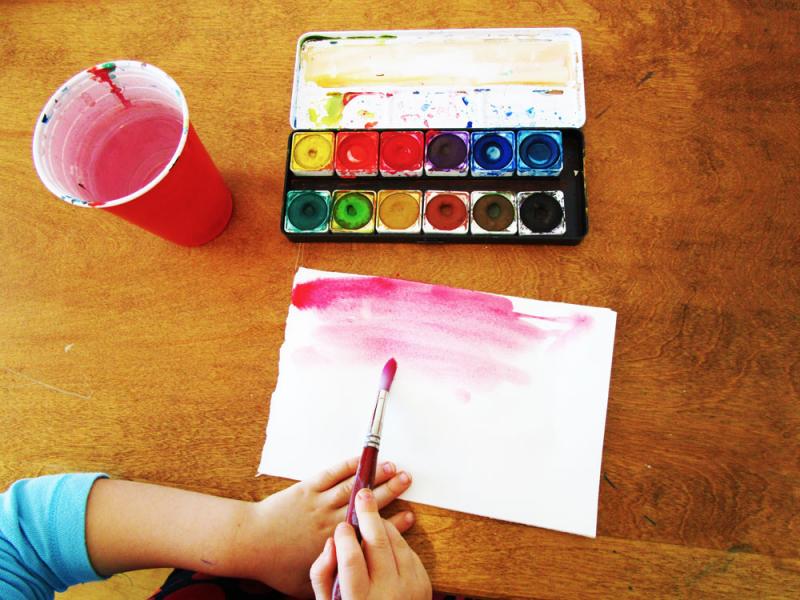
Then, select another colour, allowing it to run into the first. This is good. You are winning.
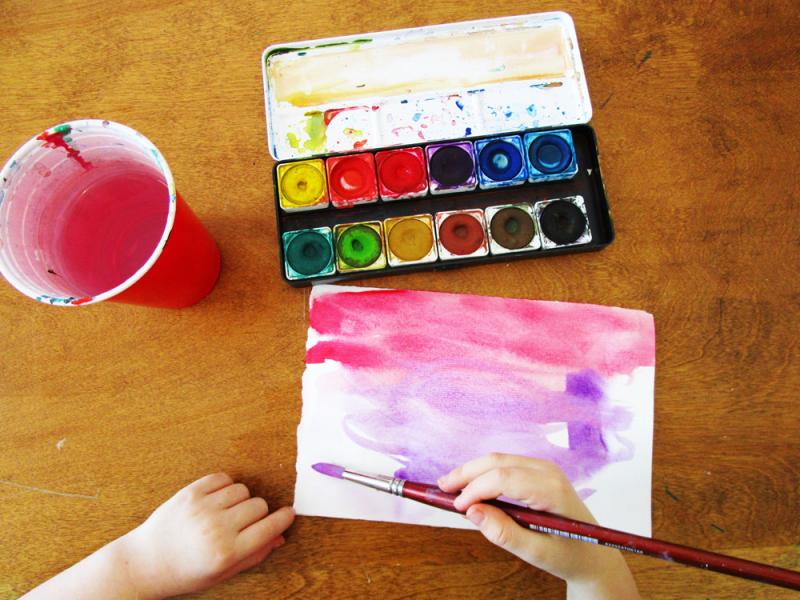
As soon as the paper is full of colour, don't keep messing with it. Just let it be and set it aside to dry.
While you're waiting, go grab yourself a cup of tea, or maybe make some popcorn, or chocolate-covered potato chips.
When you come back, don't panic if the paper has curled itself up like a maple leaf in October, just grab a heavy book and put some pressure on that sucker (when it is almost - but not quite - dry).
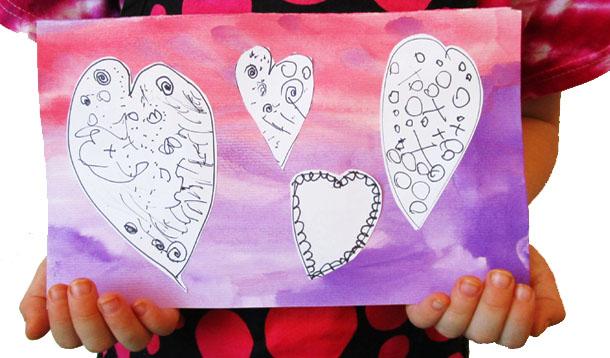
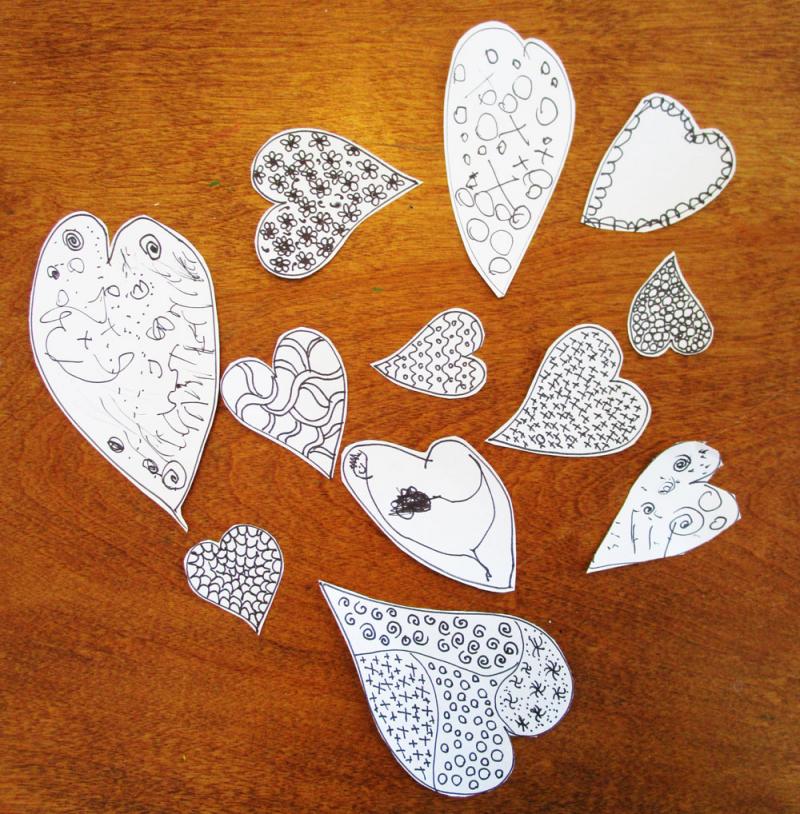
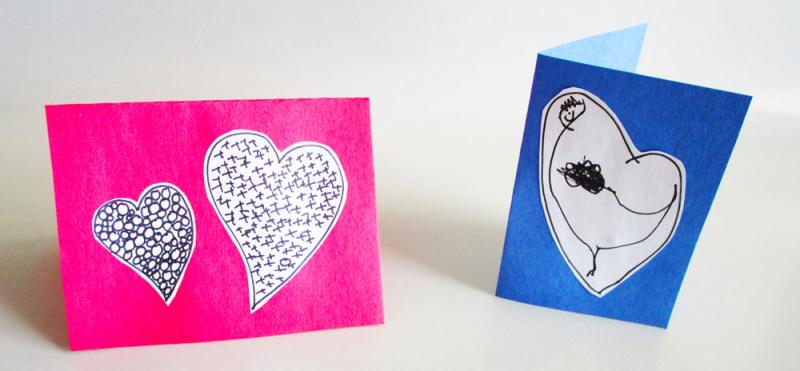
All right, the next step is to draw a bunch of hearts on white paper using a black Sharpie marker. Plain printer paper is ideal.
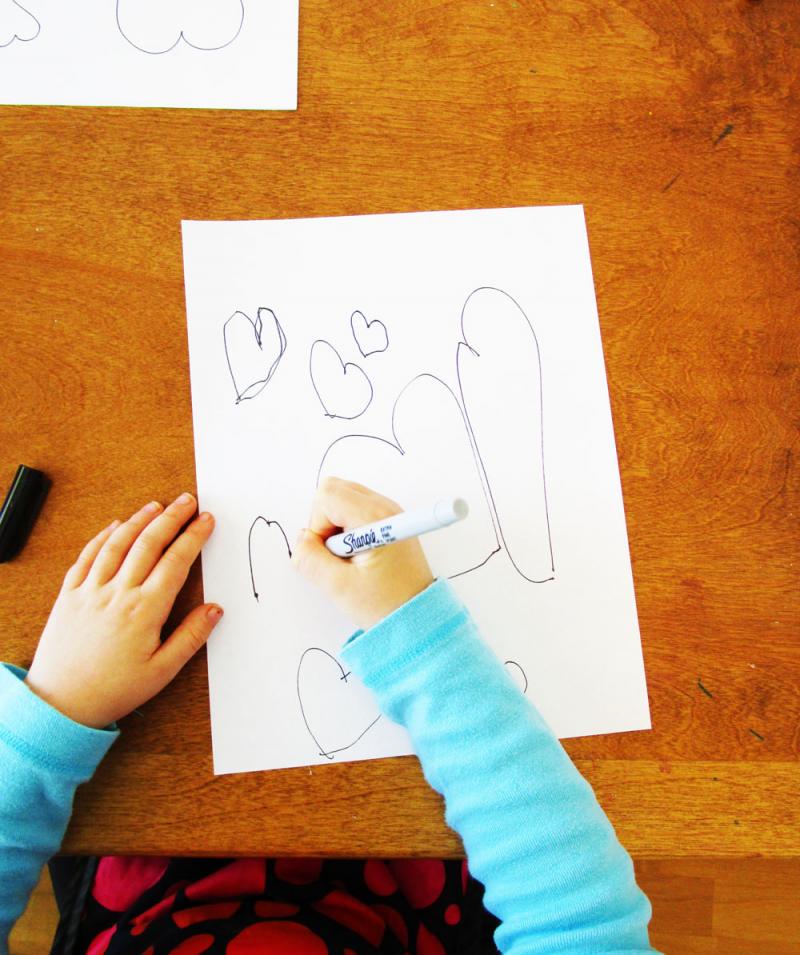
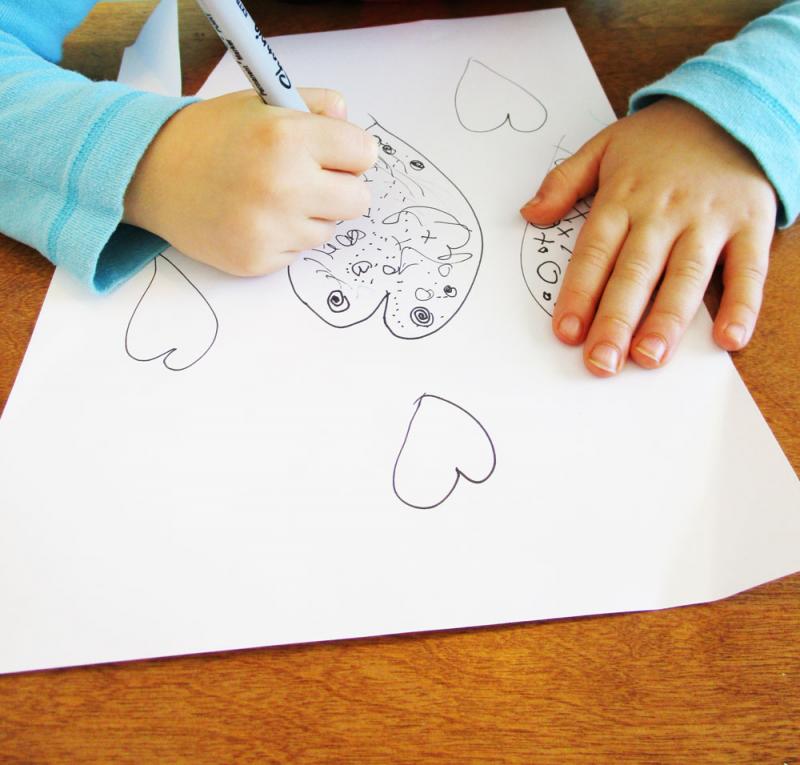
Then, doodle inside the hearts using whatever lines and shapes come to mind like squiggles, X's and O's, flowers, spirals, or zigzags. Because the maker is permanent, there’s no going back. So, if you don’t like what you’ve done, simply change it into something else. Working this way can be stressful, but it can also be incredibly freeing.
It’s also how you can end up with a heart that looks like a chicken - which is all kinds of awesome.
When the doodling is done, cut out the hearts and have a look at what you've got.
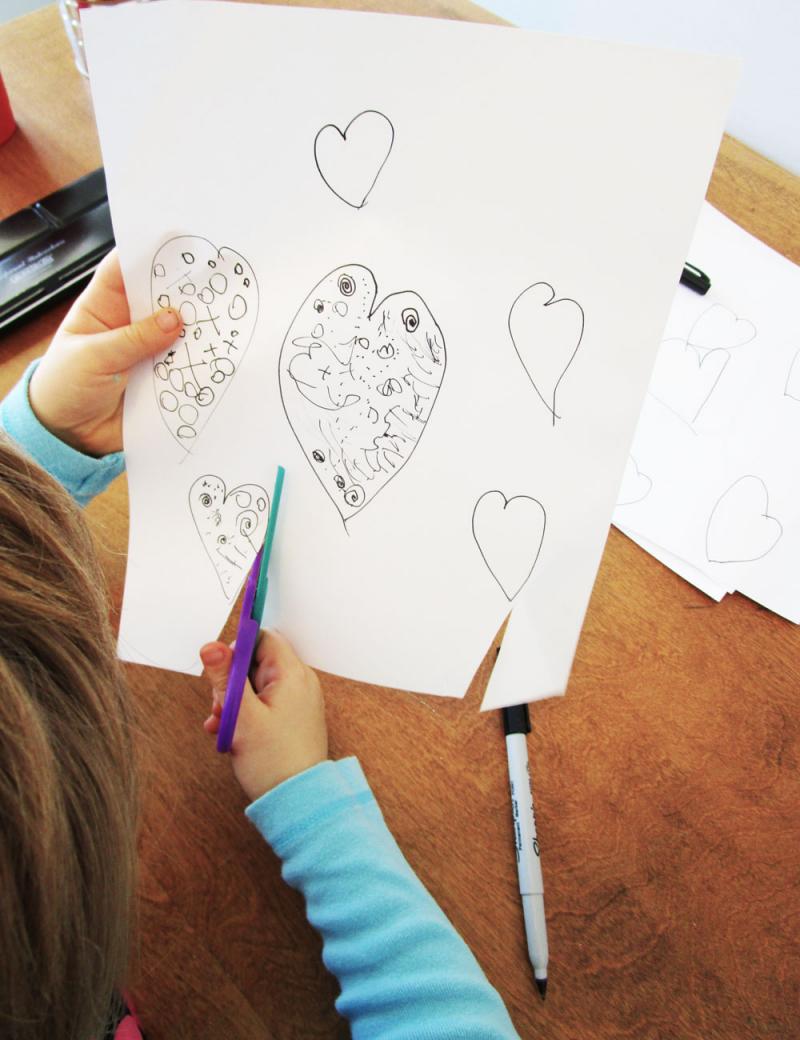
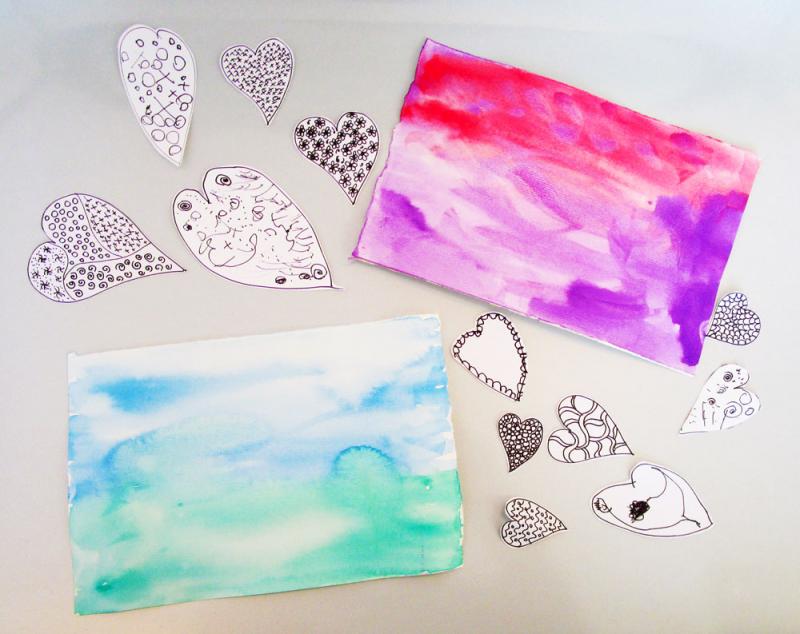
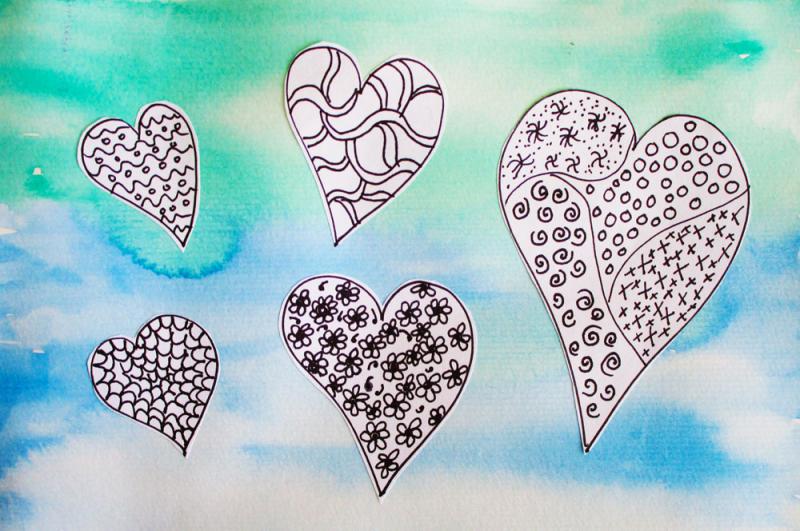
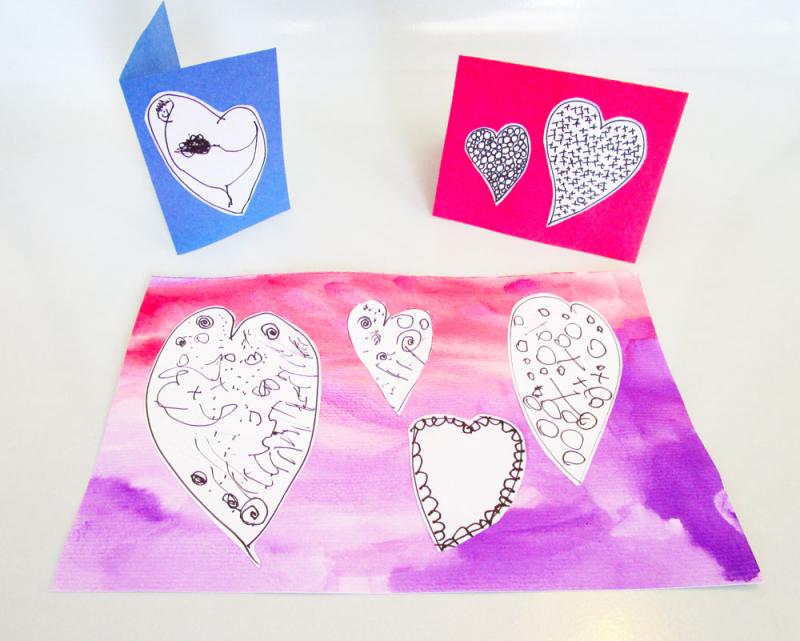
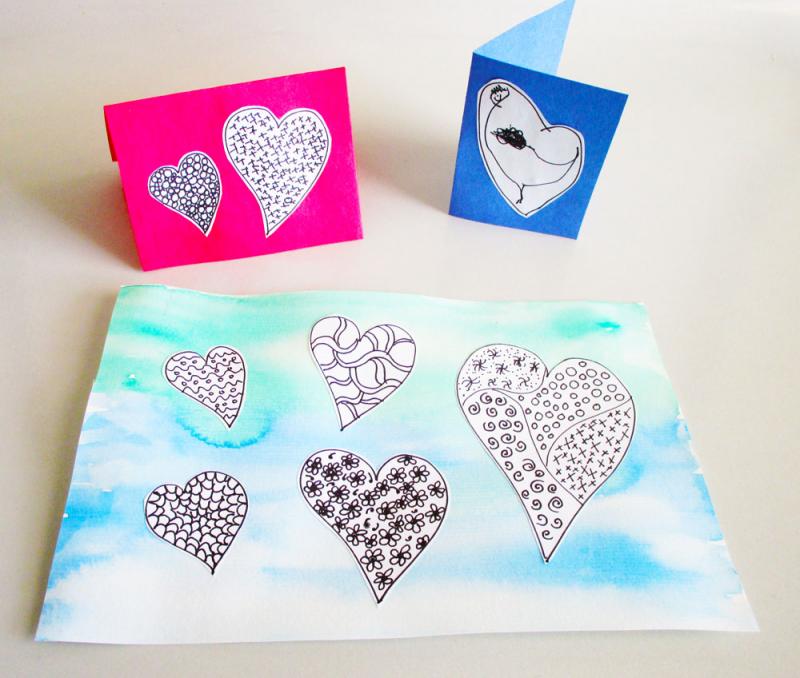
Now it's time to arrange the hearts on your dry watercolour paintings and glue them in place like so...
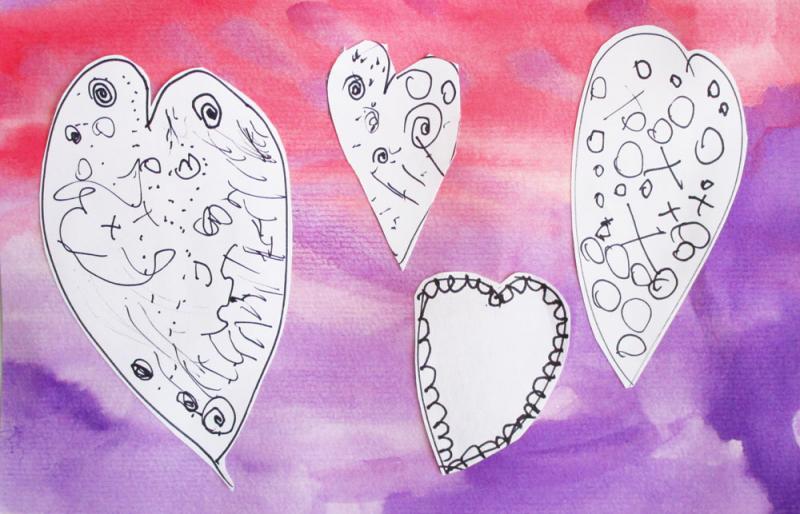
And, like so...
You can use plain construction paper as a background for your doodle hearts. In fact, little folded over pieces of paper can become instant Valentine's Day cards. So easy. So sweet. See the chicken?
Give it a try and see what develops!
I've got a creative challenge for you and your kids.
All you need is a permanent marker, some watercolour paint, a couple of paintbrushes, water (in a cup), and some heavy paper (watercolour paper or poster board).
![]() Fun Food: Easy To Make Heart Shaped Rice Krispies Pops
Fun Food: Easy To Make Heart Shaped Rice Krispies Pops
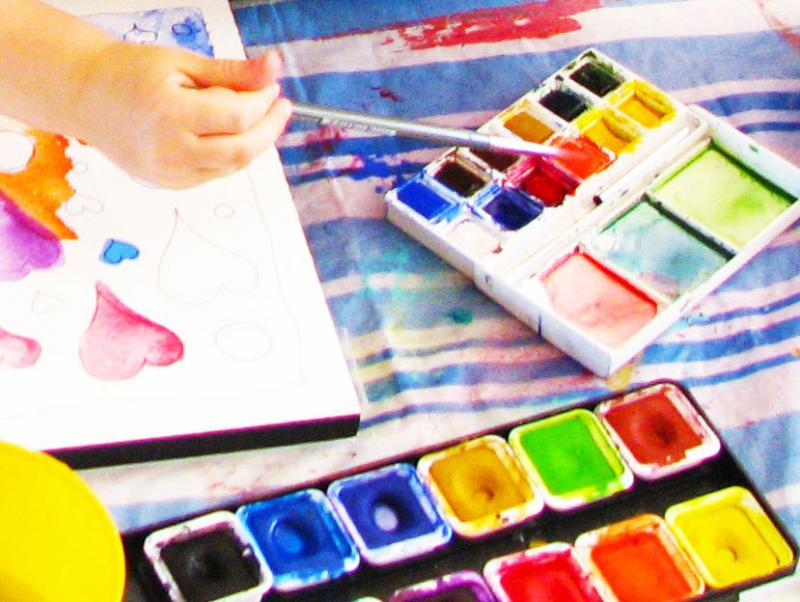
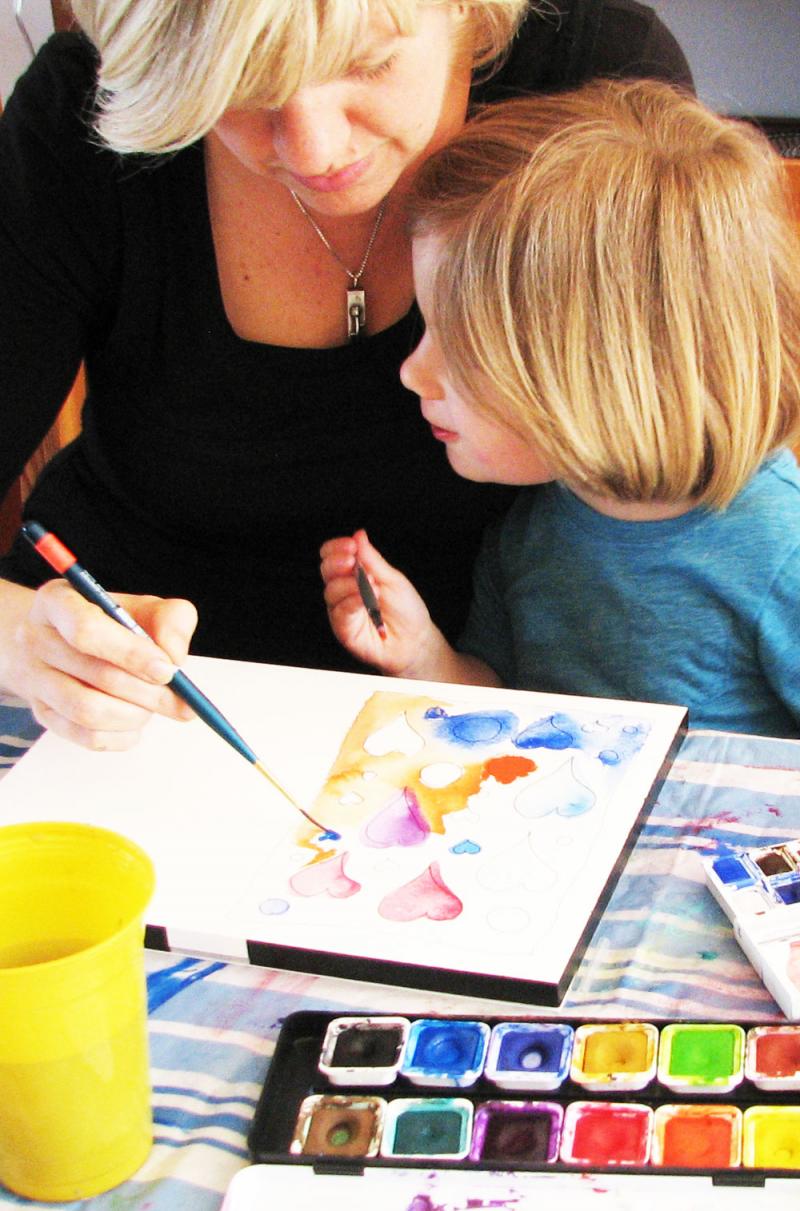
First, draw some fanciful heart shapes on the paper using a black permanent pen (a Sharpie marker is great). Don't stress too much about how the hearts look and if you find you need some extra shapes, throw in a few circles, or whatever strikes your fancy.
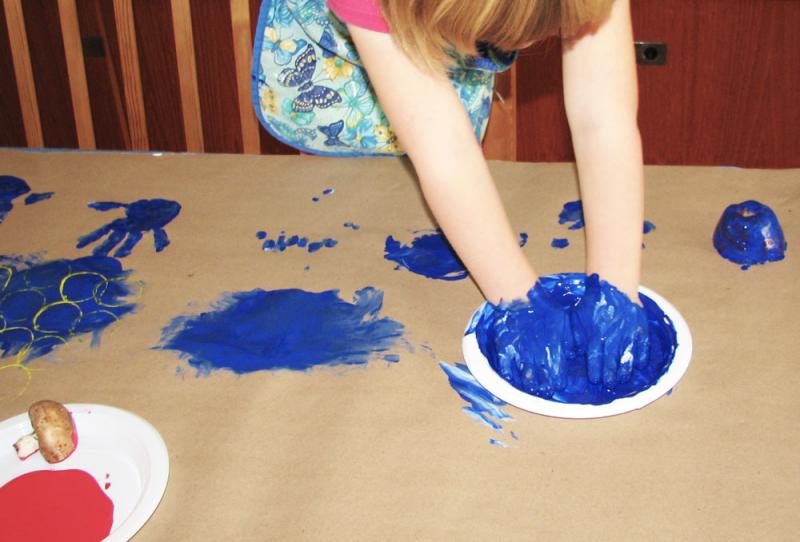
Then, casually invite your child to help you fill in the blanks.
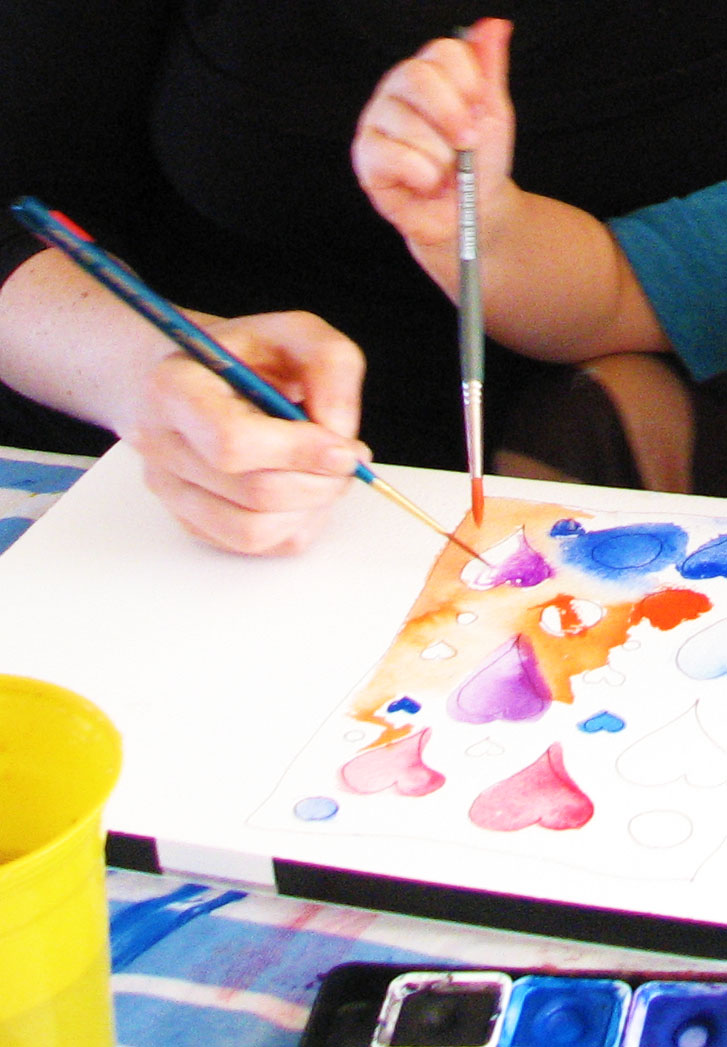
Take turns dipping your brushes into bright bold watercolours as you work together to create a truly collaborative painting. Follow his or her lead and you'll find that your "work of (he)art" will include some fabulous colour combinations.
And remember - THERE ARE NO WRONG MOVES HERE!
![]() Top Five Homemade Valentine's To Make With Your Kids
Top Five Homemade Valentine's To Make With Your Kids
If the paint is hitting the paper, you've won. The idea is not to manage or criticize one another's efforts, but rather to go with the flow and see what develops. This part is hard. Especially for someone - like yours truly - who likes to be in control. But, if you can resist the urge to direct what's happening, you will settle into a peaceful groove with your kiddo as you dip and dab, side by side.

At the end of the process, you'll have created much more than a work of art. And - if it works - try out some other ideas. I'd love to see what you come up with.
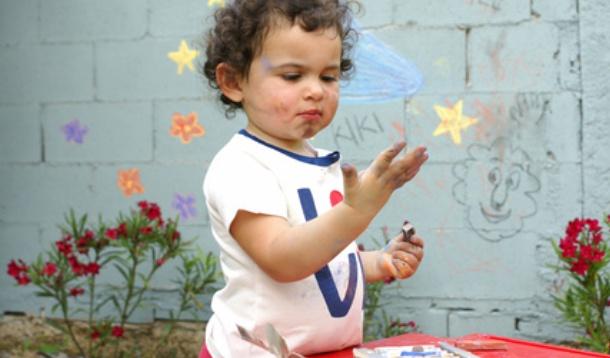
Exposure to art provides kids with the tools they need to develop creative problem solving skills, communicate opinions in a variety of ways and adapt to and respect other points of view. Not only that, when a child is able to express him or herself in a creative way, he or she develops self-esteem, self-discipline and self-motivation - all key life skills.
And you thought they were just having fun!
![]() How To Make Art When You Don't Know How To Make Art
How To Make Art When You Don't Know How To Make Art
It is important to note that introducing children to art is not about training them how to recognize a van Gogh or a Picasso, but rather it’s about preparing young minds for a future of invaluable experiences - art-related or otherwise.
Not so long ago, a study (the largest of its kind) looked at more than ten thousand K - 12 students from more than one hundred different schools who were given an opportunity to visit an art museum. After assessing the kids, the results showed that critical thinking, recall, tolerance, empathy and cultural interest all increased dramatically.
Now, you might be wondering what you can do to help your kids. I can just hear you saying, "But I'm not an artist." The fact is, you don't have to be! All you need to do is make it easy for your youngsters to gain access to art. And the beauty is, you can learn and experience right along with them. Here are some tips to help you along.
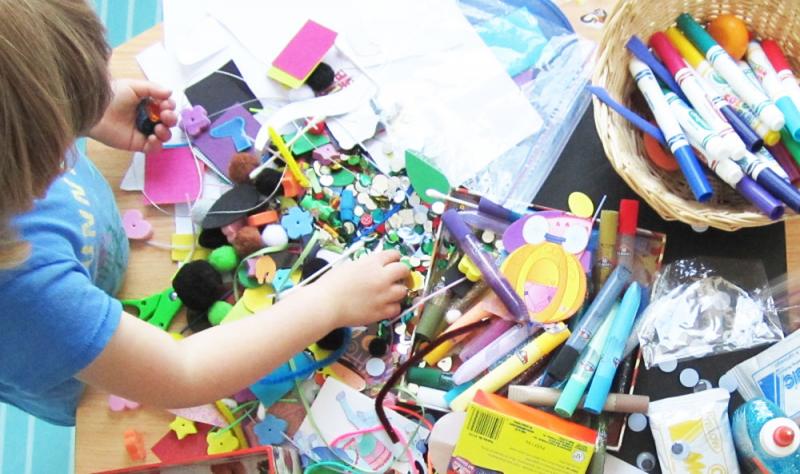
1. Create an area in your home where your child can have unlimited access to art materials: paper, pencils, crayons, paint, clay, etc. You don't need a separate art studio, just the kitchen table will do.
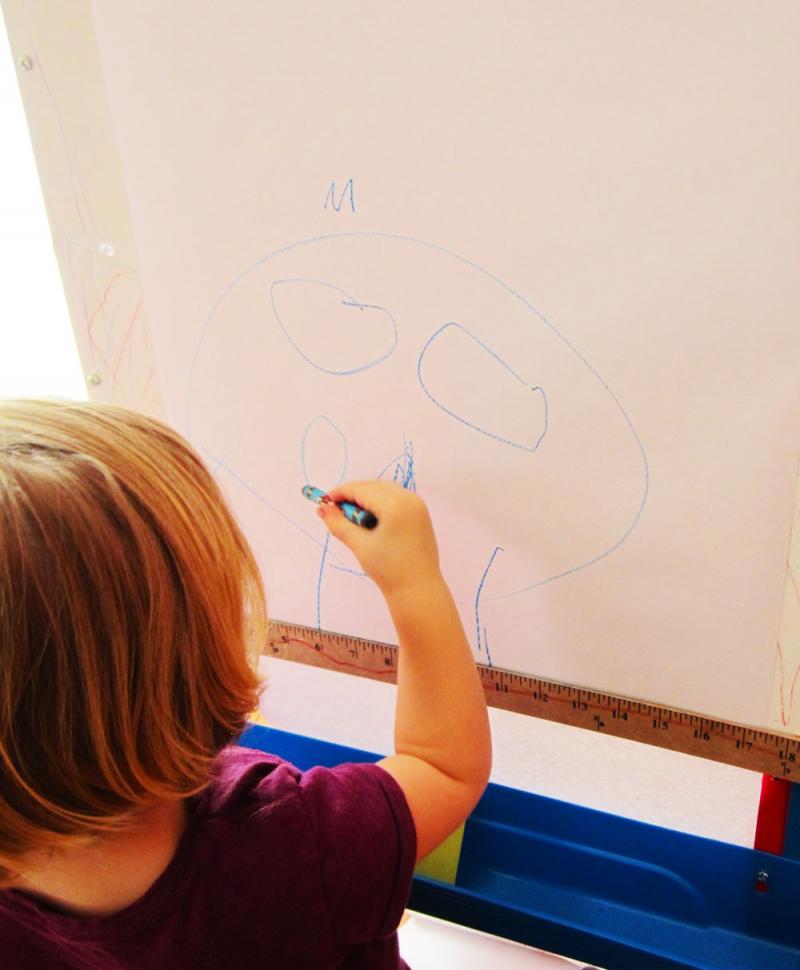
2. If your child needs a little inspiration - rather than having her copy a photo, or draw something specific - just encourage her to create based on some of the following themes: how she is feeling, her dreams, her favorite things.
![]() An Amazing Creativity Machine You Already Own
An Amazing Creativity Machine You Already Own
3. Always discuss your child's work with her. Ask her questions and never criticize her attempts. Be supportive and remember to listen carefully.
4. If your kid criticizes her own work, ask her what parts she does like. Encourage her to find something positive. Ask her what she could have done differently. Kids need to know that they don't need to "get it right" the first time. Art - like everything in life - takes practice and there will be good days, and bad.
5. Draw and paint with your child. Time spent with your mini-me is never wasted.
6. Let her make a mess! Allow her to make art outside or in the bathtub if need be.

7. Take your child to an art museum or art gallery. Discuss the trip beforehand and build some interest prior to the journey. Keep the day fun by visiting the gift shop and taking time out for lunch. Many museums have scavenger hunt-type handouts for kids at the front desk. Pick one up and give it a try!
8. While at the museum, be sure to take the time to look at paintings that interest your child. Her tastes may not be the same as yours and you should not subject her to only those works that you find fascinating.
9. Share your favorite pieces with your child and compare notes. Maybe you both like paintings that are mostly the colour red. Perhaps she likes the ones that feature dogs.
10. Look through art books and magazines, and pick out favorite paintings and drawings. Talk about how and why the artist might have painted what he or she did. Dig into the stories behind the art.
11. Encourage your child to say what she feels about the art she sees. Remind her that there are no wrong answers and always validate her ideas and opinions. It's really okay to say, "I don't like that!". But if she does, ask her to explain why. Maybe there is something in the work that is appealing.
12. Make use of community resources - the Internet, the library, local artists, art galleries, retail art galleries, print shops, colleges and art associations in your area. The world is your creative oyster.

