I remember it clearly, from my junior high home economics days: Miss H, with her Dorithy Hamill haircut, her home-sewn brown smock dress, and her sensible shoes was teaching us the basics of baking. Pie pastry, she said, is very tricky and you need to be an experienced baker to make it.
What I heard was Do Not Attempt.
I was fine with that, really. I have never liked pie, as a dessert, I've always considered it somewhat of an abomination. I am in the minority on this subject, I know. I really do! But that, right there, is the reason I've gone my whole life with no desire to make pie. It's too hard! I don't like it anyway! Who cares?
It turns out someone cared. My youngest son, who benefits from my love of making homemade ice cream and who has access to home-baked goodies every day of his life, said to me that he wished, one day, to have a cherry pie. Cherry pie, he said, just seemed like it would be delicious, even though he'd never had it before.
Well.
My husband said, a bit shyly, that cherry pie was always his favourite, and since I knew how to make so many things, maybe I could think about making one.
At first I brushed them off. I thought that if they wanted a damn pie, they could go out and buy one. But then I started thinking: I've faced fears in the kitchen before, and they've always turned out tremendously well. At one point in my life I thought homemade bread and home-canned jam seemed impossibly hard, and yet I taught myself how to bake bread and make jam. Neither was particularly difficult, although I did have to read and follow the directions fairly closely.
The difference is that I LIKE homemade bread and I LIKE jam. I started to feel that I was being a little bit selfish, with my refusal to learn to bake pies.
Here's the thing about kitchen fears: most things are not difficult to make, so long as you follow the directions. Nothing is actually impossible. Even pie crust.
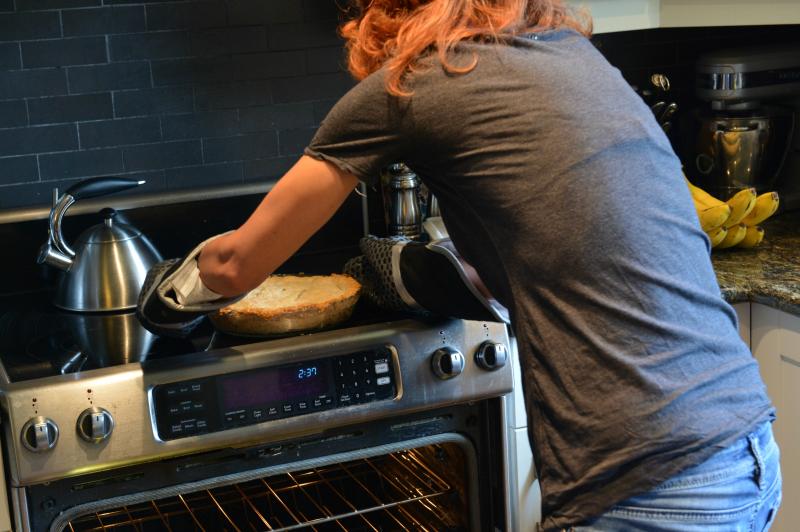
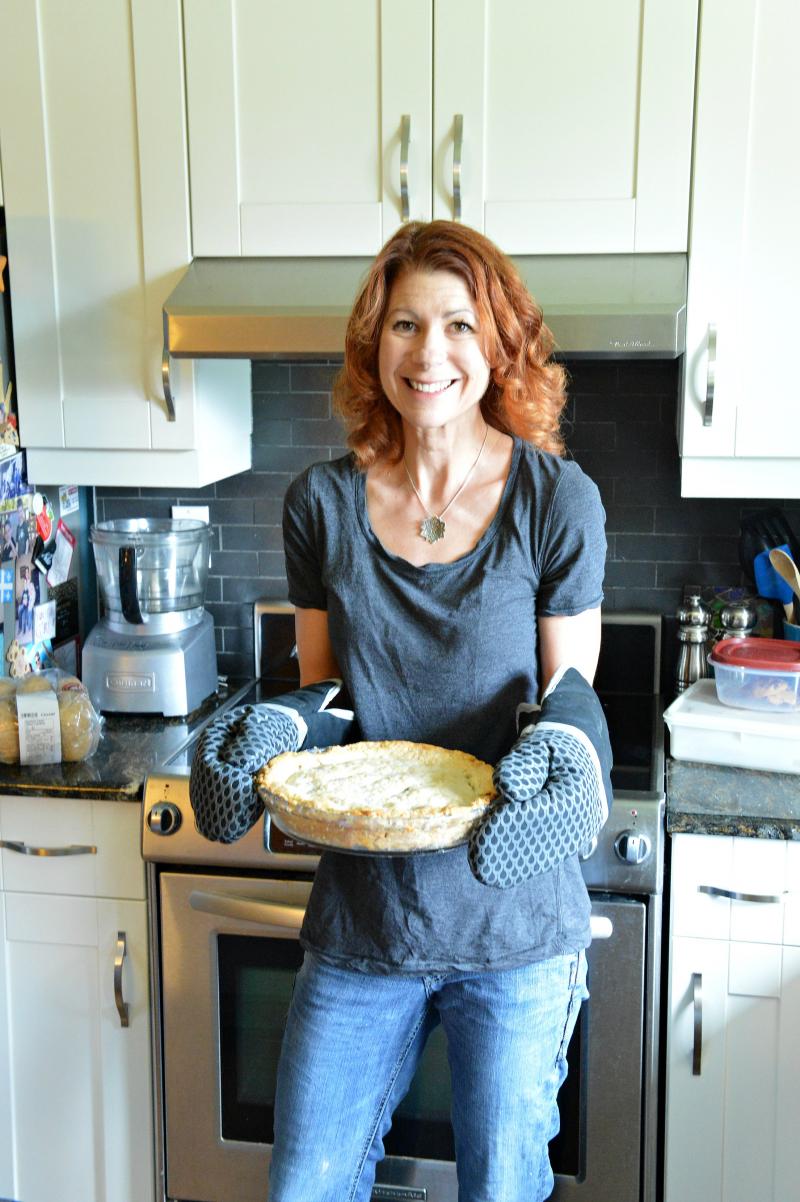
I set myself a goal: I was going to do it. I was going to bake a pie. I am an Alberta girl, where fruit is always at a premium, and so I decided I wouldn't waste fresh cherries on a pie, and also I didn't want to pit them. I bought a bag of frozen cherries and some vegetable shortening and consulted with my friend Catherine, who is an experienced pie maker. She sent me her never-fail pie crust recipe, with the following words of encouragement: There is no way you can mess this up. Buoyed by that statement, I set to.
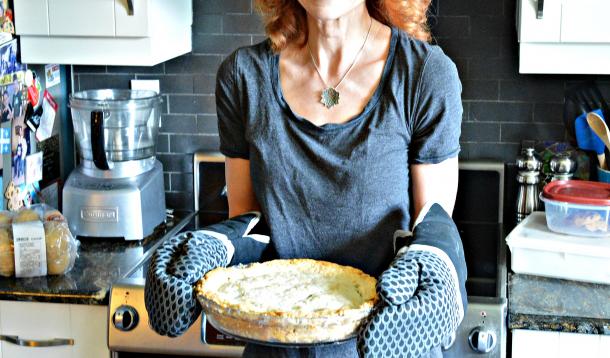
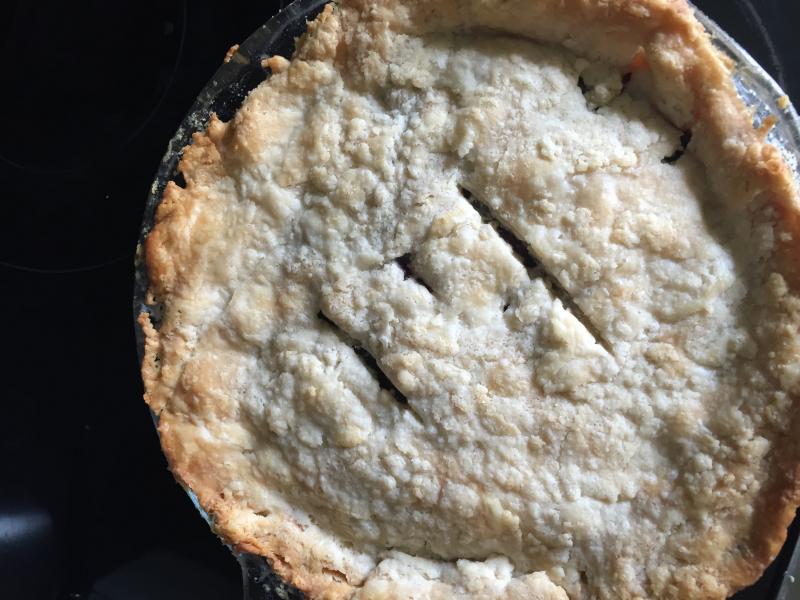
I was so worried about "overhandling" the dough that I probably underhandled it. The result was pretty ugly, but as a pie-loving friend said to me, the ugliest pies are the best pies. I watched as my husband and sons bit into it, and I waited for the verdict.
This is the best pie ever! the three of them said. You'll have to take their word for it; I didn't try it. I told you, pie is an abomination. But I sipped a glass of wine and felt satisfied at their happiness and at the fact that I overcame a major kitchen fear: pastry making.
Ingredients
For the crust
Directions
 In a medium bowl, combine flour and salt.
Cut in shortening, using two knives, until mixture resembles coarse crumbs.
In a small bowl, mix together egg, vinegar, and water. Add it to the flour mixture and mix with a fork until it comes together as a ball. Do not overmix!
Divide into two portions and refrigerate until needed (or wrap in plastic wrap and freeze).
When the pie filling is ready (directions below) roll each portion of dough separately on a lightly floured surface, with a lightly floured rolling pin. Roll from the centre outwards, until dough is uniform thickness, and is a circle approximately 1 inch larger than the upside down pie plate. Do not over-roll!
Gently transfer bottom shell to pie plate. Fill with cherry filling and top with the second piece of pastry. Trim the edges of the pastry to fit the pie plate.
Ingredients
For the filling
Directions
Place cherries in a medium saucepan over medium heat, and cover. After they lose some juice (approximately five minutes) remove from heat.
Add sugar and cornstarch, mix well. Mix in almond extract.
Cook over low heat until thickened, stirring frequently. Remove from heat and let cool before pouring into the pie crust.
Baking Directions
Preheat oven to 375 degrees.
Make a slit in the top of the pie crust for steam to escape.
Bake for 50 minutes.
Wait for the praise to roll in.
![]() Not a pastry fan? I hear you. Try my 5-ingredient, 10-minute Chocolate Mousse Pie, my Chocolate Coconut Cream Pie-in-a-Jar, or my mini Avocado Key Lime Pies.
Not a pastry fan? I hear you. Try my 5-ingredient, 10-minute Chocolate Mousse Pie, my Chocolate Coconut Cream Pie-in-a-Jar, or my mini Avocado Key Lime Pies.
I have two tween boys, and the sheer volume of food that they can put away really makes me fear for the teen years. What is going to happen when they hit their real growth spurt? We go through snacks like nobody's business around here, and because of my reluctance to purchase many packaged items, I am always baking something for them to nosh on. Lately I've been focused on making snacks that are high in protein, so the boys are satisfied for more than twenty minutes at a time and so I can go for more than one day between baking marathons.
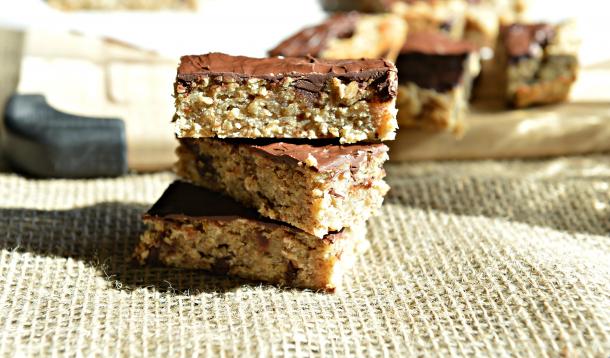
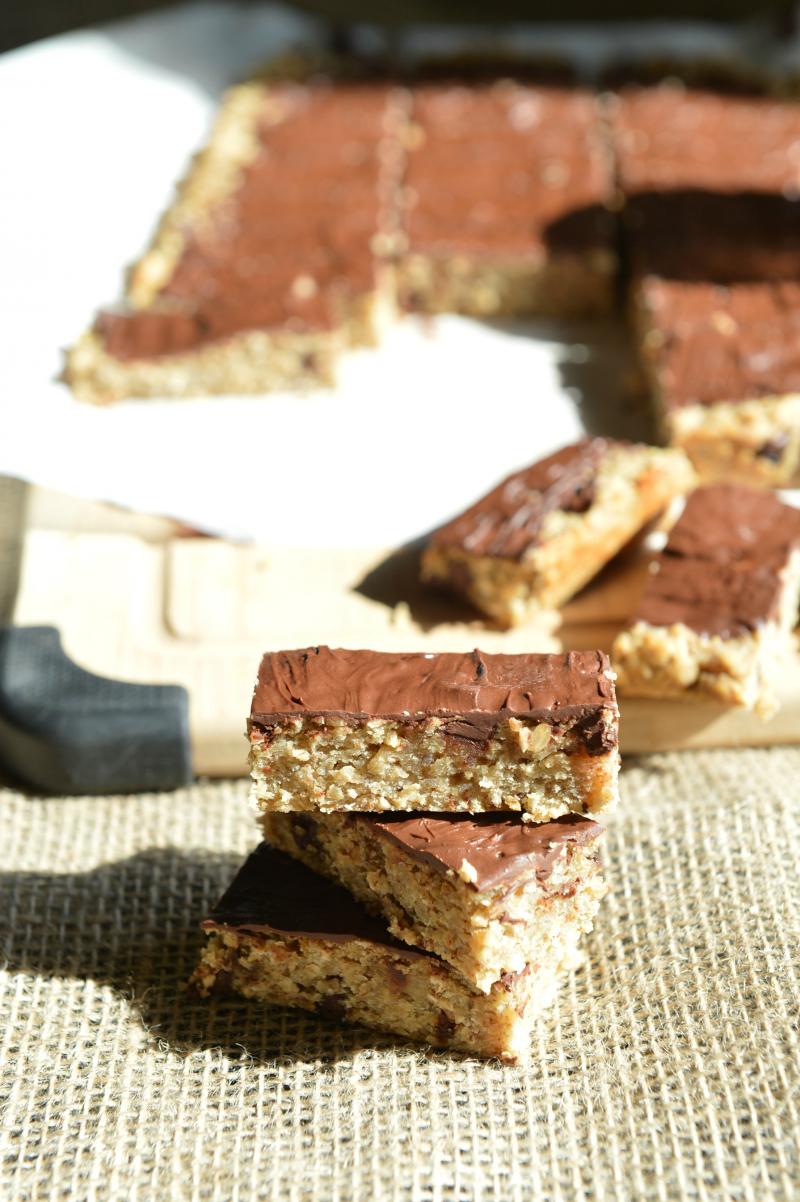
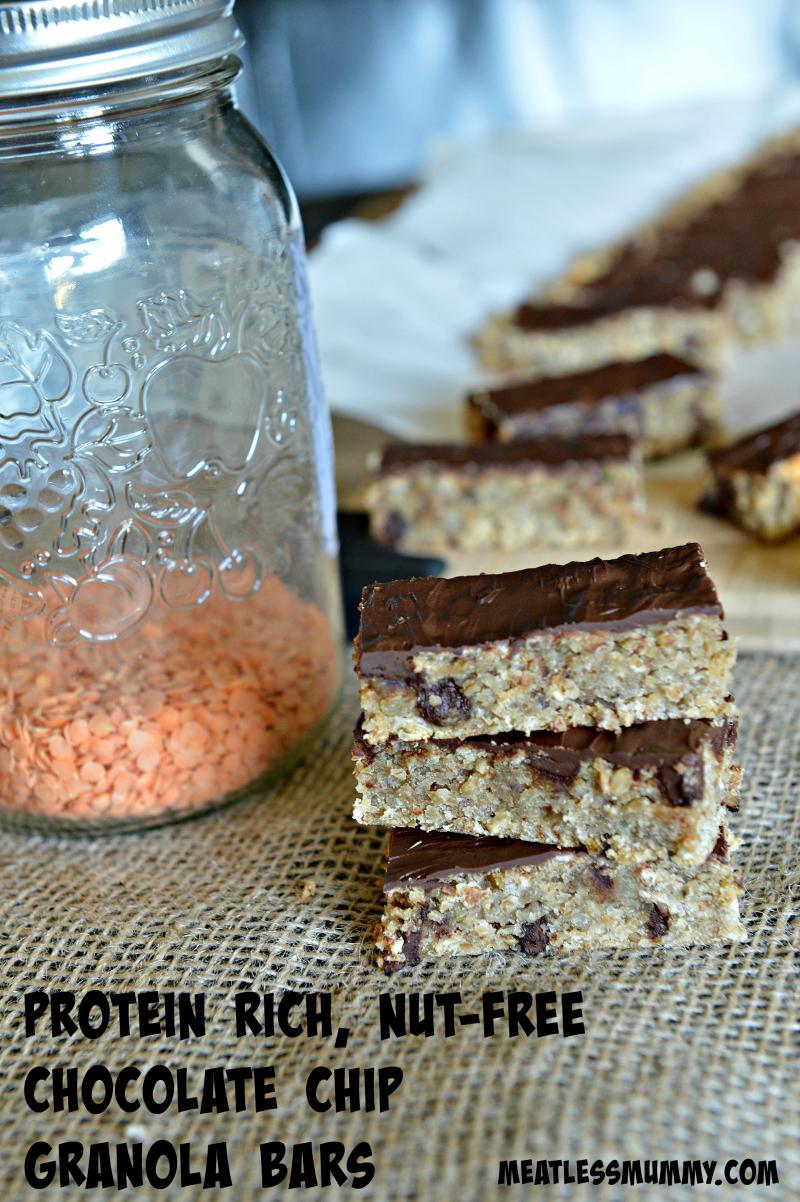
This is one of those weird recipes that I wait for my family to sample and say Wow, these are delicious! before I tell them that there are lentils in it. Because oh boy, are there lentils in it. There are so many lentils in it that you might be concerned that will not be palatable. But believe me, this recipe for chocolate granola bars has quickly become a favourite around here - and because of the protein and fibre, it is very filling as well. It's a perfect snack for the lunchbox; nut-free, high protein, and delicious!
And I swear, no one will know there are lentils in it - unless you choose to tell them!

Ingredients
1/2 cup chocolate chips, plus another 1/4 cup for topping
Directions
In a medium saucepan, bring lentils and water to a boil. Allow to simmer, covered, for 25 minutes, or until the lentils are extremely soft. Drain excess water and mash with a fork. Set aside and allow to cool for 15-20 minutes.
Preheat oven to 350 degrees. Line a 9x13 baking pan with parchment paper.
Stir together oats, flour, flax, salt, and cinnamon. Add maple syrup, coconut oil, vanilla, and mashed lentils. Mix well until combined. Fold in 1/2 cup chocolate chips.
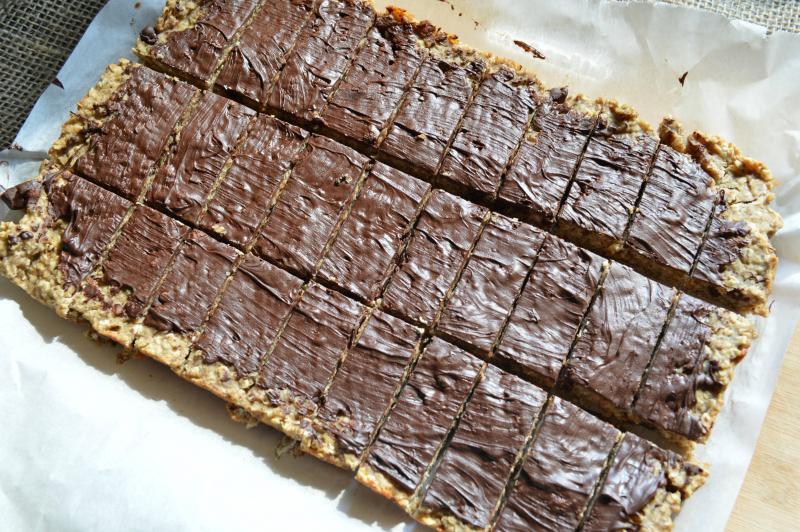
Spread into prepared baking pan and bake for 35 minutes, or until edges are browned.
Melt 1/4 cup chocolate chips, and spread over top while still warm. Allow to cool entirely before cutting into bars.
Store in the refrigerator. These also freeze exceptionally well.
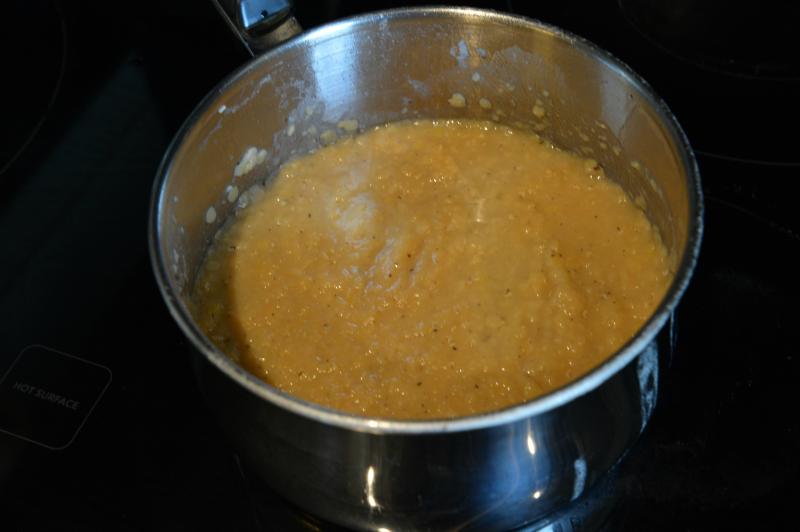
Mmmm...don't those lentils look appetizing? Don't worry, no one will guess. I promise!
Make sure you let it cool before cutting - no matter how tempting!
![]() Want more delicious school snacks? Try my Nut Free, Gluten Free, Added Sugar Free Energy Bars, my Nut-Free, School-Safe, No-Bake Granola Bars, or my Protein Power Breakfast Bars.
Want more delicious school snacks? Try my Nut Free, Gluten Free, Added Sugar Free Energy Bars, my Nut-Free, School-Safe, No-Bake Granola Bars, or my Protein Power Breakfast Bars.
Where I live, it has been a rainy, cold summer. I have been inundated with photos of friends in other parts of the country, in pools and waterparks, trying to keep cool during these past few hot months. I will admit to feeling pangs of jealousy, as I turn on the oven to make pizza, not being concerned if the house temperature goes up a few degrees, because I am wearing fuzzy slippers and a long-sleeved shirt.
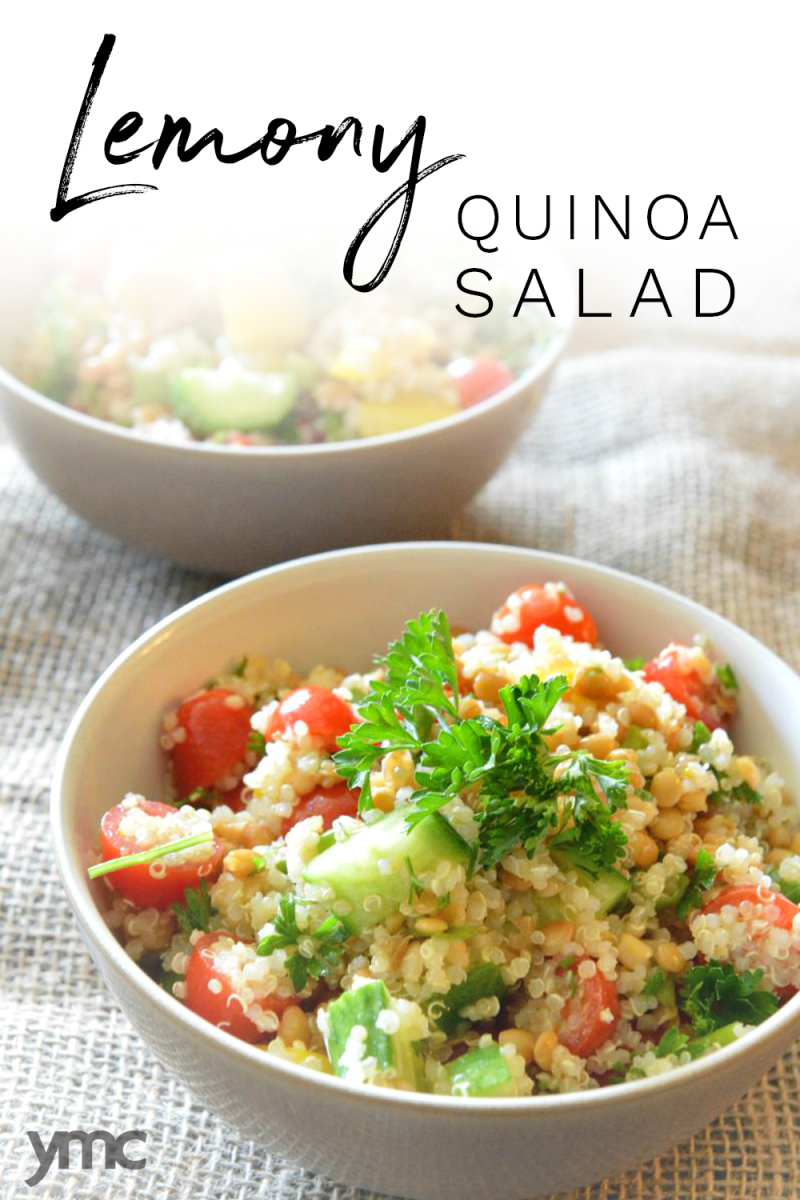
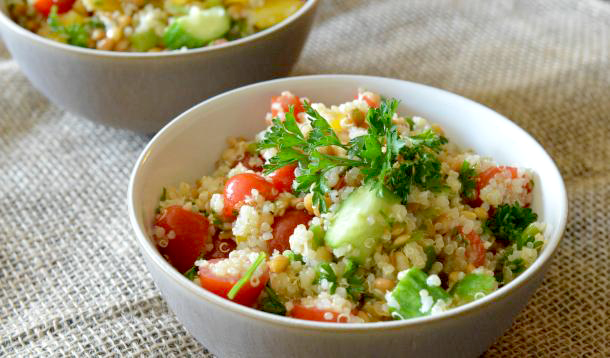
One of the fun things about summer, for me, is creating all sorts of "no cooking" recipes, the kind of light, fresh bowls that feel perfect for a hot summer's night. I offer up this recipe for those of you who are not freezing. And for those of you who are? This makes a perfect lunch.
This lemony lentil quinoa salad is very simple to make, and it is chock-full of protein and other goodness. Best of all, it keeps for a few days in the fridge, so it really is a perfect make-ahead lunch for those crazy days when you cannot leave your desk. And yes, it is a wonderful, light dinner for those of you who are eyeing the humidex with sweaty agony, or who have just popped out of the pool to grab a quick supper.
Sigh. I don't even hate you - but if you ever want a houseguest, I do love to cook, and I come equipped with wine!
Ingredients:
Directions: